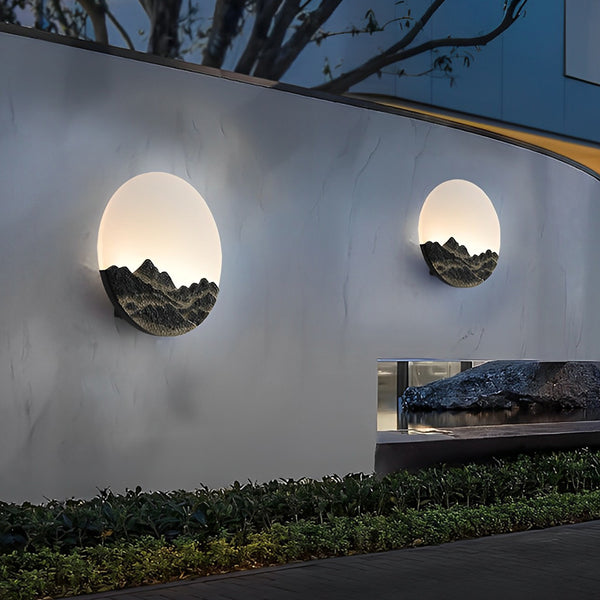
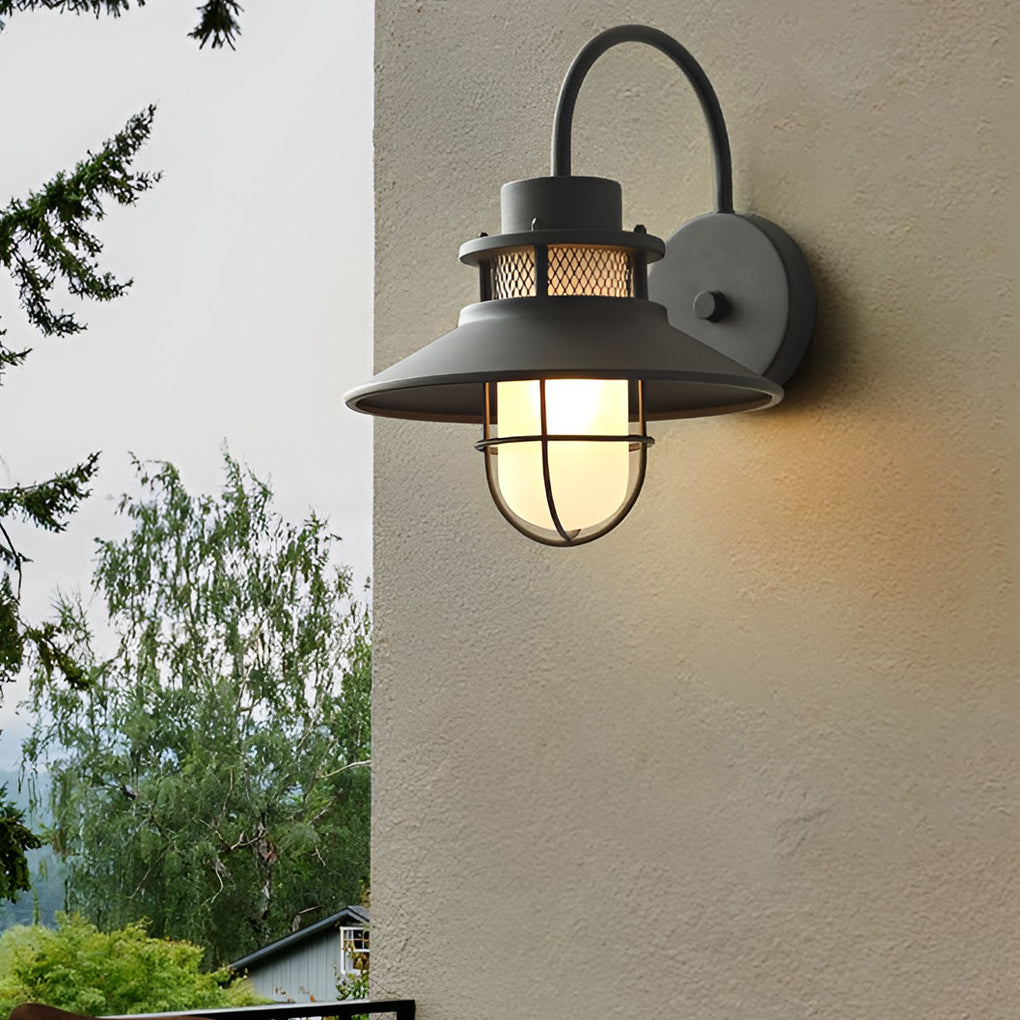
One of the many benefits of using outdoor lights is adding extra light to your home or garden at any time of the day or night, which can be especially useful if you live in an area with limited natural light. Outdoor wall lights are also a great way to add a touch of luxury and sophistication to your property.
This blog post will show you how to install outdoor wall lights easily and without any fuss.
1. Choose the right location for your light and mark where you will install it
When choosing the right location for your light and marking where you will install it, remember that wall lights should be installed at least 8 feet off the ground and 6 feet from any object that could block the light's beam.
Additionally, choose a light with a straight or slightly downward-sloping beam to cast a soft glow without shadows.
Finally, test your light installation by pointing it in different directions to make sure its light is even and evenly distributed.

2. Know what type of wall is
For outdoor wall lights, many types of walls can be used. A brick or masonry wall is one of the most common types. Because this wall already has holes for the screws, it is easy to install. All you need to do is drill the holes and screw the lights to the wall.
A wooden fence is another type of wall you can use for outdoor wall lights. Make sure you use wood screws because they will not damage the surface of the wood. Be sure to use wood screws as they will not damage the wood surface.
If you have a wall made of concrete or stone, you will not be able to install an outdoor wall light on top of it. Instead, you must find an LED light source that can be attached to this type of surface.
3. Pick the right wall light types
When installing outdoor wall lights, it is important to consider the surroundings. The type of light you choose will depend on the environment and your specific needs. Here are a few of the most common types of wall lights for outdoor use:
- Standard fixtures: These have a standard screw-type plug that can be plugged into an electrical outlet box or directly into a power outlet's electrical cord. They come in various styles, including flush mount and pendant light fixtures.
- Wireless lighting solutions: These systems turn lights on and off using motion sensors or remote controls. They can be used in small rooms with limited space or mounted on the side of a building to create an accent lighting effect.
- LED Wall Lights: LEDs are becoming increasingly popular for outdoor installations because they provide better illumination than traditional incandescent bulbs. They also last longer, making them more cost-effective over time.
Evaluate your specific needs and environment when choosing an outdoor wall light. Try several different types of lights before settling on the perfect one for your needs.

4. Turn off the power to the electrical circuit
The following steps will show you how to turn off the power to an outdoor electrical circuit:
- Trace circuit diagram: Trace the circuit diagram of the area where you want to install your outdoor wall lights.
- Disable switches: Disable any switches in the way of your light installation, including indoor and outdoor circuits.
- Shut off supply: Shut off the main supply line to your house or building by flipping a breaker or unplugging it from the wall outlet.
- Turn off switches: Turn off each light switch by finding its corresponding copper wire and turning it off with a screwdriver or wire cutter, ensuring not to pinch any wires in the process.
- Reconnect wires and test: Reconnect all the wires back together and re-attach any switches you disabled in step 2, being careful not to short any wires together in the process. Test all your light fixtures by turning them on with a screwdriver or remote control, ensuring they work properly before continuing with your installation project!
5. Install a waterproof electrical box
If your fixtures are not waterproof, they can be vulnerable to rain damage. Fortunately, an easy way to ensure your fixtures stay in good shape during torrential downpours is to install a waterproof electrical box.
There are a few things you'll need before you begin the installation process:
- A waterproof electrical box: This needs to be large enough to fit the full length of the fixture and at least 2 inches wider than the fixture itself. It should also have gaskets around all openings to make it watertight.
- Construction Adhesive: This is used to attach the waterproof electrical box to the surface on which it will be installed. Typically, this type of adhesive is only available in a spray form, so make sure you have plenty of it on hand when you begin your work.
- Tape Measure: A tape measure is essential for accurately measuring and marking the location of the light fixture on the wall. Use a straight edge to keep your measurements accurate throughout the installation process.
- Ruler or square: To ensure accuracy when cutting holes in the wall, having a ruler or square handy is helpful. If you don't have either of these tools, try using a jigsaw or a fret saw with a straight-edge attachment.
6. Run electrical wires from the box to the light fixture
Cut the wires to the correct length by measuring from one end of the wire to the other and cutting it accordingly. Make sure to leave a few inches of wire at each end so you can attach them later. You will also need two light sockets and two wire nuts.
Step 2: Strip insulation off of the wires.
Strip insulation off each end of the wire using a pair of needle-nose pliers. Ensure to get behind all of the insulation, as this will help reduce resistance on your electrical circuit.
Step 3: Twist one end of each wire around a light socket.
Twist one end of each wire around a light socket, ensuring they are tight against the fixture. Do not over-twist, or you may damage your electrical connections. Repeat this process with the other end of each wire.
7. Connecting the light fixtures and secure the fixture
You will need some wire cutters and a drill to install outdoor wall lights.
- First, measure the distance from the light fixture to the nearest screw on the wall.
- Cut the wire at this length and strip one end, so it is long enough to reach the screw.
- Twist the stripped end around the screw head and tighten it with a wrench.
- Repeat for all screws on the wall.
8. Testing the lights: Turn on the power and test
When you're finished installing your new outdoor wall light, be sure to turn on the power first to allow the light to plug in and start working. Once the light is working, you can test it by turning on the light switch in your house and looking for a corresponding glow from your new light. If everything goes according to plan, you're done!
Contact Dazuma for outdoor wall light help!
Choosing a wall light that fits the look and feel of your home is important, as there are many different types and styles of wall lights on the market.
Contact Dazuma for help if you're wondering which type of lighting is best for your needs! No matter the style, our staff is dedicated to helping you choose the perfect lighting solution for any environment.
Dazuma will work with you to devise a plan that will meet your specific needs and desires. We promise that the results will be amazing!


