Winter is finally winding down, but before you fully move on, there’s one task many homeowners put off: taking down holiday lights and decorations.It sounds simple, yet every year, plenty of people get injured not while hanging lights, but while removing them.
Cold temperatures, wet surfaces, brittle wires, and rushed decisions can turn a routine chore into a risky one. If you want to avoid damage, injuries, and tangled lights next season, knowing how to remove holiday lights and decorations safely after winter matters more than you might think.
This guide walks you through the safest timing, common risks, and step-by-step best practices, so you can take everything down confidently and correctly.

When Is the Safest Time to Remove Holiday Lights After Winter?
In many parts of the U.S., especially northern states, winter conditions can linger well into January or February. Ice on roofs, frozen gutters, and slick walkways significantly increase the risk of slips and falls.
You should wait until:
- Daytime temperatures consistently rise above freezing
- Roofs, steps, and decks are dry
- There is no active snow, ice, or strong wind
If you’re unsure whether it’s time, it’s worth reviewing guidance on when to take down Christmas lights, as removing them too early can be just as risky as leaving them up a little longer.
Common Safety Risks When Removing Holiday Decorations
Some of the most common risks include:
- Slippery ladders and rooflines from ice or moisture
- Brittle wires that snap after prolonged cold exposure
- Stuck clips frozen to gutters or shingles
- Electrical hazards if moisture entered connections
- Overreaching or ladder misuse due to awkward angles
Being aware of these dangers helps you slow down and work more deliberately.
Step-by-Step: How to Remove Holiday Lights Safely
Step 1: Power Everything Off First
Before touching any lights, unplug them from the outlet. Even outdoor-rated lights can retain moisture, and disconnecting power eliminates unnecessary electrical risk.
Take a moment to visually inspect cords for cracking or exposed wires caused by freezing temperatures.
Step 2: Use the Right Ladder and Safety Gear
Choose a ladder appropriate for outdoor use and place it on stable, dry ground. Wear shoes with good traction and insulated gloves to protect your hands from cold metal and sharp clips.
Never stand on the top rung, and avoid leaning too far to one side.
Step 3: Remove Lights in Sections
Instead of pulling down long strands all at once, work in short sections. This reduces strain on the wires and prevents sudden loss of balance if a clip releases unexpectedly.
Step 4: Be Gentle With Frozen Clips
If clips feel stuck, don’t yank them free. Pulling too hard can damage shingles, gutters, or the lights themselves. Wait for warmer temperatures or gently loosen clips with a tool if necessary.

What to Do Right After Removing Holiday Lights
Clean and Dry Before Storage
Moisture is the enemy of reusable lights. Let strands dry fully indoors before storing them to prevent corrosion or mold.
Store Lights the Right Way to Avoid Tangles
How you store your lights now determines how frustrating decorating will be next year. If you’ve ever opened a box of knotted wires, you know the pain.
Using proven techniques from our guide on how to store Christmas lights tangle free helps protect wires and saves you time every holiday season.
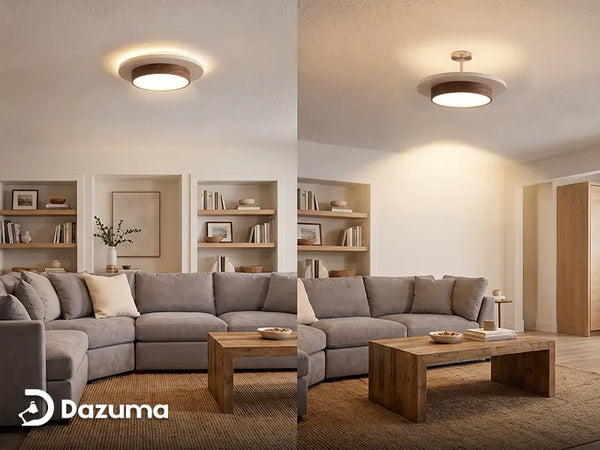
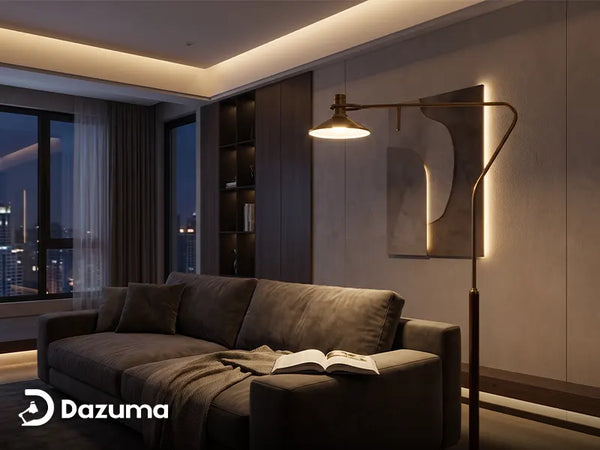
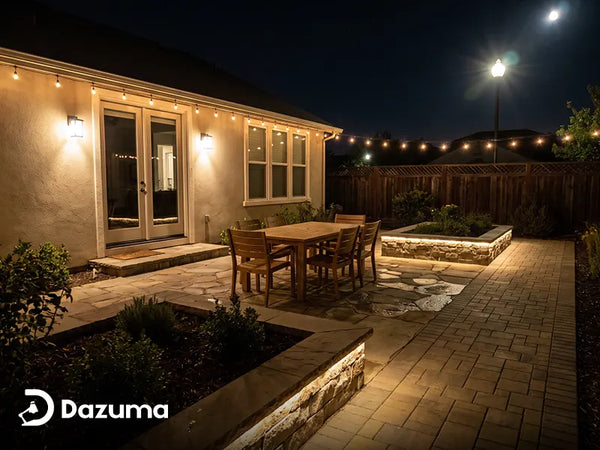
Consider a Safer, Year-Round Lighting Alternative
Many homeowners are rethinking the cycle of hanging and removing seasonal lights altogether.
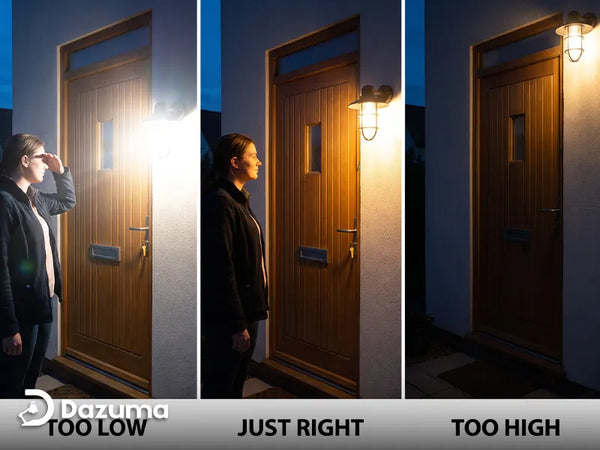
Permanent or semi-permanent outdoor lighting options, such as solar-powered path lights, motion sensor wall lights, or illuminated house number lights, offer several advantages:
- No ladders or seasonal reinstalling
- Improved safety and visibility year-round
- Energy efficiency with minimal maintenance

FAQ: Removing Holiday Lights After Winter
Q1: Can I remove holiday lights while it’s still cold?
You can, but only if surfaces are dry and safe. Avoid removing lights during icy or windy conditions.
Q2: Are lights damaged if they froze during winter?
Not always. Inspect insulation and test lights indoors before reuse.
Q3: What if clips are stuck?
Wait for warmer weather or gently loosen them. Forcing clips can damage your home.
Q4: Should I replace old lights after winter?
If cords are brittle, cracked, or unreliable, replacement is safer than reuse.
Safety First, Then Simplicity
Removing holiday lights after winter isn’t something to rush. Taking the time to do it safely protects you, your home, and your decorations for years to come.
With the right timing, careful handling, and smart storage, you turn a once-dreaded chore into a smooth transition into the new season. And if you’re ready to simplify even more, choosing long-term outdoor lighting solutions can help you spend less time on ladders and more time enjoying your space.
Winter may be over, but smart lighting decisions last all year.