There’s something magical about a beautifully lit outdoor space. Landscape lighting not only highlights the best features of your yard but also extends the enjoyment of your home well into the evening. A well-thought-out lighting plan enhances curb appeal, increases property value, and provides practical benefits such as improved safety and security. Whether you’re hosting a summer BBQ, an intimate backyard gathering, or simply enjoying a quiet evening on the patio, the right lighting sets the mood.
If you’ve ever wondered how to design landscape lighting but felt unsure where to begin, this guide is for you. Step by step, we’ll walk you through the process of creating a lighting design that is both functional and inspiring.
Table of Contents
- Step 1: Understand the Purpose of Your Landscape Lighting
- Step 2: Evaluate Your Outdoor Space
- Step 3: Learn the Core Lighting Techniques
- Step 4: Choose the Right Fixtures
- Step 5: Plan Your Layout Strategically
- Step 6: Consider Power &Lamp; Energy Efficiency
- Step 7: Add Creative Touches
- Step 8: Test and Adjust Before Finalizing
- Step 9: Safety & Maintenance Tips
- FAQs About Designing Landscape Lighting
- Conclusion
Step 1: Understand the Purpose of Your Landscape Lighting
Before buying fixtures or running wires, take time to think about what you want your lighting to achieve. Homeowners typically fall into two categories:
- Aesthetic goals: You may want to highlight garden beds, draw attention to a striking tree, or showcase the textures of stone walls. Lighting can create ambiance, add drama, and transform your yard into an inviting nighttime retreat.
- Practical goals: Safety and security are also important. Well-lit pathways, stairs, and driveways reduce the risk of tripping, while exterior lights can deter unwanted visitors.
In American households, outdoor lighting often plays a central role in social gatherings—whether it’s illuminating the deck for a pool party, adding a glow around a fire pit, or creating a welcoming entryway for holiday guests. Defining your purpose will help you design with clarity and avoid wasted investment.
Step 2: Evaluate Your Outdoor Space
Next, take a close look at your yard and identify the areas you’d like to enhance. Walk around both during the day and after dark to get a feel for shadows, focal points, and natural pathways. Key spots might include:
- Front porch and entryway
- Driveway and garage area
- Walkways and garden paths
- Backyard patio or deck
- Flower beds, trees, and water features
Sketch out a simple plan on paper, or if you prefer a digital approach, apps like iScape and Home Outside (popular with U.S. homeowners) can help visualize different lighting arrangements. Don’t forget to consider the power source early on—whether you’ll use solar outdoor lights, low-voltage wiring, or line-voltage systems.
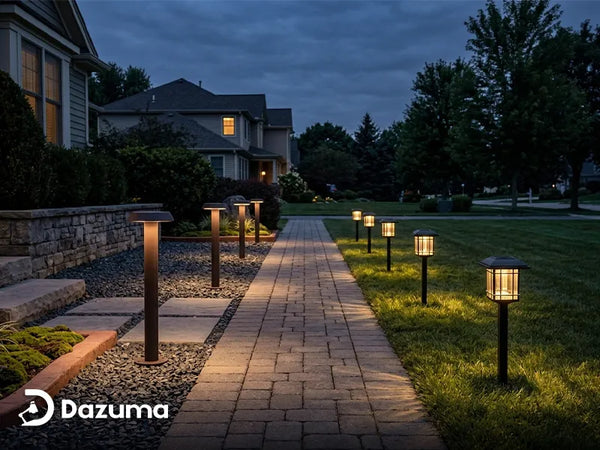
 Spherical landscape lights guide the way along a serene garden path, creating a magical nighttime ambiance.
Step 3: Learn the Core Lighting Techniques
Good design often comes down to technique. Understanding the basics will help you achieve balance between functionality and beauty.
- Uplighting: Placing lights at the base of trees, statues, or architectural elements to create dramatic emphasis.
- Downlighting/Moonlighting: Mounting lights high in trees or under eaves to mimic natural moonlight and provide a soft, romantic glow.
- Path Lighting: Small fixtures that line sidewalks or garden paths for safety and charm.
- Accent/Spot Lighting: Narrow beams used to highlight a fountain, artwork, or unique plant.
- Wall Washing and Grazing: Lighting walls or fences evenly to showcase texture or create a warm backdrop.
By combining these techniques, you can craft a layered effect that feels intentional rather than random.
Step 4: Choose the Right Fixtures
Not all lights are created equal. The type of fixture you select determines both performance and aesthetics. Common options include:
- Path lights: Perfect for guiding guests safely along walkways.
- Spotlights and floodlights: Ideal for trees, façades, or wide garden areas.
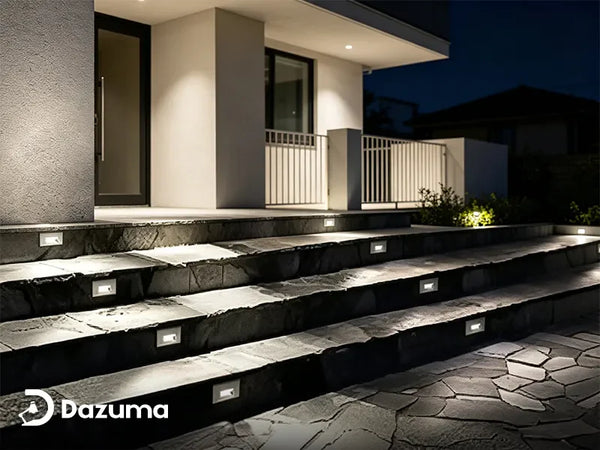
- Step and deck lights: Essential for stairs, patios, and railings.
- Bollard lights: Stylish vertical posts that add architectural interest.
- String lights: Popular for backyard patios, especially for parties and family dinners.
Pay attention to durability. Materials like copper, brass, and stainless steel stand up better to weather than cheaper alternatives. For safety and reliability, look for Energy Star ratings or UL Listed certifications—standards that many American homeowners rely on when selecting fixtures.
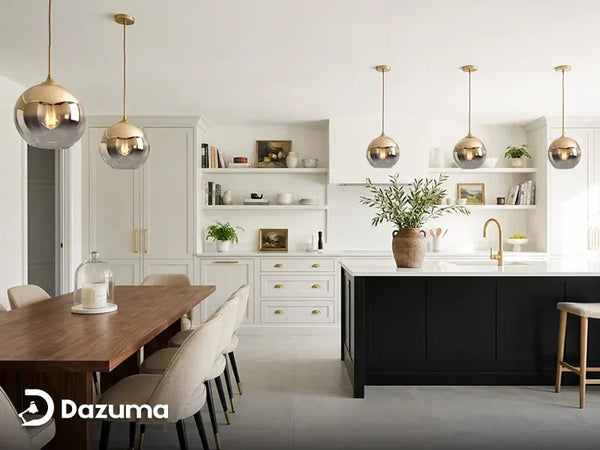
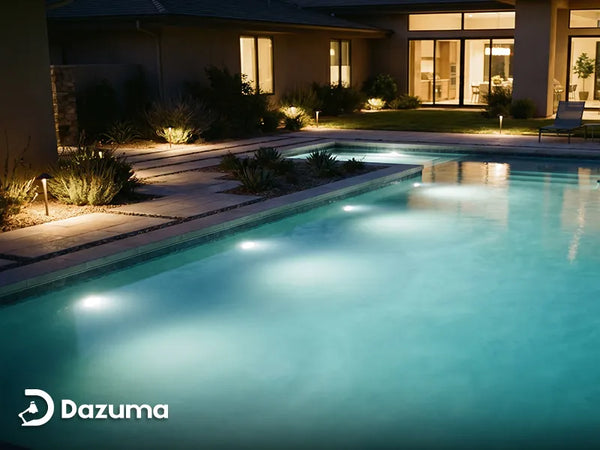
 Elegant landscape lighting emphasizes palm trees and patio areas, adding depth and warmth to the outdoor space.
Step 5: Plan Your Layout Strategically
This is where creativity meets practicality. Consider these tips when mapping out your design:
- Avoid glare: Harsh light shining directly into eyes can ruin the mood. Use shields or adjust angles to soften the glow.
- Layer your lighting: Instead of relying on one bright spotlight, create a balance of multiple sources at different levels.
- Highlight focal points: Choose a few features to emphasize, such as a fire pit, pergola, or water fountain, and let other areas remain subtle.
- Use a design board: Many homeowners create mood boards on Pinterest or Canva to visualize the overall aesthetic.
A thoughtful layout not only prevents light pollution but also ensures your yard feels cozy rather than overexposed.
Step 6: Consider Power & Energy Efficiency
Your choice of power system will influence installation and maintenance.
- Low-voltage lighting: Safe, cost-effective, and easy for DIYers. Ideal for most residential projects.
- Line-voltage lighting: Provides stronger illumination but requires professional installation due to safety regulations.
- Solar lighting: Simple to install and eco-friendly, though brightness and reliability depend on sun exposure.
LED technology has become the go-to in recent years. LEDs consume less energy, last longer, and are available in a wide range of colors and brightness levels. For environmentally conscious homeowners, energy-efficient lighting reduces both the carbon footprint and monthly utility bills.
Step 7: Add Creative Touches
Landscape lighting isn’t just about safety—it’s also about creativity and personal style. Once the basics are in place, you can enhance the atmosphere with features that reflect your taste.
- String lights draped over a patio or pergola bring a warm, café-inspired vibe that’s perfect for summer nights and family gatherings.
- Color-changing LEDs (RGB) let you shift from cozy warm tones to bold colors, giving flexibility for holidays, birthdays, or backyard movie nights.
- Seasonal decorations like twinkling Christmas lights or spooky Halloween displays add personality and keep your yard feeling fresh year-round.
These creative touches turn your outdoor space into something memorable and uniquely yours.
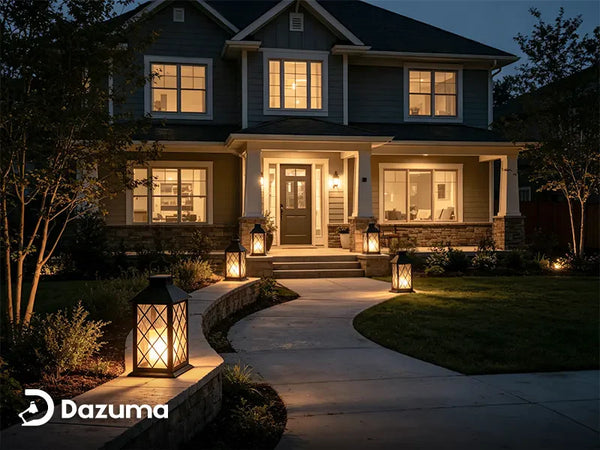
 Traditional landscape lights illuminate the garden pathway, highlighting lush greenery and manicured shrubs.
Step 8: Test and Adjust Before Finalizing
Avoid rushing into permanent installation. Lighting often looks different once the sun goes down, so testing is essential.
After setting up, step outside at night and view your yard from multiple spots—along pathways, on the patio, and even from the street. This helps reveal dark patches, glare, or overly bright areas.
A smart tip is to experiment with temporary plug-in lights or solar stakes first. Adjust angles, spacing, and brightness until the effect feels balanced. Once satisfied, you can finalize the installation with confidence.
Step 9: Safety & Maintenance Tips
Your lighting will only stay beautiful if you maintain it. Outdoor fixtures face constant exposure to weather, so regular care is important.
- Clean lenses and fixtures to remove dust and water stains that dim the light.
- Check wiring and connectors for wear, especially after storms or snow.
- Clear away debris like mulch, leaves, or snow that may block or damage fixtures.
With seasonal upkeep, your lighting design will stay safe, efficient, and visually stunning all year long.
FAQs About Designing Landscape Lighting
1. How much does it cost to install landscape lighting in the U.S.?
The average cost ranges from $2,000 to $4,500 for a professionally installed system, though DIY low-voltage or solar setups can be done for a few hundred dollars.
2. Is solar lighting good enough for backyard landscaping?
Yes, for decorative or accent lighting. However, solar lights may not provide the brightness needed for safety-focused areas like stairs or driveways.
3. What is the difference between low-voltage and line-voltage lighting?
Low-voltage (12V) systems are safer and easier for homeowners to install. Line-voltage (120V) systems are brighter and more durable but usually require a licensed electrician.
4. How do I prevent my outdoor lights from attracting bugs?
Opt for warm-colored LEDs (yellow or amber tones), which are less attractive to insects compared to cool white or blue light.
5. Can I install landscape lighting myself or should I hire a professional?
It depends on the project size. Many homeowners successfully DIY low-voltage and solar systems. For complex wiring or line-voltage systems, hiring a professional ensures safety and compliance with local codes.
Conclusion
Designing landscape lighting is both an art and a science. By starting with a clear purpose, evaluating your space, and applying proven techniques, you can create an outdoor environment that enhances your home’s beauty and functionality.
Whether you DIY a simple low-voltage setup or hire a professional for a more elaborate system, the rewards are clear: improved curb appeal, safer walkways, and a backyard that feels like an extension of your living space.
So if you’ve been wondering how to design landscape lighting, the answer is simple—start small, experiment, and build a design that reflects your lifestyle. With the right plan, your evenings at home will never be the same.