Landscape lighting is one of those upgrades that looks professional but is surprisingly DIY-friendly. With the right plan and a little patience, most homeowners can install landscape lighting in a single afternoon—no electrician required.
If you’ve been wondering how to install landscape lighting without turning your yard into a mess or blowing a fuse, you’re in the right place. This guide walks you through the process step by step, focusing on low-voltage systems, which are the most common (and safest) option for residential landscapes in the U.S.
Before You Start: Understanding Landscape Lighting Systems
Most DIY landscape lighting projects use low voltage (12V) systems. They’re safe to handle, easy to expand, and designed specifically for outdoor use. A transformer plugs into a standard outdoor GFCI outlet and converts household power into low voltage electricity that runs through outdoor-rated cable.
Solar landscape lights are another option, but they tend to be less reliable and much dimmer. Line-voltage (120V) lighting, on the other hand, usually requires permits and a licensed electrician. For most homeowners, low voltage lighting hits the sweet spot between performance, safety, and ease of installation.

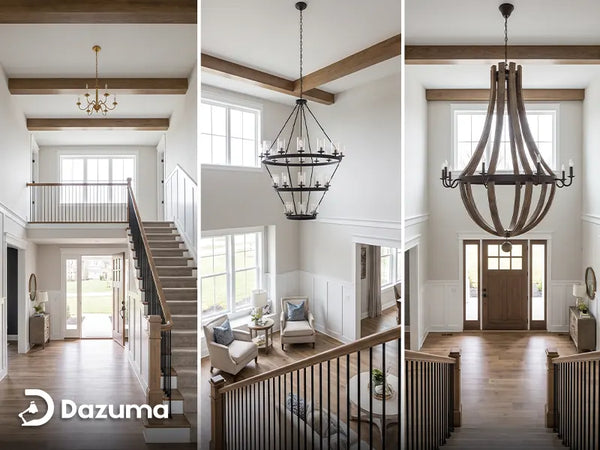
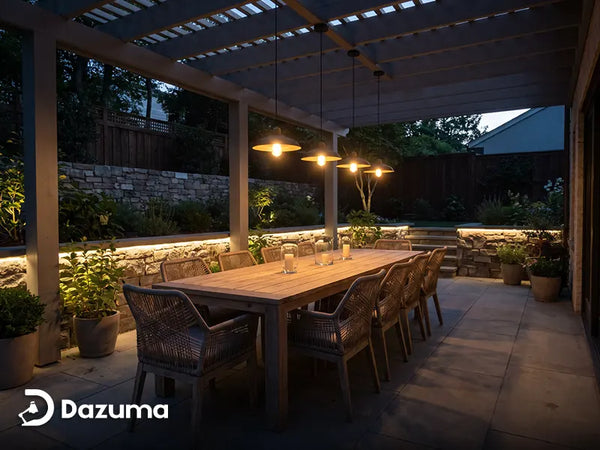
Accent lights are commonly used to highlight trees, shrubs, and other landscape features.
Is It Safe to Install Landscape Lighting Yourself?
Yes—low voltage landscape lighting is considered one of the safest outdoor electrical projects you can DIY. Because the voltage is so low, the risk of electric shock is minimal. As long as you use outdoor-rated components, waterproof connectors, and a GFCI outlet, you’re well within safe territory.
That said, if you’re planning to hardwire into your home’s electrical system or install line-voltage fixtures, that’s when it’s time to call a pro.
Planning Your Landscape Lighting Layout (Don’t Skip This)
The biggest mistake people make with landscape lighting isn’t bad wiring—it’s poor planning. Before you touch a shovel or plug in a transformer, take time to think about what you actually want to light.
Start by identifying key areas like walkways, steps, trees, architectural features, or garden beds. Landscape lighting works best when it’s purposeful. Instead of lighting everything, focus on areas that improve safety or highlight visual interest.
It also helps to walk your yard at night with a flashlight. Shine it upward on trees or across paths to see what looks good. This simple trick can save you from installing lights you don’t really need.
How Many Landscape Lights Do You Need?
More bollard lights don’t always mean better results. In fact, over-lighting is one of the most common design issues in residential yards. A general rule is to space path lights about 6 to 8 feet apart and use accent lights selectively rather than flooding every corner.
Your transformer capacity matters too. Most low-voltage transformers can handle between 100 and 300 watts. Adding too many fixtures can overload the system and cause dim lights or failures down the line.

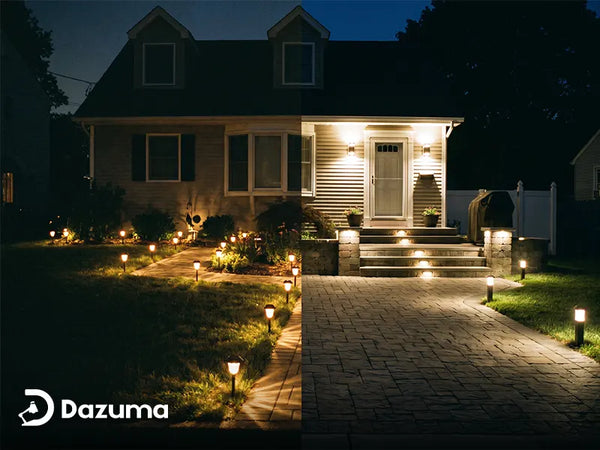
Path lights improve nighttime safety while adding structure and visual flow to outdoor spaces.
Where to Place the Transformer
The transformer should be installed near an outdoor GFCI outlet, usually on an exterior wall of the house. It needs to stay dry, well-ventilated, and easy to access for maintenance or timer adjustments.
Try to place it centrally in relation to your lighting layout. Shorter cable runs help maintain even brightness across all fixtures.
How to Install Landscape Lighting Step by Step
Start by testing all your lights before installing anything. Plug the transformer into the outlet, connect one fixture at a time, and make sure everything turns on. This saves a lot of frustration later.
Next, lay the cable along the ground where you plan to install the lights. Don’t bury it yet. Position each fixture roughly where it will go and double-check spacing and angles.
Once you’re happy with the layout, connect each light to the cable. Most fixtures use pierce-style or clamp connectors, but take your time and make sure each connection is tight and weatherproof.
After that, connect the main cable to the transformer. If your transformer has multiple voltage taps, distribute the load evenly to prevent voltage drop, especially if you’re lighting a large area.
Turn the system on at night and make adjustments. This is when you fine-tune angles, spacing, and brightness. Small changes can make a big difference in how professional the lighting looks.
When everything looks right, bury the cable about 4 to 6 inches deep. You don’t need to dig a deep trench—just enough to protect the wire and keep it out of sight.

Well-placed landscape lighting enhances visibility on steps and creates a balanced outdoor lighting design.
Maintenance and Troubleshooting Tips
Landscape lighting doesn’t require much maintenance, but a quick check once or twice a year goes a long way. Look for loose connections, damaged cables, or fixtures knocked out of alignment.
If a light stops working, start by checking the connection and bulb. Most issues are simple and don’t require replacing the entire fixture.
Final Thoughts
Installing landscape lighting is one of the most satisfying DIY projects you can take on. It improves curb appeal, boosts nighttime safety, and completely changes how your outdoor space feels after dark.
With good planning and a low voltage system, you don’t need professional experience—just a clear plan and a free afternoon. Start small, take your time, and you’ll be surprised how big of a difference a few well-placed lights can make.