When it comes to outdoor lighting, most people focus on the fun stuff—fixtures, colors, and layouts. But there’s one detail that can make or break your entire setup: the wire gauge.
Choosing the right wire gauge for your landscape lighting design might sound technical, but it’s actually pretty simple once you know how it works. The wrong wire can lead to dim lights, wasted power, and even safety risks. The right one? Bright, consistent, and efficient lighting across your entire yard.
So, let’s break down what gauge landscape lighting wire you need, why it matters, and how to pick the perfect one for your setup.
What Does “Wire Gauge” Mean?
Before we get into the details, let’s make sure we’re speaking the same language. Many people hear the term “wire gauge” when planning outdoor lighting but aren’t exactly sure what it means.
Simply put, wire gauge is a measure of how thick the wire is, based on the American Wire Gauge (AWG) system. This system uses numbers to indicate size—and here’s the tricky part:
The smaller the gauge number, the thicker the wire.
So, for example:
- 10-gauge wire is thicker and carries more current than 12-gauge,
- 12-gauge is thicker than 14-gauge, and so on.
In landscape lighting, the most common sizes are 10, 12, 14, and 16 gauge low-voltage wires. Each one is designed to handle a different distance and electrical load, depending on how many lights you’re powering and how far they are from the transformer.
In short, choosing the right wire gauge keeps your lighting bright, balanced, and running efficiently — no dim lights or wasted energy.
Why Wire Gauge Matters
You might wonder: “If it’s just wire, why does size matter so much?” The answer lies in something called voltage drop.
When electricity travels through a wire, it loses a bit of voltage along the way—especially if the wire is long or too thin. This means the lights at the end of your run could be dimmer than the ones close to your transformer.
Thicker wire = less resistance, less voltage drop, and brighter, more even lighting.
So if you’re lighting up a long driveway, garden path, or big backyard, choosing the right gauge can make a huge difference in how your lights perform.

A useful chart for understanding the different wire gauges for landscape lighting
How to Choose the Right Wire Gauge
Now that you understand the basics of wire gauge, let’s talk about how to actually pick the right one for your own landscape lighting system. The good news? It’s not complicated. You just need to think about three key factors: the total wire length, the overall wattage, and the amount of voltage drop you can tolerate.
Step 1: Measure the Total Length
Start by figuring out how far your farthest light is from the transformer. The longer the wire run, the more resistance the current will face — and that means a higher risk of voltage drop.
- For short runs (under 50 feet), you can usually get away with thinner wire since electricity doesn’t have far to travel.
- For medium runs (50–100 feet), it’s safer to use a mid-sized wire like 12- or 14-gauge.
- For long runs (over 100 feet), you’ll want a thicker wire to keep your lights bright and evenly powered.
Even small differences in distance can make a noticeable impact on brightness, especially in low-voltage systems.
Step 2: Add Up Your Total Wattage
Next, figure out how much power your lights are drawing in total. Just add up the wattage of every fixture on that same line.
Example: If you have 10 fixtures, and each one uses 5 watts, then your total load is 50 watts.
This total wattage determines how much current your wire must carry. The higher the wattage, the more current flows through the wire — and the more likely you are to experience voltage drop if the wire is too thin. So balancing wattage and distance is the key to consistent brightness across all your lights.

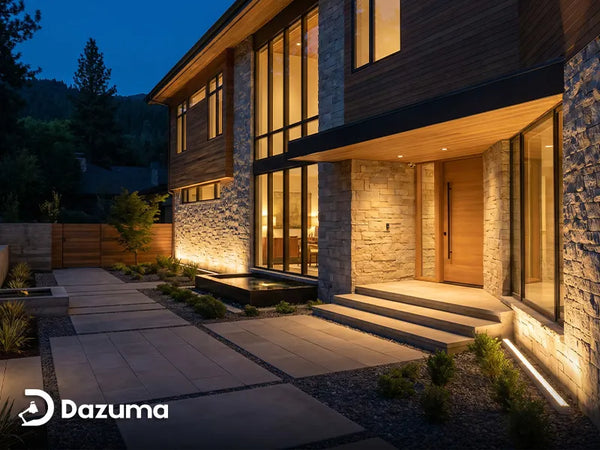
Landscape lighting poles like these are perfect for illuminating garden paths while adding a modern aesthetic to your outdoor space.
Step 3: Match Your Gauge
Once you know your total wire length and wattage, you can match them to the right gauge. Here’s a simple chart to keep things easy:
| Total Run Length | Total Wattage | Recommended Gauge |
| Under 50 ft | Under 100W | 16 AWG |
| 50–100 ft | 100–200W | 14 AWG |
| 100–150 ft | 200–300W | 12 AWG |
| 150–250 ft | 300W+ | 10 AWG |
Rule of thumb: The longer the run or the more wattage you’re pushing, the thicker your wire should be.
And if you’re still unsure after doing the math? Don’t stress — just go with 12-gauge wire. It’s the most versatile and reliable option for the majority of residential landscape lighting projects, offering a great balance of performance and cost.
Copper vs. Aluminum Wire: Which Is Better?
You’ll find both copper and aluminum options for outdoor lighting wire, but they’re not equal.
- Copper wire is the gold standard. It’s durable, highly conductive, and resistant to corrosion.
- Aluminum wire is cheaper and lighter, but it conducts less electricity and corrodes faster—especially when buried outdoors.
For residential landscape lighting, copper is absolutely worth the investment. It delivers more consistent performance and lasts for years with minimal issues.
Direct Burial Wire vs. Standard Wire
If you’re running wire outside, don’t use regular indoor cable. It’s not designed to handle moisture, sunlight, or soil pressure.
Look for UL-rated low-voltage landscape lighting cable, specifically marked as “direct burial”.
Direct burial wire features:
- Thick insulation for moisture resistance
- UV protection against sunlight
- Flexible, weatherproof coating
Bury the wire about 6 inches deep to protect it from foot traffic, lawnmowers, and pets.
If you’re running wires through mulch or flower beds, keep them covered to prevent accidental damage.

Creative outdoor lighting designs, like these moon-shaped lights
Real-Life Examples: What Works Best
Sometimes it’s easier to understand the right wire gauge by looking at a few real-world examples. Every yard and setup is different, but these scenarios will give you a clear sense of what usually works best depending on your lighting layout, distance, and total wattage.
Scenario 1: Small Garden Path
Imagine a cozy front walkway or a short garden path lined with just a handful of lights.
- Number of lights: 5–6 fixtures
- Distance: Short run (around 30 feet total)
- Each fixture: 4W LED
- Total load: Approximately 25 watts
In this setup, the wire doesn’t have to travel far, and the power demand is minimal. A 14–16 gauge wire will easily handle the current and keep your lights glowing evenly. Using a thicker wire here wouldn’t hurt, but it’s not really necessary—you’d just be paying extra for something you don’t need.
Recommended wire: 14–16 gauge
Scenario 2: Medium Backyard
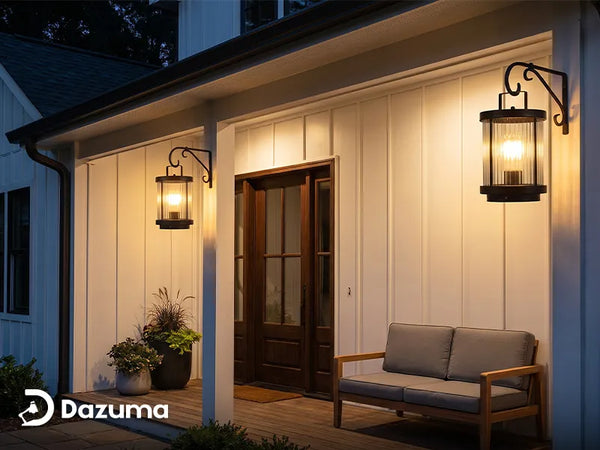
Now let’s say you’re lighting up a typical backyard—maybe along a patio, a flower bed, or around the pool area.
- Number of lights: 10–12 fixtures
- Distance: Medium run (around 80 feet total)
- Each fixture: 6W
- Total load: Roughly 70 watts
At this length, voltage drop starts to become more noticeable, especially if you’re using thinner wire. A 12–14 gauge wire is a great choice here because it strikes the right balance—thick enough to deliver steady voltage, yet flexible and cost-effective for most home projects.
Recommended wire: 12–14 gauge

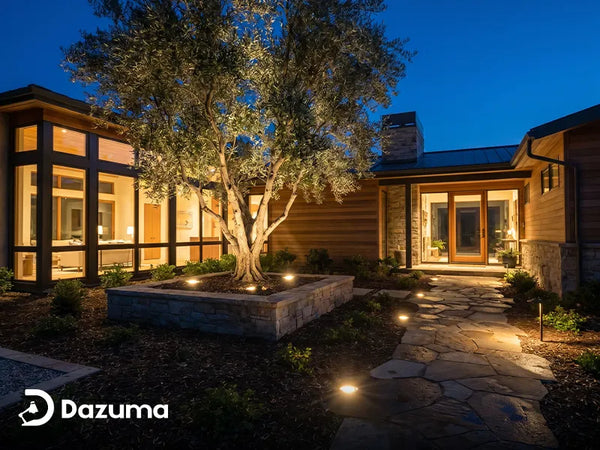
Modern pathway lights provide both function and style
Scenario 3: Large Driveway or Hillside
Finally, picture a large property—a long driveway, sloped yard, or a big garden where your lights are spread far apart.
- Number of lights: 15 or more fixtures
- Distance: Long run (150–200 feet or more)
- Each fixture: 7–10W
- Total load: Around 150 watts or higher
In this kind of setup, voltage drop can become a real issue. You’ll need a thicker wire to ensure consistent brightness from the first light to the last, even across a long distance. Using 10–12 gauge wire keeps your system running efficiently and prevents dimming at the far end.
Recommended wire: 10–12 gauge
And yes, you can absolutely mix wire sizes within one lighting system—for example, using a thicker 12-gauge main line and switching to 14- or 16-gauge wires for short side branches. Just be sure you understand how voltage drop affects each section and balance your runs carefully.
When in doubt, it’s always safer to use a thicker wire for the main trunk line and thinner ones only for short extensions. That simple habit can help you maintain even lighting across your entire yard and keep your system performing at its best for years to come.
FAQs About Landscape Lighting Wire
Q1: Can I mix different wire gauges in one system?
Yes, but do it carefully. Keep your main runs thicker (like 12 or 10 gauge) and use thinner wire for short branches if needed.
Q2: What happens if I use wire that’s too thin?
Your lights will be dimmer at the end of the run, and you’ll waste energy as heat. Over time, it can even damage your transformer or fixtures.
Q3: Is 12-gauge always the best choice?
Not always—but it’s the safest middle ground for most homeowners. If you’re unsure, go with 12-gauge and you’ll be fine in 90% of cases.
Q4: Do low-voltage systems need special wire?
Absolutely. Use low-voltage (12V) outdoor-rated cable—standard electrical wire isn’t designed for underground or wet environments.
Final Thoughts: Choose Smart, Light Bright
When it comes to landscape lighting, wire gauge might not be the most glamorous part—but it’s one of the most important.
Choosing the right gauge ensures your system runs efficiently, safely, and beautifully for years. Remember:
- Short runs + low wattage → thinner wire (14–16 AWG).
- Long runs or heavy loads → thicker wire (10–12 AWG).
If you’re ever in doubt, go with 12-gauge copper wire. It’s the reliable, all-around choice for most U.S. yards.
A little planning today saves you from dim lights and wiring headaches tomorrow—so your backyard can shine bright every night.