There’s something magical about a well-lit yard at night. Whether it’s your garden glowing softly under the trees or your walkway warmly welcoming guests, good lighting transforms your outdoor space. But hiring a pro can get expensive — and honestly, you can totally do this yourself.
That’s where do it yourself landscape lighting comes in. It’s easier than most people think, and the results can make your home look like it belongs in a magazine. In this guide, we’ll walk through everything you need to know — from planning and picking the right lights to wiring, installation, and upkeep.
Why DIY Landscape Lighting Is Totally Worth It
If you’ve ever gotten a quote for outdoor lighting, you know it can cost thousands of dollars. Going the DIY route not only saves a huge chunk of cash but also gives you creative control. You decide what to highlight — that beautiful maple tree, your new deck, or the winding stone path.
Plus, it’s fun. Setting up your own lighting system is one of those home projects that’s both practical and rewarding. You get instant results, and every evening your work literally shines.

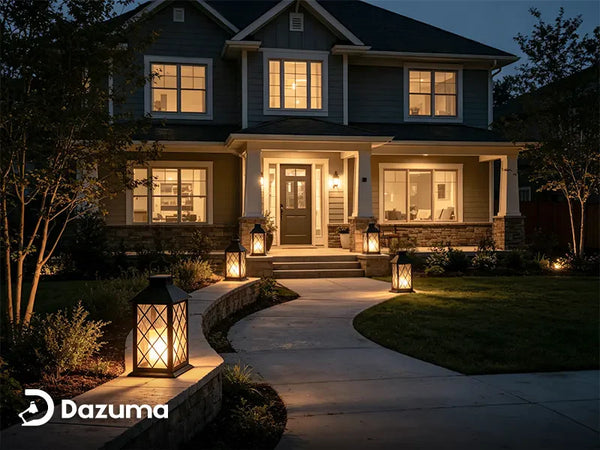
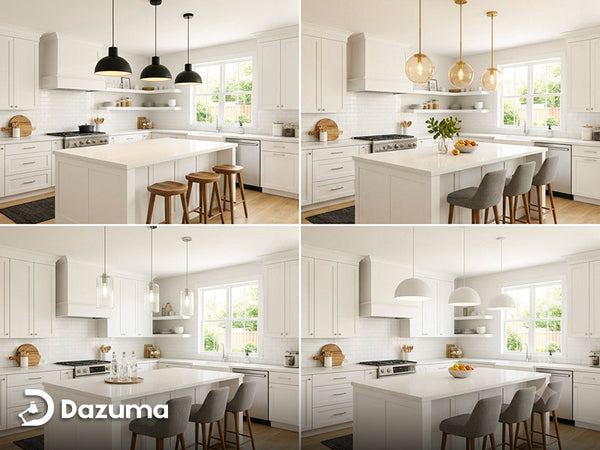
These glowing garden globe lights add a touch of elegance and warmth to any outdoor space, perfect for evening strolls.
Plan Before You Plug In
Before buying any lights, grab a notebook and do a little planning. A thoughtful layout makes all the difference between a messy setup and a professionally lit yard.
Assess Your Space
Walk around your yard at night with a flashlight. Notice dark corners, tripping hazards, and features you’d love to showcase — maybe a fountain, a tree, or your garden path. Mark these spots on a simple sketch.
Think about balance and layering. You don’t want to flood everything with light; instead, mix a few bright highlights with softer glows for depth and contrast.
Set Your Goals
Ask yourself what you want the lighting to do. Is it mainly for safety (lighting walkways and stairs)? Security (deterring trespassers)? Or ambience (creating a cozy backyard vibe for parties)?
Each goal affects the type and placement of lights. For example, accent lights highlight details, while path lights keep people from tripping in the dark.
Sketch a Simple Layout
You don’t need fancy software. A quick hand-drawn map works fine. Mark light positions, wiring paths, and your transformer location. Keep spacing even — about 6 to 8 feet between path lights usually looks best. And remember to leave room to expand later if you want to add more.

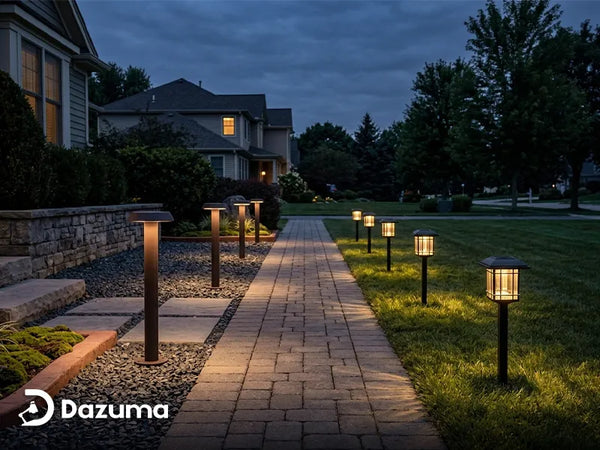
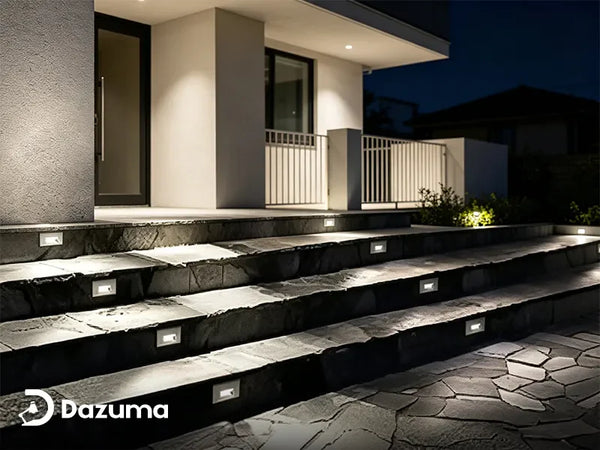
The sleek design of these pillar lights enhances the beauty of pathways and adds safety with their bright, focused illumination.
Choose the Right Types of Lights
When it comes to do it yourself landscape lighting, selecting the right lights is where the fun begins. There are many options to choose from, and each type serves a unique purpose in creating the atmosphere you want. Here are the most common lighting choices for your DIY setup:
Path Lights
Path lights are the classic stake-style lights that line walkways or garden beds. They cast a soft, downward glow to highlight edges and guide the way, making them both practical and beautiful. Path lights are low-voltage, easy to install, and come in a variety of designs, making them an essential part of any outdoor setup.
Spotlights or Uplights
Spotlights and uplights are ideal for accentuating key features like trees, sculptures, or your home’s architecture. Spotlights create a focused beam, while uplights cast light upward to highlight tall objects. Both add drama and create a more dynamic look for your yard at night.
Floodlights
Floodlights provide a broad, powerful beam of light, perfect for lighting up larger areas like driveways, patios, or backyards. These lights are great for safety and security, providing even, consistent illumination. They're especially useful for big spaces or areas that need higher visibility.
Deck and Step Lights
Deck and step lights are small, often built into the structure, and perfect for illuminating stairs, railings, or the perimeter of a deck. They help prevent accidents and add a subtle glow that makes your outdoor space feel cozy and safe.
String and Solar Lights
String lights add a whimsical, cozy atmosphere to your yard, perfect for evening gatherings. They can be draped across trees, pergolas, or railings for a soft, twinkling glow. For an eco-friendly option, solar-powered lights are easy to install — they charge during the day and automatically turn on at night without any wiring.
Shopping Considerations
- IP Ratings (Waterproofing): Since outdoor lights are exposed to the elements, choose fixtures with a high IP rating (IP65 or higher) to ensure they’re waterproof and durable.
- Material Quality: Choose materials like aluminum, stainless steel, or copper for long-lasting durability. These materials are resistant to corrosion and will hold up well over time.
- Color Temperature: For a warm, inviting atmosphere, look for lights in the 2700K–3000K range. This warm white light gives off a cozy, golden glow. If you prefer a cooler, more modern look, go for 5000K lights, which mimic daylight.

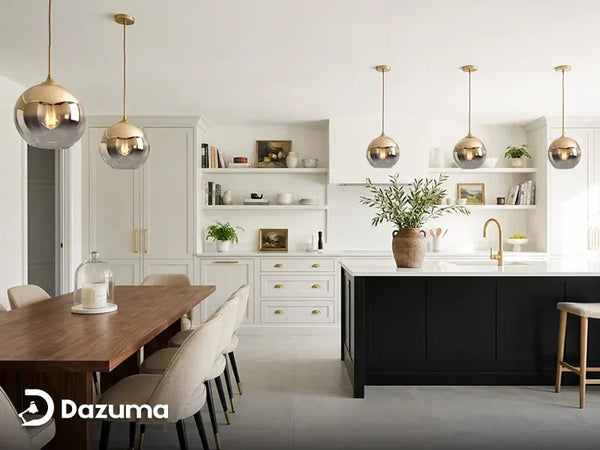
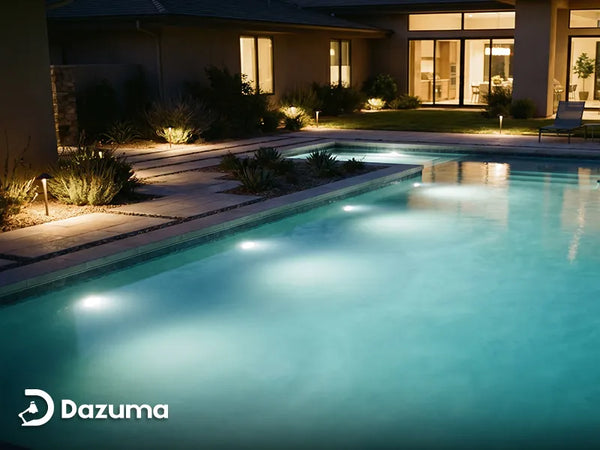
These outdoor spotlights beautifully illuminate garden plants, creating a focal point and a serene nighttime atmosphere.
Understand Power Options and Wiring Basics
Wiring and powering your outdoor lights may seem complicated, but once you understand the basics, do it yourself landscape lighting becomes much easier. Here’s a breakdown of your power options and some essential wiring tips.
Low Voltage (12V) Systems
Low voltage systems are the most common choice for DIY projects because they’re safe, affordable, and easy to install. These systems require a transformer to step down your home’s standard 120V power to 12V, which reduces the risk of electrical shock. They are perfect for lighting paths, gardens, and accents, and are a great option for beginners due to their simplicity.
Solar Lighting
Solar lights are the easiest option, with no wiring required. Simply place them in the ground, and they will absorb energy from the sun during the day, lighting up automatically at night. Solar lights are ideal for small areas, but they can be dimmer than wired systems and depend on sunlight to function.
Line Voltage (120V) Systems
Line voltage systems run on standard 120V power and are suitable for larger yards or floodlight installations. They provide more power but require a licensed electrician for installation, making them less common for DIYers. These systems are ideal for extensive lighting needs but may not be necessary for smaller projects.
Smart Lighting
Smart lighting allows you to control your outdoor lights through your phone via Wi-Fi or Bluetooth. You can adjust brightness, change colors, and set schedules, offering a high level of customization. While more complex to install, smart lighting adds modern convenience to your landscape setup.
Wiring Tips
- Gauge: Use 12/2 or 14/2 gauge wire for most DIY systems. Thicker wire handles more power and is ideal for longer runs.
- Voltage Drop: Spread your lights evenly to prevent voltage drop and ensure consistent lighting performance.
- Waterproof Connectors: Always use waterproof connectors to prevent moisture from damaging your system.
- Bury Wires: Bury low-voltage wires at least 6 inches underground to protect them from damage.

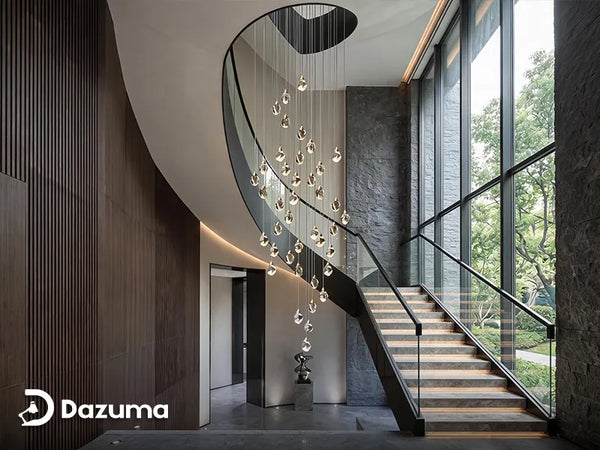
The tall column lights create a stylish and functional lighting solution for garden paths, offering both beauty and safety.
Add Finishing Touches
Lighting isn’t just about function — it’s about atmosphere. Try mixing different heights and beam widths for a layered effect. Combine path lights with uplights under trees and maybe a string of warm fairy lights across the patio for a festive glow.
You can also use timers, motion sensors, or smart plugs to add convenience. Your setup should feel seamless — you shouldn’t have to think about it every night.
FAQs
Q1: How much does DIY landscape lighting cost?
Usually between $150–$400, depending on how many fixtures you need. Solar setups are cheaper, while wired systems cost more but last longer.
Q2: Is DIY landscape lighting safe?
Yes, as long as you stick to low-voltage systems (12V). They’re designed for homeowners to install safely without an electrician.
Q3: How deep should landscape wires be buried?
About 6 inches deep is perfect — deep enough for protection but still easy to access later.
Q4: Can I mix solar and wired lights?
Absolutely. Many people combine both for flexibility and aesthetics.
Wrap-Up: Light Up Your Outdoors the DIY Way
And there you have it — a complete guide to do it yourself landscape lighting. It’s not just about saving money; it’s about creating a space that feels warm, inviting, and uniquely yours.
Start small. Maybe just light up your front path or your favorite tree. Once you see how easy (and satisfying) it is, you’ll be hooked.
So grab your tools, roll out the wire, and let your creativity shine — literally. Your backyard is about to glow in a whole new way.