Changing a light bulb in a ceiling fan sounds simple—until you’re standing on a step stool, staring at a stuck glass cover, wondering why this feels harder than it should be.
If you’ve noticed that ceiling fan light bulbs burn out faster than regular fixtures, you’re not imagining things. Vibration from the fan, heat buildup in enclosed shades, and higher usage all play a role. On top of that, many homeowners run into the same frustrations: the fan is hard to reach, the glass bowl won’t budge, or the replacement bulb doesn’t fit.
The good news? In most cases, you don’t need tools, special skills, or an electrician. In this guide, you’ll learn how to change a light bulb in a ceiling fan safely and easily—no matter what type of fan you have.
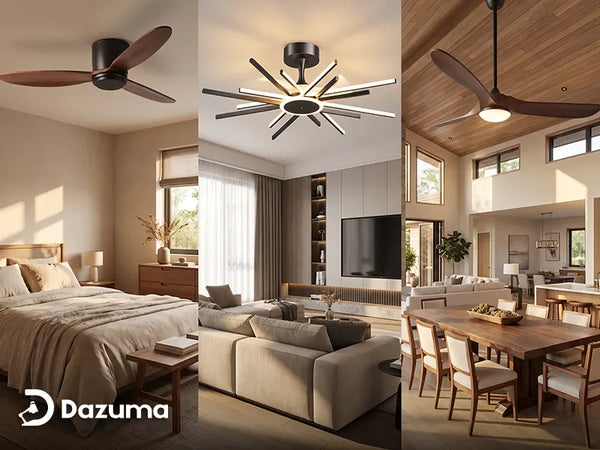
Identify Your Ceiling Fan Light Type
Before you do anything, it helps to know what kind of light fixture you’re dealing with, just like how to choose ceiling fan. This one step alone can save you time (and frustration).

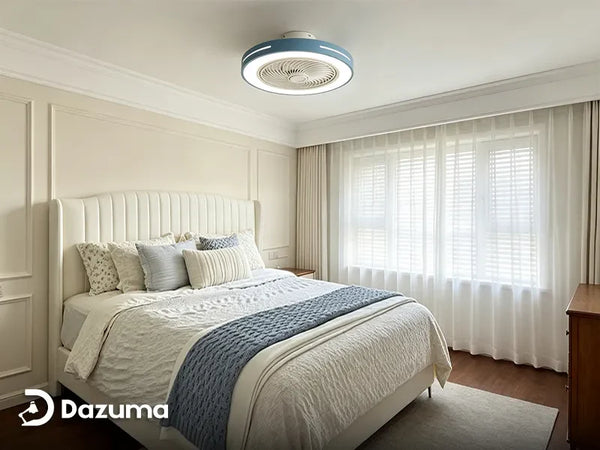
A modern ceiling fan with integrated light perfect for bedroom lighting
Ceiling Fan with Glass Bowl (Dome Light)
This is the most common style, especially in living rooms and bedrooms. The light is covered by a single glass bowl.
- Twist-lock bowls usually rotate counterclockwise to come off.
- Screw-on bowls are held in place by small thumb screws around the rim.
- If you see little knobs or screws, you’re dealing with the second type.
Ceiling Fan with Individual Light Shades
These fans have multiple bulbs, each with its own shade.
- Common in traditional or decorative fans.
- Shades may be clip-on or screw-mounted.
Each shade needs to be removed separately, so take your time.
Integrated LED Ceiling Fan
Some modern ceiling fans don’t use standard bulbs at all.
- The light is built into an integrated LED module.
- You usually can’t replace a single bulb.
- Replacement may mean swapping the LED panel—or the entire light kit.
If there’s no visible bulb socket, you’re likely dealing with an integrated LED.
Choosing the Right Replacement Bulb
Using the wrong replacement bulb is one of the most common—and easily avoidable—reasons ceiling fan lights burn out sooner than they should. Because ceiling fan fixtures are often enclosed and constantly exposed to vibration, they place more stress on bulbs than standard lamps. Taking a few extra minutes to choose the correct bulb can improve performance, extend lifespan, and help your ceiling fan light work reliably for years. Here’s exactly what to look for.
Bulb Base Types Common in Ceiling Fans
Most ceiling fans in the U.S. use one of two bulb base types, even the ceiling light fans for kitchen, and choosing the correct one is essential for a proper fit and safe operation:
- E26 – Standard medium base, which is the same base used in most household lamps and ceiling fixtures. This is the most common option in modern ceiling fans.
- E12 – Candelabra base, a smaller base typically found in decorative fans or multi-bulb light kits with a more traditional or elegant design.
If you’re not sure which base your fan uses, the easiest solution is to remove the old bulb and check its base size directly. You can also refer to the fan’s user manual or look for a label inside the light housing that lists compatible bulb specifications.
Best Bulb Types for Ceiling Fans
Not all bulbs perform well in ceiling fan fixtures, so bulb type matters just as much as size and brightness.
- LED bulbs are the best choice for ceiling fans because they stay cool, use far less energy, and last significantly longer than other options.
- Incandescent bulbs tend to run hot and are more likely to fail early when used in enclosed or vibrating fixtures.
For best results, look for LED bulbs labeled as vibration-resistant or ceiling fan–rated, which are specifically designed to handle movement and airflow.
These bulbs not only last longer but also reduce maintenance and replacement frequency.

Stylish wood blade ceiling fan with light enhances living room comfort
How to Change a Light Bulb in a Ceiling Fan (Step-by-Step)
Now let’s walk through the actual process of changing a light bulb in a ceiling fan. While the task itself is usually quick, taking it step by step helps prevent accidents, broken glass, or electrical issues. With a little care and patience, most homeowners can finish the job in just a few minutes.
Step 1 – Turn Off Power and Secure the Fan
Before touching the light fixture, make sure the power is completely off.
- Turn off the wall switch that controls the ceiling fan and light.
- For added safety, especially in older homes or unfamiliar wiring setups, flip the circuit breaker as well.
- Confirm that the fan blades have come to a full stop before you continue.
Working on a powered or moving fixture increases the risk of injury, so this step should never be skipped. Safety always comes first.
Step 2 – Remove the Light Cover or Shade
Next, carefully remove the light cover to access the bulb.
- For glass bowl or dome lights, twist the cover gently counterclockwise until it releases.
- For screw-mounted covers, loosen each screw slowly and evenly to avoid putting pressure on one side.
Pro tip: Always support the glass cover with one hand while loosening screws or twisting it free. Glass shades can be heavier than they look, and supporting them prevents accidental drops and breakage.
Step 3 – Remove the Old Bulb
With the cover removed, you can now take out the old bulb.
- Turn the bulb counterclockwise until it comes free from the socket.
- If the bulb feels stuck, use a rubber glove or soft cloth to improve your grip.
- Avoid using excessive force—steady, gentle pressure is usually enough.
Once removed, dispose of burnt-out bulbs properly. This is especially important for CFL bulbs, which should be recycled according to local guidelines.
Step 4 – Install the New Bulb
Installing the new bulb is simple, but precision matters.
- Screw the new bulb into the socket slowly and gently.
- Stop as soon as it feels secure—overtightening can damage the socket or make future removal difficult.
- Double-check that the bulb matches the correct wattage rating and base type for your ceiling fan.
Taking a moment to confirm compatibility helps prevent flickering, overheating, or premature failure.
Step 5 – Reattach the Cover and Restore Power
Once the new bulb is in place, it’s time to put everything back together.
- Carefully align the screws or locking grooves on the glass cover.
- Secure the cover so it’s snug but not overly tight, which could crack the glass.
- Restore power at the breaker (if turned off), then switch the fan back on.
Test the light and the fan separately to make sure both are working properly. If everything turns on as expected, the job is complete—and you’re good to go.

Ceiling fan with light providing airflow and illumination for dining spaces
Special Situations & Troubleshooting
Light Bulb Won’t Turn On After Replacement
Try these quick checks:
- Make sure the bulb is fully seated.
- Test the pull chain or remote control.
- Check the breaker—sometimes it trips without you noticing.
Glass Cover Is Stuck
This is very common.
- Use a rubber grip or jar opener for better traction.
- Try the temperature trick: slightly cool glass can loosen tight threads.
Avoid using tools that could crack the glass.
Ceiling Fan Light Uses an Integrated LED
To confirm:
- No visible bulb socket.
- Flat LED panel under the cover.
If it fails, you may need to replace the LED module or light kit. In some cases, replacing the fan is more cost-effective.
How Often Should You Replace Ceiling Fan Light Bulbs?
- LED bulbs typically last 15,000–25,000 hours.
- Signs a bulb is failing include flickering, dimming, or delayed turn-on.
- Replacing all bulbs at once can help maintain even lighting.
FAQs About Changing Light Bulbs in Ceiling Fans
Q: Can I use any LED bulb in a ceiling fan?
Not all LEDs are suitable. Choose bulbs rated for enclosed fixtures and vibration.
Q: Why do my ceiling fan bulbs burn out so quickly?
Heat, vibration, and incorrect wattage are the most common reasons.
Q: Are ceiling fan light bulbs different from regular bulbs?
They can be. Fan-rated bulbs are built to handle movement and heat better.
Conclusion
Learning how to change a light bulb in a ceiling fan is easier than it looks. With the right bulb, a little patience, and basic safety steps, most homeowners can handle it in just a few minutes.
Always prioritize safety, follow the manufacturer’s guidelines, and choose quality bulbs designed for ceiling fans. Proper lighting doesn’t just brighten your space—it improves comfort, efficiency, and peace of mind.