Who This Is For: This guide is for homeowners planning a new landscape lighting layout, correcting a yard that feels too bright or uneven, or deciding where a limited number of fixtures will make the biggest difference.
Introduction
Landscape lighting works best when you notice the yard, not the hardware. A softly visible path, a tree with real depth, and a front door that feels easy to find can make a home look composed after sunset. Put those same lights in the wrong places, however, and the result can feel flat, glaring, or strangely commercial.
The most useful question is not simply, “Where can I install a light?” It is, “What should a person see from this exact viewpoint?” Someone pulling into the driveway needs different visual information from a guest walking toward the porch. A person relaxing on the patio needs gentle surroundings, while someone using steps needs clear edges and reliable contrast. Good placement starts with those experiences.

This guide gives you a placement framework you can use before buying fixtures or digging cable trenches. If you are starting from scratch, browsing the broader Outdoor Lighting collection can help you recognize the different fixture families, but placement should always come before style. First decide what the light must accomplish. Then choose the fixture that can do that job without creating glare.
Quick Answer: Where Should Landscape Lights Go?
Place landscape lights at decision points, hazards, and features that give the yard its character. Start with the route from the street or driveway to the front door. Mark turns, steps, changes in elevation, gates, and the entrance itself. Next, add depth by lighting one or two important trees, textured walls, or garden features. Finally, add low-key ambient light where people sit, cook, or gather.
Do not begin by spacing identical fixtures evenly around the whole property. That approach often produces a bright perimeter with no focal point. Instead, think in scenes. The front approach may need path and entry light. The view from the living room may need one illuminated tree and a dark background. The patio may need downlight over a table and a soft glow beyond the seating area. Darkness between those scenes is useful; it creates contrast, rest, and a sense of depth.
A practical priority order is safety first, orientation second, atmosphere third, and decorative accents last. This does not mean safety lighting must be harsh. In fact, a shielded light aimed at a walking surface is usually more comfortable and more useful than a brighter lamp shining into people’s eyes.
Build a Layered Landscape Lighting Plan
Before assigning fixtures to individual plants or walls, divide the design into three layers. This keeps one light from being asked to illuminate a step, a tree, and an entire patio at the same time. It also makes the system easier to expand later.
Layer 1: Light the Route People Actually Use
Walk from the driveway to every door you use after dark. Note where you slow down, turn, unlock a gate, step off pavement, or meet a change in grade. These are the first locations that deserve light. A continuous ribbon of brightness is not necessary. What matters is that the next destination and any hazard are visible before a person reaches them.
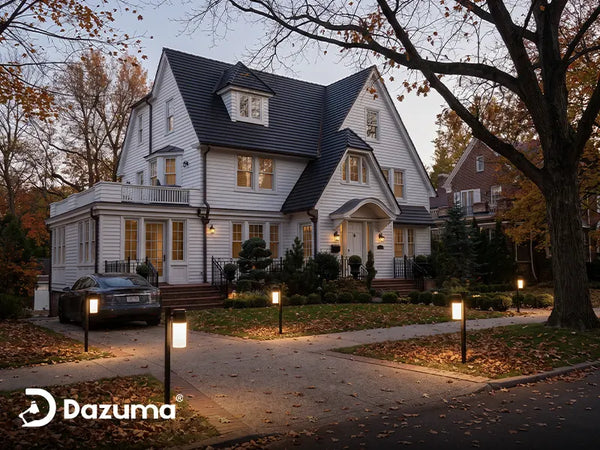
For a curving walk, place lights near bends and transitions rather than treating every linear foot equally. On a straight walk, alternate fixtures where their pools of light can overlap gently. Dedicated Path Lights should illuminate the walking surface while keeping the source below normal eye level. If you are choosing between wired and solar fixtures for this layer, the guide to low voltage vs solar path lights explains how reliability, shade, and installation effort affect the decision.
Layer 2: Establish Orientation and Boundaries
Orientation lighting answers quiet but important questions: Where is the front door? Where does the driveway end? Is that dark opening a side gate or a planting bed? Light the house number, the entry, major intersections, and the edge of an outdoor room. A few clear cues make the property easier to understand without flooding it with light.
Boundary light should be selective. Illuminating every fence post creates a dotted line that can resemble a parking lot. Lighting the gate, corners, and every few structural posts usually feels calmer. Keep light on your own property and aim it away from neighboring windows. The goal is definition, not maximum reach.
Layer 3: Add Depth With One Feature at a Time
After the route and boundaries work, choose the features that deserve attention. A mature tree, an ornamental grass, a stone chimney, a sculptural planter, or moving water can become a nighttime focal point. Avoid giving equal brightness to every plant. The eye needs hierarchy: one primary feature, one or two supporting elements, and darker areas between them.
This is where beam control matters more than raw output. A narrow beam may emphasize a tall trunk or column, while a broader beam may suit a low canopy or wide wall. Adjustable Outdoor Spotlights can be aimed during the night test, but the lamp should remain hidden from the usual viewing positions whenever possible.
The Best Places to Put Landscape Lighting
Once you have the three layers, work through the property by zone. The recommendations below are starting points, not rigid formulas. Plant growth, fixture optics, mounting height, surface reflectance, and nearby windows can all change the final position.

Walkways, Steps, and Driveway Edges
Put the first lights at changes: a step, a curve, a landing, a fork, or the point where the driveway meets the walk. Fill the longer stretches only after these locations are covered. On paths, set fixtures back far enough that feet, strollers, mowers, and snow removal equipment are unlikely to hit them. Let the beam reach the paving rather than planting the fixture directly against the edge.
Staggering can look more natural than matching pairs, but symmetry may suit a formal entry. Either way, avoid aiming across a driveway at driver eye level. Recessed or low-profile fixtures near vehicle areas should be selected and installed for the exact load, drainage, and exposure conditions; a decorative garden fixture is not automatically suitable for a place where tires may pass.
Front Entrance, Porch, Gate, and House Numbers
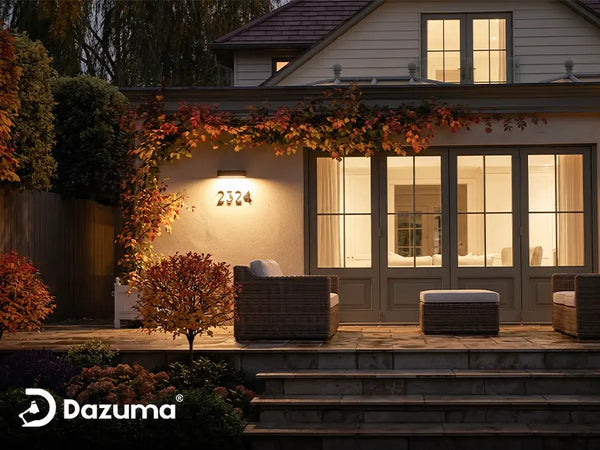
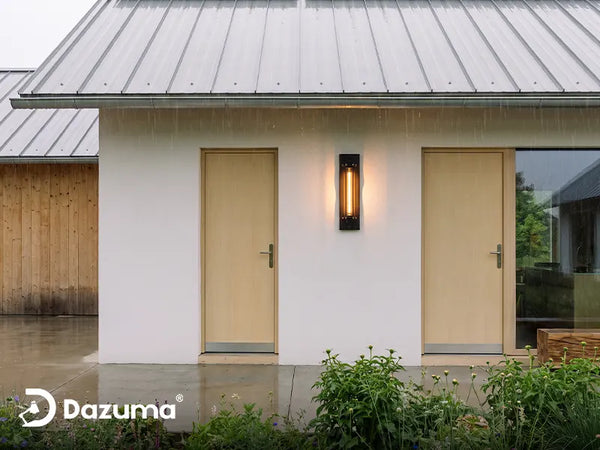
The entrance should be the easiest destination to identify from the street. Use porch or wall lighting to reveal the door, lock, threshold, and face of a visitor without creating a bare-bulb view. If house numbers are separate from the door, light them from an angle that keeps the numerals legible. Check visibility from a car as well as from the sidewalk.
At a gate, illuminate the latch and the first few feet beyond it. That creates a visual handoff from one zone to the next. Avoid placing a strong uplight directly below a window or beside a bench. A light can look beautifully aimed from the lawn and still be uncomfortable from inside the house, so evaluate both directions.
Trees, Shrubs, and Garden Beds
For a tree, decide whether the trunk, canopy, or overall silhouette is the subject. A light close to the trunk can emphasize bark and height. Moving it farther away can spread light into the canopy. Large trees often look more dimensional with two restrained beams from different angles than with one intense beam straight up the center.
Small shrubs rarely need individual spotlights. Instead, illuminate a group or use light reflected from a nearby wall to reveal their outlines. Place fixtures where foliage will not immediately cover them, and remember that the aim may need seasonal adjustment. A position that works for a young plant can create a bright leaf hot spot after one growing season.


House Façades, Columns, and Textured Walls
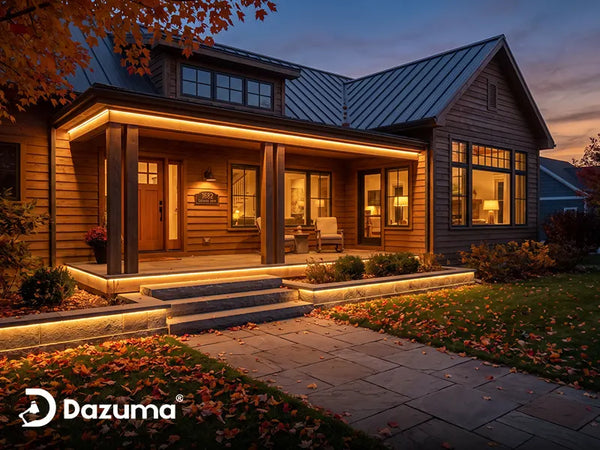
Use façade lighting to reveal shape and material, not to make the whole house uniformly bright. Grazing places light close to a textured surface so small shadows emphasize stone, brick, or rough wood. Wall washing places a broader beam farther away to create a smoother field across a flatter surface. For texture-focused layouts, explore fixtures designed for Wall Wash Lighting and compare beam direction before choosing a location.
Columns and peaks can help the eye understand the architecture, but do not aim every light toward the roofline. Check for light entering bedrooms, reflecting off glass, or creating a bright patch under an eave. Lighting only two or three defining elements often gives a façade more depth than lighting every bay.
Patios, Decks, Pergolas, and Outdoor Kitchens
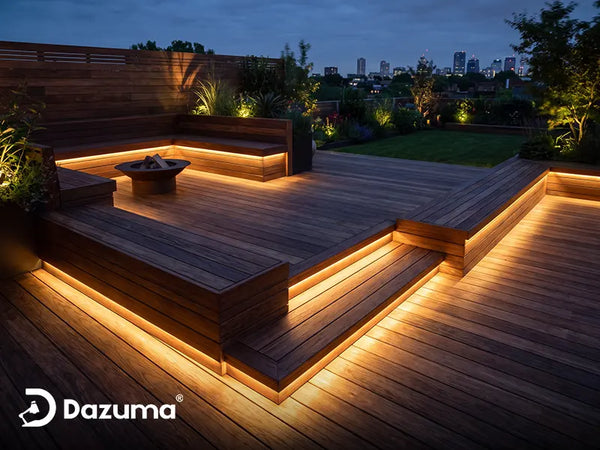
Outdoor living areas need different light for movement, faces, food preparation, and atmosphere. Put task light over a grill or counter, gentle downlight near steps, and softer ambient light around the seating zone. Keep bright sources outside normal seated sightlines. A fixture mounted behind or above a person is usually more comfortable than one shining toward them across the table.
Then light something beyond the patio—a tree, planting bed, or wall—to prevent the space from feeling like a bright island surrounded by black glass. This distant focal point is an easy design improvement homeowners often miss. It extends the perceived boundary of the outdoor room without requiring more light directly around the furniture.

Ponds, Fountains, and Water Features
Water looks most convincing when light reveals movement, texture, or reflection rather than exposing the fixture. For a fountain, side lighting can catch the falling water. For a pond, lighting a nearby plant or stone may create a more natural reflection than illuminating the entire basin. Position lights so the brightest reflection does not point toward the main viewing seat.
Water locations require equipment specifically listed for the intended wet or submerged use. Do not improvise with a standard landscape fixture. Plan access for cleaning, seasonal service, and cable protection before installation, and use a qualified professional where electrical work, bonding, or local code requirements call for one.
Landscape Lighting Placement Table
Use this table as a first-pass checklist. Final spacing should be based on the actual beam pattern and a nighttime mock-up, not on a universal distance printed in a generic diagram.
| Area | Place Lights Near | Primary Goal | Watch For |
|---|---|---|---|
| Walkway | Turns, steps, intersections | Safe guidance | Runway effect and visible bulbs |
| Driveway | Entry, curves, parking edge | Orientation | Driver glare and impact damage |
| Front entry | Door, lock, threshold, numbers | Welcome and identification | Facial shadows and window spill |
| Tree | Trunk base or outside canopy | Height and depth | Hot spots and growing foliage |
| Textured wall | Close to surface for grazing | Material detail | Uneven beams and window glare |
| Patio | Steps, work zones, perimeter | Comfort and usability | Bright sources at seated eye level |
How to Test Your Layout Before Installation
A nighttime mock-up is the best defense against expensive placement mistakes. Put temporary fixtures or safe portable light sources near the proposed locations, then view the yard after full darkness. Move one light at a time. A small change in distance or aiming angle can matter more than adding another fixture.
- Start with one route. Walk from the driveway to the front door and confirm that turns, steps, and the destination are understandable.
- Check every normal viewpoint. Look from the street, sidewalk, driveway, patio seats, indoor windows, and neighboring property lines.
- Hide the source. If you can see a bright lamp, lower it, shield it, move it behind planting, or change the aiming direction.
- Compare the brightest and darkest areas. Reduce the dominant light before adding brightness elsewhere. Better balance often comes from subtraction.
- Photograph the result. A phone photo can reveal hot spots and symmetry problems that your eyes adapt to after a few minutes.
- Mark positions only after the test. Use flags or removable markers before trenching, drilling, or setting permanent bases.
If you plan to install the system yourself, review the separate DIY landscape lighting guide for power-source and installation planning. Always follow fixture instructions, local rules, and safe electrical practices. Temporary testing should never involve exposed connections, indoor-only equipment, or cords placed where they create a trip or water hazard.
Common Placement Mistakes
Lighting every object. When every shrub, column, and fence post receives equal attention, nothing feels important. Choose focal points and allow some darkness.
Designing only from the curb. A dramatic façade can still send glare through a bedroom window or toward a patio chair. Test the view from inside the home and from every place people pause.
Using brightness to solve an aiming problem. If a step is hard to see, a brighter lamp pointed outward may make visibility worse by reducing contrast. Aim useful light at the surface and shield the source.
Ignoring plant growth and maintenance. Fixtures buried deep in beds can disappear behind leaves, get struck by tools, or become impossible to clean. Leave an accessible route and expect to re-aim lights as the landscape changes.
Mixing unrelated light appearances. One icy-white spotlight beside several warm entry lights can make a coordinated yard feel patched together. Fixtures do not need to match perfectly, but adjacent scenes should feel intentional in color and intensity.
Skipping controls. Timers, photocells, zones, and dimming can keep the yard useful without running every fixture at full output all night. Separate safety routes from decorative scenes when practical so they can follow different schedules.
Final Advice
The best landscape lighting placement is selective, viewpoint-aware, and easy to live with. Begin with the path people actually travel. Clarify the entrance and any changes in elevation. Add one strong focal point, then support it with quieter background light. Stop before every dark area disappears.
Most importantly, test at night before committing. Stand where a driver, guest, neighbor, and seated family member will stand. If the route is clear, the sources are discreet, and the yard still has shadows, you are close. A well-placed modest light usually contributes more than a powerful fixture aimed without a purpose.


![[Open-Box] Black Cylindrical LED Pathway Bollard Lights Solar and Wired Outdoor Lighting Solutions](http://dazuma.us/cdn/shop/products/clearance-sale-round-waterproof-led-solar-black-modern-outdoor-pathway-lights-post-lightsdazuma-433741.jpg?v=1744782809&width=400)