Navigation
Introduction
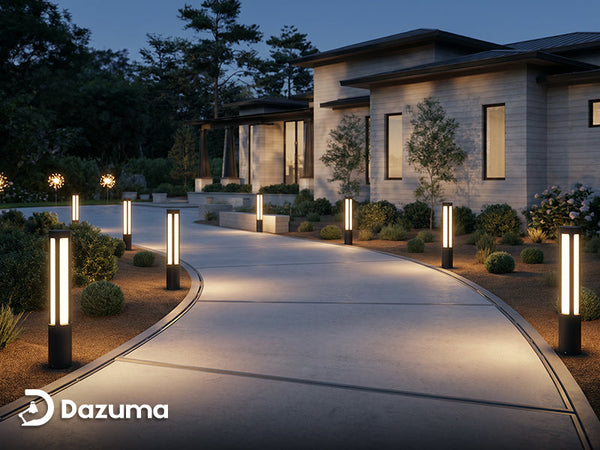
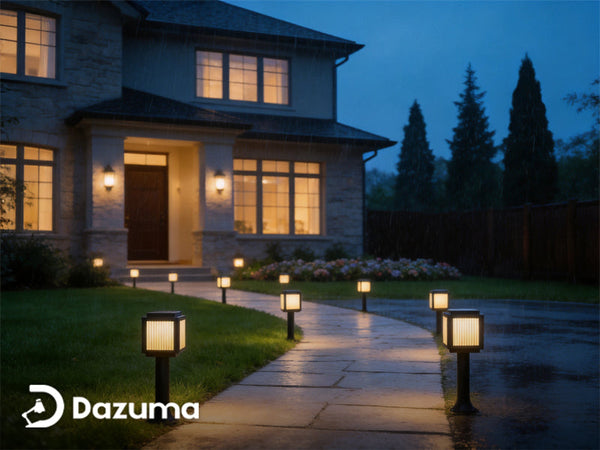
Outdoor post lights can be a simple yet visually compelling means of augmenting the aesthetic appeal and security of your outdoor area. They function as an inviting guide amid darkness while also providing illumination and an added layer of warmth for outdoor congregations. In this article, we will introduce the correct installation and maintenance of post lights.
Step-by-step guide
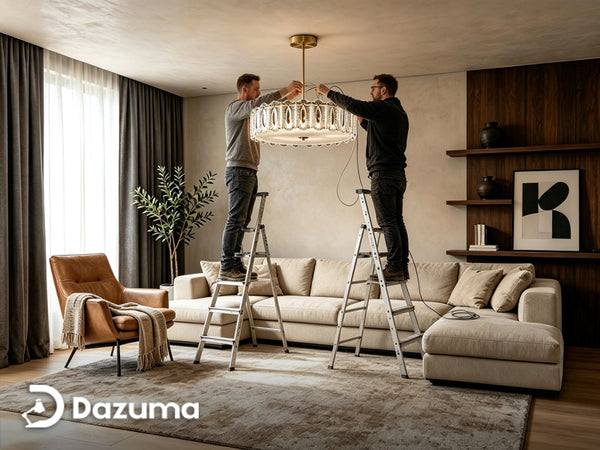
The installation of outdoor post lighting is a relatively simple affair, despite the impression it may imbue otherwise. While it is imperative that one procure the services of a certified electrician to handle wiring connections to the primary electrical system, the post and accompanying wire installation may be performed by an enthusiastic layperson. Presented below is a sequence of steps that ought to be followed to ensure a proper and efficient installation process.
- Prepare the posthole and trench
Using a posthole digger or round shovel, excavate a circular cavity with a diameter of roughly twelve inches and a depth measuring approximately twenty-two inches in close proximity to the desired position of the post. Subsequently, add six inches of gravel to the bottom of the cavity. Form an 18-inch-deep and narrow trench, using a trenching spade. Utilize a plastic tarp to contain the soil added to the trench.
- Implement the PVC conduit
Engage in the process of dry fitting PVC conduit extending from the house site to the posthole location. Employ a hacksaw to cut any pieces that may require resizing. Install elbows to facilitate the extension of the conduit away from the structure, down into the trench, and up to the post. Adjust the length of the conduit located in the posthole to project six inches above ground level. Connect the segments of the PVC conduit together, making use of PVC cement. Ensure that all elbows are oriented appropriately. Feed a 12-gauge UF-rated wire through the pipe, leaving extra wiring of roughly nine feet in the post area, plus a few more to extend through the walls and to the breaker box. Pass the pipe containing the wiring through the trench, then backfill with soil.
- Fill the posthole with concrete
In a trough or wheelbarrow, mix a batch of concrete, ensuring that it possesses a firm consistency and avoiding adding excess water to reduce its setting time. Shovel the concrete into the posthole over the gravel, taking care not to spill any onto the wiring or inside the PVC conduit. The posthole should be filled to grade or slightly under it, leaving approximately six inches of conduit exposed. Employ a concrete float or scrap wood to smoothen the top of the footing.
- Set the pole into the concrete footing
Delicately lay the pole beside the posthole, pulling the wires through the post from the bottom to the top. While the concrete is still wet, slide the shaft of the post over the pipe and 12 inches into the concrete. Confirm that the wires extending from the top of the post are still visible. Rotate the pole, exerting pressure in a downward direction to position it firmly into the concrete.
- Install the lamppost
Place two or three straps or ropes around the pole and stake them into the ground a few feet away to brace the post. Employ a level to ensure that the pole is well-aligned vertically throughout its circumference.
- Secure the lamppost in its perfectly plumb position
Adjust the straps holding the lamppost in place until the pole is in its final position. Allow the concrete to dry and harden completely for about four hours before removing the connectors.
- Establish the wire connections
Use a utility knife to peel away three inches of the grey insulation from the UF cable that emerges from the top of the post. Strip half an inch of exposed copper from all the colored wires of the post and the lantern. Match the wires from the lantern to those from the post, i.e., white to white, black to black, and bare copper to bare copper (or green). Twist the wire nuts securely around the connected pairs. Fix the lantern onto the pole and fasten its set screws. At this stage, it is essential to seek the services of a licensed electrician to complete the wiring connections and install the switch in a convenient location. Test and confirm the functionality of the post lamp by switching it on.

Maintenance tips
Regardless of how durable or resilient a product is, any object that is placed or utilized outdoors will demand consistent upkeep and maintenance. The frequency of these maintenance efforts will hinge primarily upon the placement and location of the item. It's important to bear in mind that in regions that are highly polluted or located close to the coast, components will invariably necessitate more regular maintenance due to the corrosive quality of the atmospheric conditions.
Every product material will demand varying degrees of care. However, as a general guideline, it's vital to note that:
All outdoor metals treated with paint, lacquer, or beeswax necessitate annual or as-needed reapplication of the same coating.
Refrain from utilizing chemical cleaners on any metals or finished items to avoid damage to the finish or dislodging protective coatings. This encompasses all household cleaners.
Here are detailed guidelines for different materials:
- Copper: All copper items come with a protective layer of wet lacquer on the surface, which gradually breaks down over time, causing the copper to patina when exposed to the elements. Furthermore, living in coastal regions or exposure to chemicals and salt may accelerate the patina process, resulting in a rich dark green color. If you wish to maintain the polished copper finish, it is recommended to use yacht varnish, which can be applied annually or as needed. For more information on copper care and aging, click here.
- Brass and Antique Brass: Brass is coated with lacquer, providing protection against aging, although it dulls and tarnishes over time. Regular cleaning with a damp cloth or specialized treatment solutions, followed by a yacht varnish finish, can preserve its appearance. Avoid the use of chemical cleaning agents, as they can break down the protective lacquer coating, making the brass vulnerable to nature's elements.
- Polished Nickel & Bright Chrome: Polished nickel and bright chrome finishes are applied over brass and will age over time. The aging process varies with pollution levels, humidity, temperature, and proximity to the coast. Light cleaning with a damp cloth is recommended to maintain the highly polished finish annually or as needed. While the signs of aging over time are generally unavoidable, they can be preserved.
- Cast Iron: The amount of maintenance required for cast iron depends on personal preference. Cast iron naturally patinas and ages over time, and this surface rust does not affect its structural integrity. Painted finishes require annual maintenance to keep them 'like new' and to seal any chips or scratches using a metal-based paint of your choice.
- Aluminum (die-cast): Die-cast aluminum is a lightweight method of creating highly detailed items without high material or delivery costs. Die-cast aluminum will not rust in the same way as iron, but a white powdery substance may appear on bare aluminum as it oxidizes. Frequent maintenance is recommended to ensure complete coverage.
- Cast Aluminum: Compared to die-cast aluminum and cast iron, cast aluminum offers advantages as it requires little maintenance and does not rust or corrode. However, if left untreated, grime and dirt may accumulate on the surface. To avoid this, regularly cleaning with a damp cloth is suggested, and repainting annually or as needed is recommended. It is not recommended to use metal-based paint on aluminum products, as sanding with a wire brush and applying three coats of BEDEC Multi-Surface Paint (available from most hardware stores) mixed to a desired shade is a better alternative. Ensure any green algae is removed before repainting and be careful not to scrape aluminum products against sharp items as it can damage or scratch the surface.
Conclusion
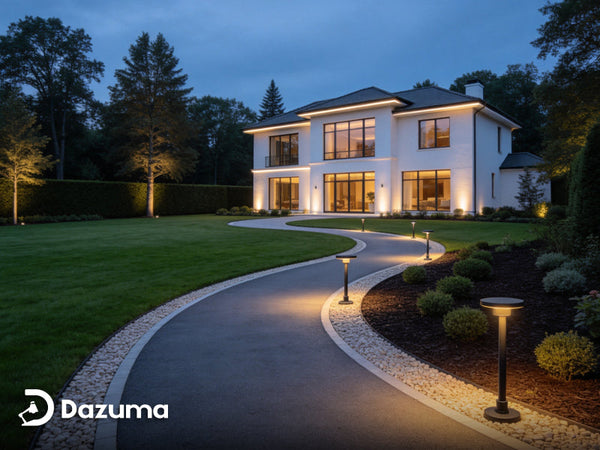
In conclusion, outdoor post lights can be a great addition to any outdoor space. Following the above installation and maintenance tips will ensure that your post lights continue to shine brightly for years to come.