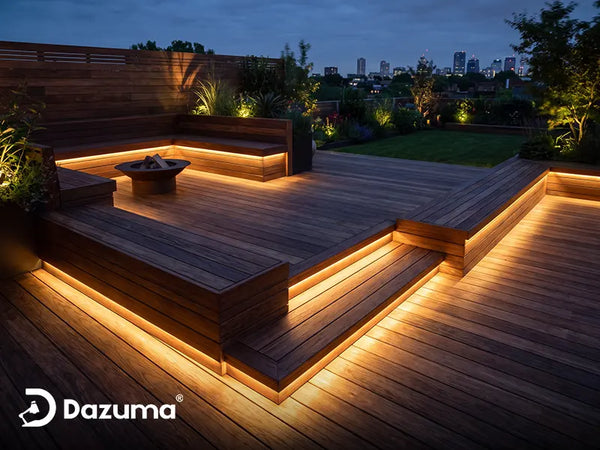
Who This Is For: This guide is for homeowners who are planning a deck or patio update and like the clean look of LED strip lighting, but are unsure where to install it, how bright it should be, or how to keep the result from looking harsh or temporary.
Why Outdoor LED Strip Lights Often Look Better in Photos
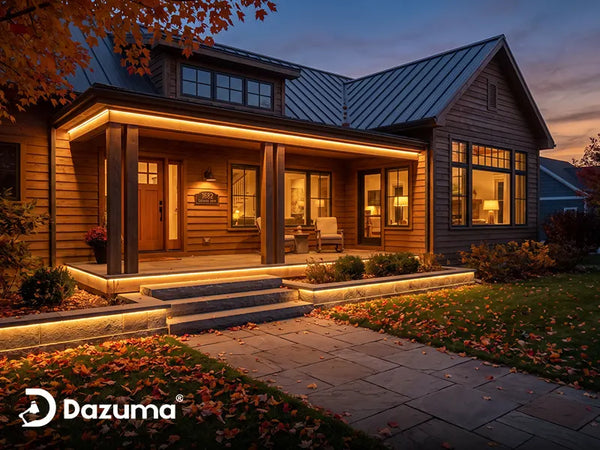
LED strip lights can make a deck appear to float, turn a dark stair into a safer transition, and give a patio the soft glow of a well-designed outdoor restaurant. They can also look surprisingly cheap when the strip is visible, individual LEDs create bright dots, or one continuous line outlines every edge of the yard.
The difference is rarely the price of the strip alone. It comes from placement. Good strip lighting hides the source and lets you notice the surface it illuminates. Poor strip lighting asks you to stare directly at the LEDs.
I usually tell homeowners to think of strip lights as an architectural detail, not outdoor decoration. Use them to explain where the deck ends, where a step begins, or where the seating zone sits. They should support the space after dark without turning the patio into a glowing diagram.

Quick Answer: Where Should Outdoor LED Strip Lights Go?
The most useful locations are beneath stair treads, under bench seats, inside handrail channels, below deck or patio edges, and beneath counters or raised planters. These positions hide the light source while allowing the glow to reach a walking or seating surface.
Avoid placing exposed strips along the top of railings, directly at seated eye level, or anywhere guests will look straight into the LEDs. Even a low-wattage strip can feel uncomfortable when the individual diodes are visible in a dark yard.
Use permanent outdoor-rated, low-voltage hardwired strips for critical steps and built-in architectural details. Removable or simpler lighting can make sense for seasonal decor, but it should not be the only light protecting a stair, drop-off, or frequently used path.
The Best Places to Use Outdoor LED Strip Lights
Under Deck and Patio Edges
A strip recessed beneath a deck lip creates a clean floating effect and makes the boundary easier to read. Aim the light down or slightly inward so it illuminates the adjacent walking surface instead of shining across the yard.
This works well where a raised deck meets a darker planting bed, but the perimeter should not become brighter than the seating area.
Beneath Built-In Benches
Lighting below a bench softens the patio and helps guests understand where the furniture begins. It is more flattering than placing a bright strip behind shoulder height, where it can reflect in windows and create glare.
Under Outdoor Kitchen Counters
A concealed strip beneath a counter overhang adds orientation light without replacing task lights over the grill or prep surface. Keep it away from heat and grease.
Inside Railings and Guardrails
Integrated railing light can define a deck without adding visible fixtures to every post. The channel must protect the strip from direct impact and control the beam so it does not shine into the eyes of seated guests.
Browse Outdoor Led Strip Lights to compare flexible strip profiles with more structured linear step lights. The best format depends on whether you need a continuous curved run or a durable straight section.

Hide the Source, Not the Effect
If you can see every LED while sitting down, the strip usually needs a deeper recess, a diffuser, a different angle, or a new location.
A Practical Placement Framework for Decks and Patios
Before ordering a strip, walk through the outdoor space after dark with the existing lights turned on. Mark the places where you lose track of an edge, reach for a handrail, or struggle to see the first and last step. Then identify areas where you want atmosphere rather than safety lighting.
| Location | Primary Job | Preferred Placement | Watch For |
|---|---|---|---|
| Stair Treads | Reveal the tread edge and landing | Recessed beneath the front lip | Glare, uneven dots, water collecting in channels |
| Deck Perimeter | Show the raised boundary | Under the outer edge, aimed down | Outlining every edge too brightly |
| Bench Seating | Create low ambient light | Under the seat or toe-kick | Reflections in glass doors and windows |
| Railing | Guide circulation and define the deck | Inside a protected downward-facing channel | Direct eye-level brightness |
| Outdoor Kitchen | Add orientation and visual depth | Below counter overhangs or cabinet bases | Heat, grease, and confusing accent light with task light |
Test a short section after dark from the patio chairs, kitchen window, yard, and property line. A strip that seems subtle nearby may become a bright glare line from twenty feet away.
A Flexible Recessed Strip for Long or Curved Runs
Flexible strips suit long deck edges, curved steps, planters, and continuous architectural lines. Plan the channel, cutting locations, transformer capacity, and connections before closing the finished surface.
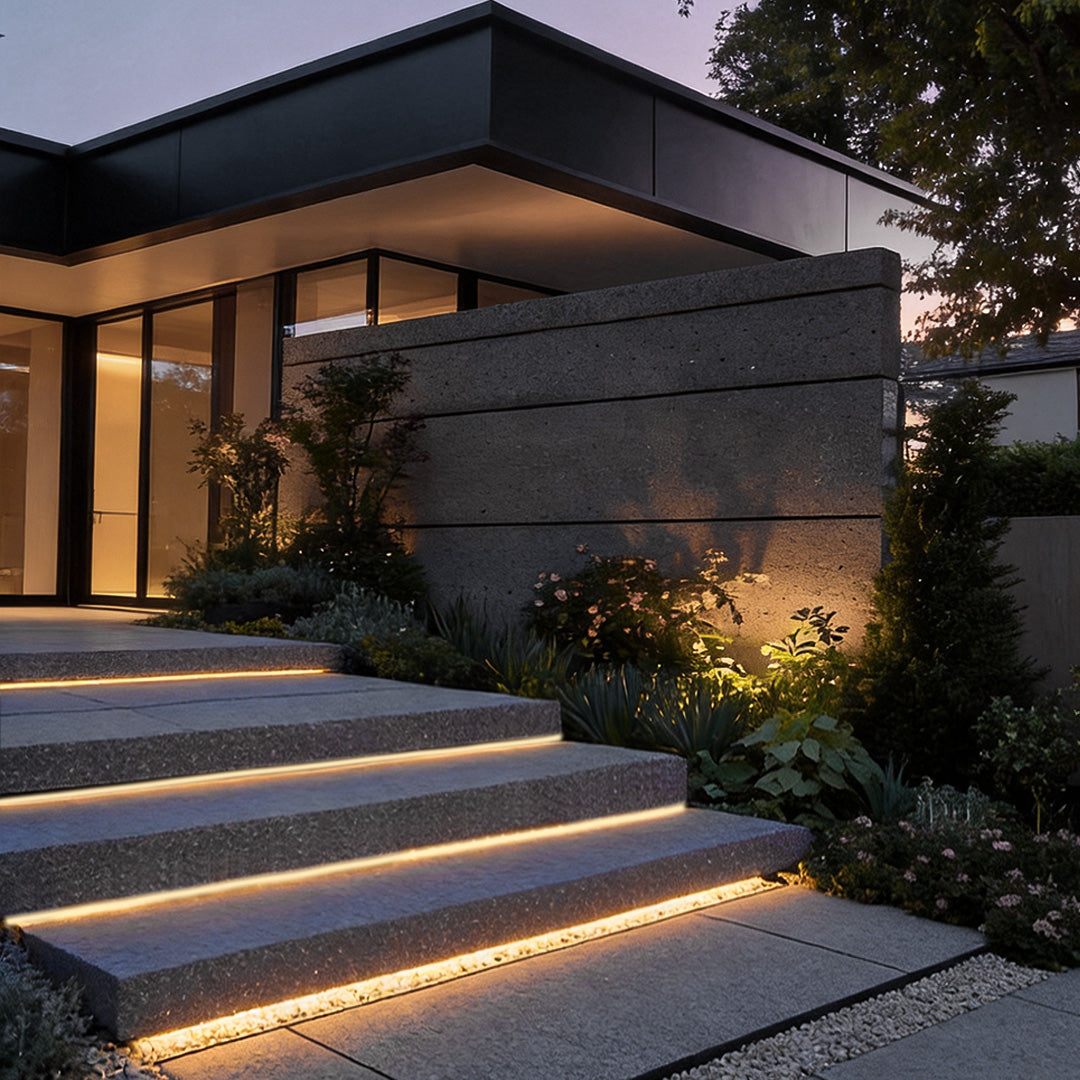
Flexible Continuous Lighting
Outdoor Embedded LED Light Strips Modern Flexible Light
Price: $49.99
Best for recessed deck edges, curved steps, long planter lines, and patio details where a continuous flexible light is more useful than separate rigid fixtures.
- Flexible silicone-gel construction supports straight and shaped layouts.
- Flat and three-sided lighting models offer different visible glow effects.
- The strip can be trimmed at marked cutting locations listed by the product page.
Installation note: A compatible transformer is required and is not included.
How to Use LED Strip Lights on Deck Steps
Steps are where strip lights provide the most practical value—and where poor placement becomes most irritating. The goal is to reveal the horizontal tread and the change in elevation. The goal is not to create a bright line directly facing the person walking upward.
Mount the Light Beneath the Tread Lip
Place the strip far enough behind the front edge that the nosing shields the LEDs from normal approach angles. The light should spread across the tread below. If the strip is too close to the outer edge, guests see the diodes before they see the step.
Light Every Step Consistently
Alternating illuminated and dark treads can make depth harder to judge. If the stair is short, lighting every tread creates a clear rhythm. On a long flight, a coordinated combination of under-tread light, handrail light, and landing light may be more practical.
Pay Extra Attention to the First and Last Step
People often miss the first downward step and final riser, so do not let nearby deck lighting overpower these transition points.
For a wider step-lighting plan, the guide How to Install Step Light for Outdoor? explains how step position and fixture direction affect nighttime visibility.
Good Step Lighting Shows the Surface
From the approach, you should see the tread plane and edge—not a row of LEDs shining back at you.

A Rigid Linear Option for Straight Treads and Guardrails
A rigid linear step light is easier to align on predictable straight stairs or railings and provides a protected housing for higher-contact locations.
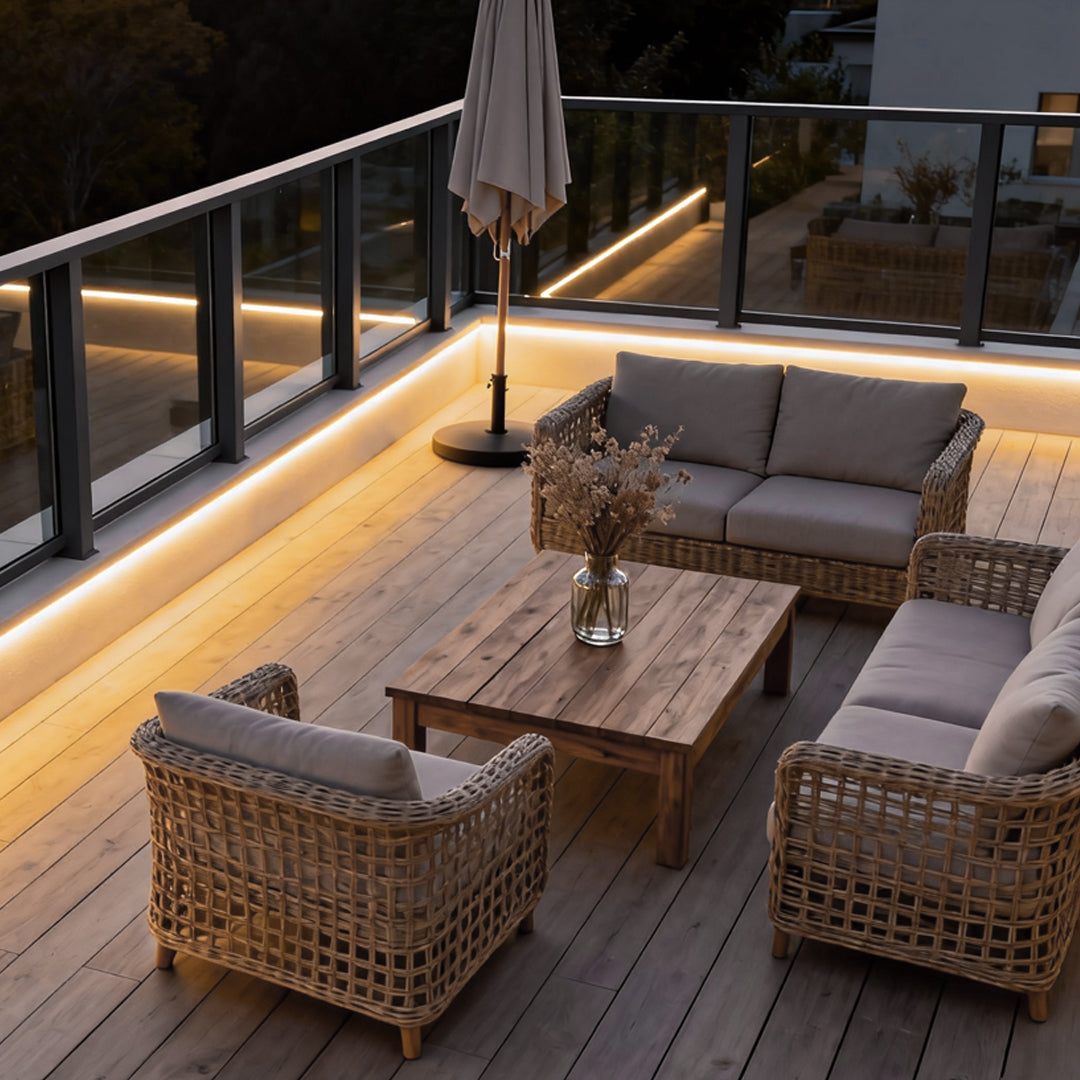
Straight Under-Tread Lighting
Exterior LED Step Lights Long Strip Decorative Lamp
Price: $66.99
Best for straight deck stairs, courtyard steps, railing sections, and repeatable modular layouts where a protected aluminum fixture is preferable to a continuous flexible strip.
- DC24V hardwired operation with a transformer required separately.
- Aluminum and acrylic construction supports flush-mounted outdoor use.
- Single fixtures and multi-piece sets support repeated stair layouts.
Use LED Strip Lights to Define Patio Zones
A patio usually needs more than one type of light. Strip lighting is excellent for low-level orientation and visual depth, but it is rarely enough for grilling, dining, reading, or cleaning. Combine it with overhead, wall-mounted, or portable lighting that performs those tasks.
Dining Area
Use strips beneath built-in seating or a serving counter instead of outlining the dining table. Guests need comfortable light on faces and food, which should come from a pendant, wall light, or controlled overhead source.
Lounge Area
Low light beneath benches and planters can make a conversation area feel grounded. Keep the glow below normal eye level and use dimming so the space can shift from family use to late-night entertaining.
Outdoor Kitchen
Separate decorative strip lighting from cooking task light. A glowing cabinet base can make the kitchen look finished, but it does not replace focused illumination over prep and grill surfaces.
Perimeter and Landscape Edge
Light only the boundaries that need explanation. A continuous glowing line around every plant bed, deck edge, and railing can make a residential yard feel commercial. Leave dark areas so the illuminated zones have contrast.
The article How To Light A Patio: 7 Zones You're Probably Missing can help you identify the tasks that strip lighting cannot handle alone. If you prefer an overhead decorative effect, compare the softer exposed look of Outdoor String Lights with concealed architectural strips.

Plan Weather Protection, Power, and Access Before Installation
Match the Rating to the Actual Exposure
A covered deck ceiling, an exposed stair tread, and a channel that may hold standing water are not the same environment. Choose equipment evaluated for the location and follow the manufacturer’s installation instructions. An IP number is useful information, but it does not make every connector, transformer, splice, and control automatically suitable for the same exposure.
Keep Connections Out of Water Paths
Plan where rain drains from boards, where sprinklers hit, and where snow or leaves collect. The strip may resist moisture while an unprotected connection becomes the weak point. Use approved outdoor enclosures and connection methods rather than wrapping splices in ordinary tape.
Place the Transformer Where It Can Be Serviced
Both featured products use DC24V and require a transformer that is not included. The transformer needs adequate capacity for the connected load and an accessible, suitable location. Do not bury it behind finished cladding or place it where water routinely collects.
Plan Long Runs Before Buying
Long low-voltage runs can lose voltage, causing the far end to appear dimmer. The correct transformer size, cable gauge, feed arrangement, and maximum run depend on the product and layout. For a large deck, have an electrician or qualified installer review the plan rather than assuming one power feed can support every strip.
Use Outdoor Electrical Protection
Outdoor receptacles and power equipment should use weather-resistant components and appropriate ground-fault protection. Permanent hardwired work must follow local electrical requirements. This is especially important around wet decks, patios, pools, hot tubs, and irrigation zones.

Design for the Repair You May Need Later
A clean installation still needs accessible transformers, drivers, and connections. Hiding them permanently can turn a small service issue into a major deck repair.
Choose Brightness and Color Temperature for Comfort
Start Softer Than You Think
Outdoor darkness makes modest light output appear brighter. A strip selected under showroom lighting may feel intense on a quiet patio. Dimming is valuable because the amount needed for stair visibility may be greater than the amount wanted during conversation.
Use Warm White for Most Residential Patios
Warm white around 2700K to 3000K generally complements wood, brick, stone, skin tones, and fire features. Neutral white can suit contemporary concrete or task-oriented areas, while cool white often feels sharper and more commercial.
Keep Nearby Fixtures Visually Related
A 3000K strip under a bench can look disconnected beside very cool wall lights. Exact matches are not always possible, but major lighting layers should feel intentionally related. Review the broader Outdoor Lighting range by task, then coordinate color temperature and brightness across the patio.
Common Outdoor LED Strip Lighting Mistakes
Outlining Everything
Lighting every edge removes contrast and can make the patio resemble a retail display. Choose the edges that improve safety or strengthen the architecture.
Relying on Adhesive Alone
Heat, cold, moisture, dust, and textured materials can weaken adhesive backing. Use the mounting channel, clips, recess, or hardware recommended for the product and surface.
Cutting Anywhere
Flexible strips are only cuttable where the manufacturer allows. Cutting elsewhere can damage the circuit and compromise moisture protection. Reseal cut ends using the approved method.
Putting the Strip at Eye Level
Railings, bar counters, and raised planters often align with seated eyes. Shield the strip, turn it downward, or move it below the viewing line.
Forgetting Expansion and Drainage
Deck materials move with temperature and moisture. Channels should not trap water or prevent normal material movement. Coordinate the recess with the deck manufacturer or contractor.
Using Strip Lights as the Only Safety Light
A concealed strip helps reveal steps, but a complete safety plan may also require landing lights, handrail illumination, wall lights, or general ambient light. Use redundancy where a failure would leave a dangerous dark area.
Outdoor LED Strip Light Buying Checklist
- Decide whether each strip is for safety, orientation, or atmosphere.
- Measure the run and mark every corner, cut, splice, and power-feed location.
- Confirm the product is suitable for the actual outdoor exposure.
- Check voltage, wattage per foot or fixture, and transformer requirements.
- Plan an accessible location for transformers and connections.
- Choose a profile or channel that hides direct LED glare.
- Coordinate color temperature with nearby patio and landscape lights.
- Test one short section after dark before completing the full installation.
- Confirm how cut ends and connections must be resealed.
- Use a qualified electrician for permanent power and code-sensitive work.
Final Advice: Light the Surfaces People Use
The most successful outdoor LED strip installations do not draw attention to the strip. They help guests see a tread, understand the deck edge, find a bench, or move comfortably between patio zones.
Start with the dangerous or confusing transitions, then add low-level atmosphere beneath seating, counters, planters, or architectural edges. Hide the source, keep the brightness controlled, and leave some areas dark enough for the illuminated surfaces to matter.
Most importantly, plan the power, drainage, access, and mounting detail before the deck or patio finish is complete. A thoughtful recess and accessible transformer will contribute more to the final result than adding another hundred feet of visible light.