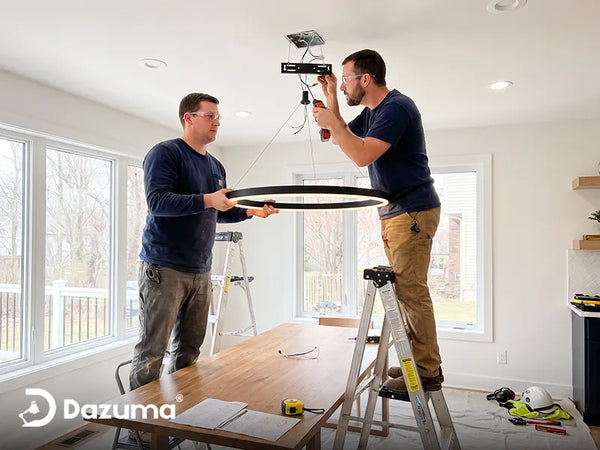
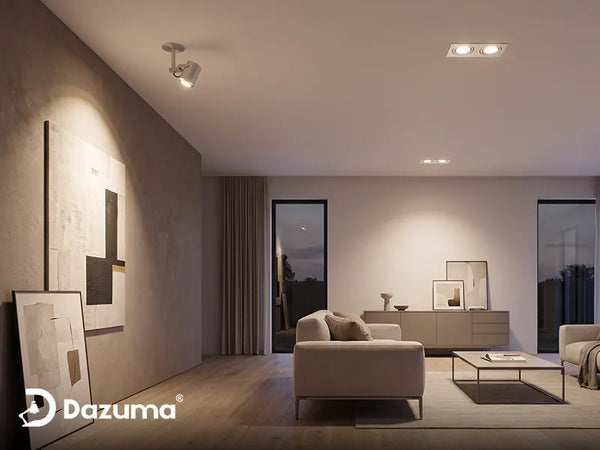
Who This Is For: This guide is for homeowners planning a kitchen remodel, new build, or ceiling update who want recessed lighting to make cooking easier without turning the ceiling into a rigid grid. It is especially useful before the electrician cuts holes, while cabinet, island, appliance, and pendant locations can still be coordinated.
Introduction
Kitchen recessed lighting often looks easy on a floor plan. Draw a few neat rows, keep the spacing even, and the room should be bright. Then the cabinets arrive. One light lands above a tall pantry, another shines into the refrigerator door, and the cook stands between the remaining lights and the countertop. The ceiling looks organized, but the places where knives, hot pans, and food are handled are still dim.
A useful kitchen plan starts below the ceiling. It follows the countertop edges, sink, range, island, storage, and the positions where people actually stand. Recessed lights can provide clean general and task illumination, but they work best as part of a layered plan that may also include under-cabinet light and decorative pendants. The goal is not equal brightness everywhere. The goal is clear visibility where work happens and comfortable light when the work is finished.

Quick Answer
Draw the cabinets, counters, appliances, island, and furniture first. Mark the places where you chop, wash, cook, serve, walk, and open cabinet doors. Put task-oriented recessed lights where their beams can reach those surfaces without your head and shoulders blocking the light. For a standard perimeter counter, a centerline roughly 18 to 24 inches from the finished wall is a common starting range, but upper-cabinet depth, ceiling height, beam angle, and the actual fixture data can move that position.
Do not select the number of lights from room area alone. A narrow 30° spotlight and a wide general downlight do not cover the same area, even if their wattage is similar. Decide the beam, delivered output, ceiling height, and target surface before finalizing spacing. Put recessed lights, pendants, and under-cabinet lighting on separate controls whenever practical so the kitchen can shift from food preparation to dinner and late-night use.
Start With the Work, Not the Ceiling
Print the cabinet plan and draw five types of zones before adding any light symbols:
- Primary prep: the counter where most cutting and mixing will happen.
- Wet zone: the sink, dishwasher, and nearby cleanup counter.
- Cooking zone: the range or cooktop, plus landing space for hot cookware.
- Island zone: preparation, seating, homework, serving, or a combination.
- Storage and circulation: pantry fronts, refrigerator access, and paths between work areas.
This exercise reveals where a generic grid fails. A fixture centered in a four-foot aisle may fall behind the person working at the counter. A symmetrical row may collide with a range hood or pendant canopy. A light over an island seat may be uncomfortable at eye level while doing little for the prep end of the island.

Mark Furniture and Door Swings Too
Include refrigerator doors, pantry doors, stools, and the breakfast table. A beam that looks centered on an empty plan may land on top of an open appliance door or directly over a seated person. If the whole lighting scheme is still taking shape, review the broader kitchen lighting options only after these zones are clear.
Give Each Lighting Layer a Specific Job
Recessed lighting should not be forced to solve every kitchen problem. A better plan divides the work among three or four layers.
| Lighting Layer | Main Job | Best Planning Reference | Common Problem |
|---|---|---|---|
| Recessed downlights | General light, circulation, and selected tasks | Counters, walkways, and beam coverage | A grid that puts light behind the cook |
| Under-cabinet light | Direct, shadow-free counter light | Front working edge of the countertop | Visible dots or a dark front edge |
| Island pendants | Visual anchor and local light | Island length, use, and sightlines | Duplicating recessed beams or causing glare |
| Toe-kick or cabinet accent | Low-level orientation and mood | Nighttime path and cabinet details | Using accent light as task light |
Under-cabinet lighting is especially important when upper cabinets intercept overhead beams. It puts light in front of the user and close to the task. If the kitchen still feels dark despite several ceiling fixtures, the issue may be where the light lands rather than how many fixtures you own. The guide Why Does My Kitchen Feel So Dark? explains other causes, including dark finishes and missing vertical light.
Place Recessed Lights Over Useful Surfaces
Perimeter Counters
For standard 24- to 25-inch-deep counters, begin by studying a row about 18 to 24 inches from the finished wall, measured to the center of the aperture. The best point often sits near the working front half of the counter rather than in the middle of the aisle. Draw a section through the wall, upper cabinet, counter, and standing person. This side view makes self-shadowing obvious.
Sink and Range
A light over the sink is useful when a window becomes a dark reflective surface at night. Confirm that the beam is not blocked by an upper valance or aimed into a glossy window. At the range, coordinate recessed fixtures with the hood lights. Two bright systems aimed at the same cooktop can create glare while adjacent landing counters remain poorly lit.
Island
Decide whether the island's pendants are decorative, functional, or both. If they already provide usable light across the surface, place nearby downlights to support the working ends and circulation rather than repeating the same centers. Avoid a downlight directly above each pendant canopy. It can produce competing shadows and make the ceiling look crowded.
Tall Cabinets and Refrigerator
A fixture too close to a full-height cabinet may create a bright stripe on the door and little useful floor light. A fixture too far away leaves labels and shelves dark when the door opens. Mark the open-door footprint and test the beam from the normal standing position.
Plan Spacing, Beam Angle, and Output Together
The familiar rule of spacing recessed lights at roughly half the ceiling height is only a first sketch. With an 8-foot ceiling, that suggests about four feet between general downlights. Kitchen cabinetry, task locations, fixture output, and beam angle usually require adjustments. The first row from a wall may begin around half the fixture-to-fixture spacing, but counters and upper cabinets are more relevant than an empty wall measurement. For a deeper look at perimeter placement, see How Far Should Recessed Can Lights Be From a Wall?.
A narrow beam creates a smaller, brighter pool and needs careful aiming or closer overlap. A wide beam covers more area but may spill onto cabinet fronts or into seated sightlines. Compare photometric information when available. If it is not available, install and test one sample at the intended ceiling height before ordering a large quantity.
Linear apertures can suit a modern kitchen where the ceiling should feel architectural rather than filled with round trims. They still need to follow the island or counter geometry. A long fixture centered for appearance may not distribute light the way several separate optics would.
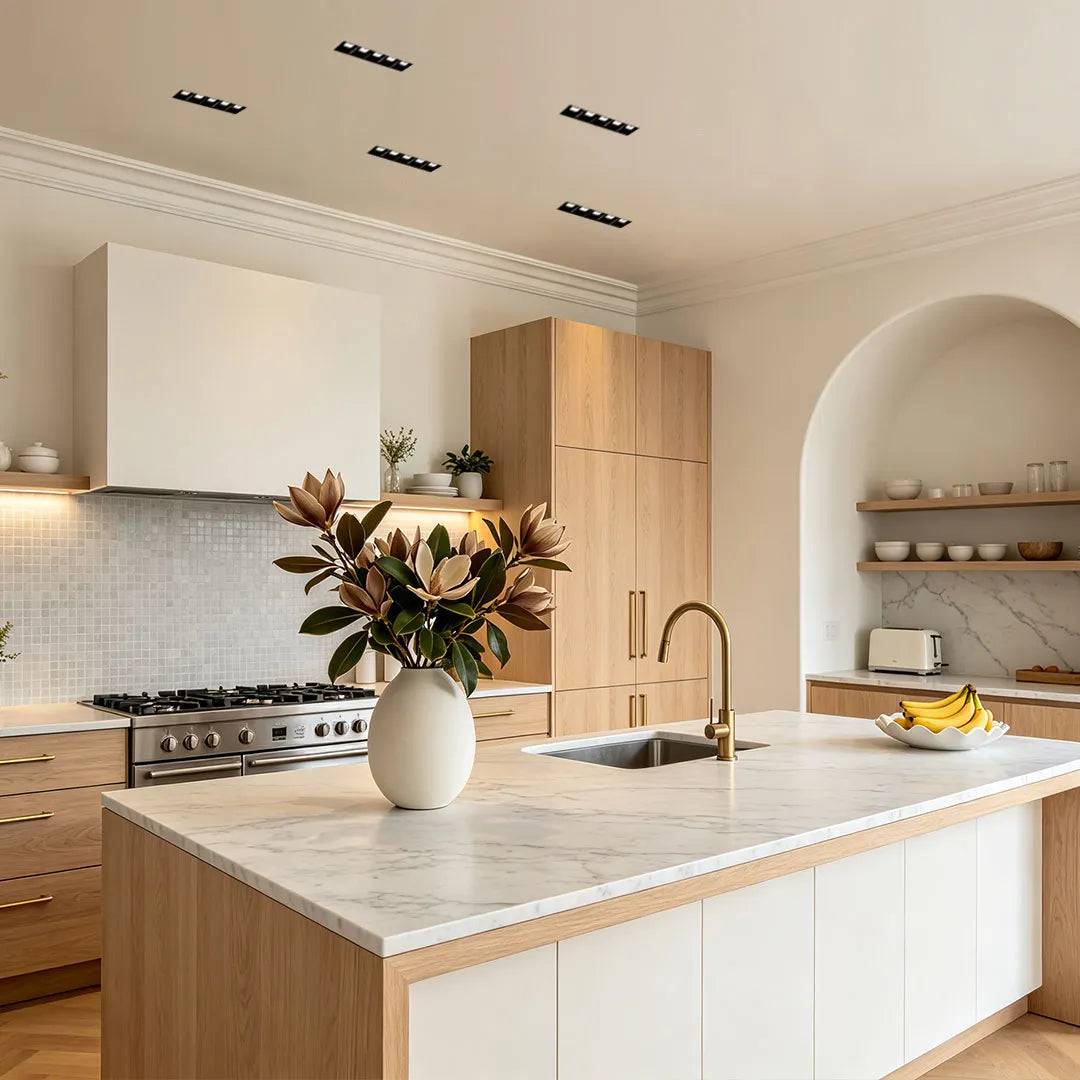
Clean Linear Ceiling Detail
LED Linear Downlight Borderless Embedded Spot Ceiling Light
Price: From $79.99
Best for modern kitchens where a trimless linear aperture can follow an island, counter run, or circulation axis without adding a large decorative ceiling element.
- Deep recessed optical structure helps control direct glare.
- Aluminum body and white finish support a quiet, integrated ceiling look.
- Three lengths and wattages allow the aperture to relate to different work zones.
For a first brightness estimate, multiply room area by a target foot-candle level. A 12-by-14-foot kitchen is 168 square feet. At 35 foot-candles for general illumination, the rough arithmetic is 5,880 lumens. That number is not a purchase list. Cabinet absorption, ceiling height, beam losses, work-plane height, and other layers change how much light reaches the room. Task areas often need more light than circulation zones, while an island used for dining may feel better at a lower level after cooking.
When comparing can lights, check delivered lumens, beam angle, cutout, housing depth, glare control, color quality, and driver access together. Wattage alone measures energy use, not useful light on the counter.
Choose Color Temperature and Control Glare
For many homes, 3000K gives wood, stone, food, and warm metals a comfortable appearance. A 3500K option can feel clean without becoming stark, while 4000K often suits crisp white cabinetry, cool stone, or homeowners who prefer a more neutral task environment. Adjacent sources should look intentional together. A 3000K pendant beside noticeably cooler recessed lights can make the ceiling feel mismatched even when both products are attractive.
Color rendering also matters in a kitchen because people judge food, finishes, and cleanliness under this light. Compare the manufacturer's stated CRI, but also view a sample with your countertop, cabinet door, backsplash, and paint. Two fixtures with the same CCT can render materials differently.
Glare becomes obvious at the island and breakfast table, where people sit and look across the room. Deep apertures, honeycomb louvers, and shielded optics help keep the bright source out of normal sightlines. They do not compensate for excessive output or poor placement. A controlled 36° beam still needs enough overlap and should not point directly toward a glossy refrigerator, polished stone, or dark window.

Compact Anti-Glare Option
Anti-Glare Ultra-Thin COB Spotlight Ceiling Lights
Price: From $58.99 for a set of 2
Best for kitchens that need a shallow recessed body and a focused, shielded light source over selected counters, walkways, or display areas.
- Honeycomb optical design helps shield the bright COB source from direct view.
- White-and-black, white, and black finishes can coordinate with different ceilings and cabinetry.
- The 4.7 cm body is useful where ceiling depth is limited, subject to the complete installation requirements.
Because this model is listed as non-dimmable, treat that as a control decision rather than a small specification detail. If low evening levels are important, use another dimmable layer for mood or select a recessed fixture and compatible control designed for dimming. Always verify driver, switch, and dimmer compatibility before rough-in.
Plan Controls for Real Kitchen Routines
A single switch often makes a carefully layered kitchen feel less useful. Put perimeter task downlights, island or central downlights, pendants, and under-cabinet lighting on separate zones when the wiring plan allows. In an open-plan home, this lets the work lights turn down or off after dinner while the island and living areas remain comfortable.
Think through switch locations as people actually enter the room: from the garage, dining room, living room, and hallway. Three-way or smart control can be useful, but the system should remain understandable to guests. Label scenes by activity such as Prep, Dinner, and Night rather than making everyone remember circuit numbers.
If dimming is planned, confirm compatibility across fixture, driver, control, and minimum load. Test the lowest useful setting for flicker, dropout, and color inconsistency. Browse broader ceiling lights only if the kitchen also needs a visible central layer; more overhead fixtures are not automatically a better control strategy.
Use a Ceiling Plan and a Section Drawing
The ceiling plan shows alignment with cabinet runs, pendants, vents, sprinklers, and joists. A section drawing shows whether a beam clears the upper cabinet and reaches the work surface. Ask the cabinet designer, electrician, and general contractor to review both before holes are cut.

A Practical Layout Example
Consider a 12-by-14-foot kitchen with L-shaped perimeter cabinets, a seven-foot island, two stools, a sink under a window, and a range on the adjacent wall. A simple three-by-three grid would place nine lights evenly across the ceiling. It would also put several lights in circulation space, one close to a pendant canopy, and too little light on the long prep counter.
A task-based plan could use a perimeter row aligned with the working portion of the counters, a dedicated sink position, and a carefully coordinated range position that supplements the hood. The island pendants can handle the visual center, while one or two downlights support the prep end and walkway if the pendant distribution leaves gaps. Under-cabinet lighting handles the front edge of the perimeter counters. The final count may be similar to the grid, but every fixture has a reason to exist.
During evening testing, dim or switch off the layers one by one. Check the cutting board, sink basin, range controls, pantry labels, island seats, and path to the refrigerator. Then sit at the island and look up. A plan that works from a standing position can still be uncomfortable for a seated person.
Common Kitchen Recessed Lighting Mistakes
- Starting with equal ceiling spacing: It ignores the depth and location of cabinets, counters, and appliances.
- Putting the perimeter row too far into the aisle: The person preparing food casts a shadow onto the worktop.
- Using narrow spotlights as broad ambient lights: The result is bright circles with dark gaps.
- Counting pendant light twice: A decorative shade may send little usable light to the island, while a strong task pendant may reduce the need for nearby downlights.
- Mixing color temperatures accidentally: Cabinets and countertops can appear inconsistent across the same room.
- Ignoring ceiling conflicts: Joists, ducts, hoods, speakers, vents, and pendant boxes can force last-minute moves.
- Assuming every LED is dimmable: The fixture, driver, and control must all be compatible.
- Skipping service access: Drivers and integrated fixtures still need a realistic replacement path.
Pre-Installation Checklist
- Freeze the cabinet, appliance, island, hood, and pendant locations.
- Mark task surfaces, standing positions, seats, and circulation paths.
- Select the fixture before finalizing spacing and cutouts.
- Confirm beam angle, output, CCT, CRI, glare control, and dimming status.
- Check ceiling depth, cutout dimensions, insulation conditions, air-sealing needs, driver access, and required listings.
- Coordinate centers with joists, ducts, plumbing, sprinklers, speakers, and vents.
- Separate useful lighting layers into practical control zones.
- Mock up or test a sample at the actual ceiling height when possible.
- Have a qualified electrician confirm wiring, load, controls, local code, and installation requirements.
- Adjust aiming and light levels after cabinets, finishes, furniture, and appliances are in place.
A good kitchen recessed lighting plan does not call attention to how perfectly the ceiling was divided. It makes the countertop easy to use, keeps glare out of seated sightlines, and gives the household several useful lighting states throughout the day. Start with the work surfaces, select the optics, and coordinate the ceiling only after those decisions are clear.