Who This Is For: This checklist is for homeowners who want their entry, driveway, paths, steps, and backyard to remain comfortable and dependable as fall brings earlier darkness, falling leaves, rain, and colder nights.
Introduction
Outdoor lighting problems often become obvious on the first busy fall evening. You come home after dark, the front steps are wet, leaves cover the path edge, and the porch light does not turn on until twenty minutes after you need it. A motion light keeps flashing whenever a branch moves, while the solar lights that worked all summer fade before dinner is over.
Most of these problems do not require a complete lighting replacement. Fall changes the conditions around the system: sunset arrives earlier, plants shift in the wind, leaves and mulch move, solar charging hours shrink, rain finds weak seals, and wet pavement reflects more glare. A short inspection helps the existing lights do their jobs when the household depends on them more.
Work from the way people use the property. The goal is not to make the yard look uniformly bright. It is to make the address, door, steps, walking route, gate, and outdoor gathering areas easy to understand without shining light into windows or neighboring property.

Quick Answer
Prepare outdoor lighting for fall by doing one inspection in daylight and one after dark. Clean lenses and solar panels, remove leaves and plant growth from fixtures, confirm that every walking surface and house number remains visible, and look for loose parts, cracked seals, corrosion, condensation, or standing water.
Next, update timers for earlier sunset, test motion sensors from real approach directions, and check whether tree branches now trigger them. Re-aim lights that cause glare on wet pavement or shine into windows. Stop using any fixture that flickers after rain, trips a breaker or GFCI, smells hot, or has water near wiring, and have the system inspected by a qualified electrician.
Start With a Night Walk
Do not begin by standing at the front door and looking outward. Start where a visitor, child, or delivery driver arrives. Walk from the curb or driveway to the door, continue to the side gate, then follow the route to the trash bins, backyard, deck, or detached garage. Carry what you normally carry so you notice switches and blind spots when one hand is occupied.
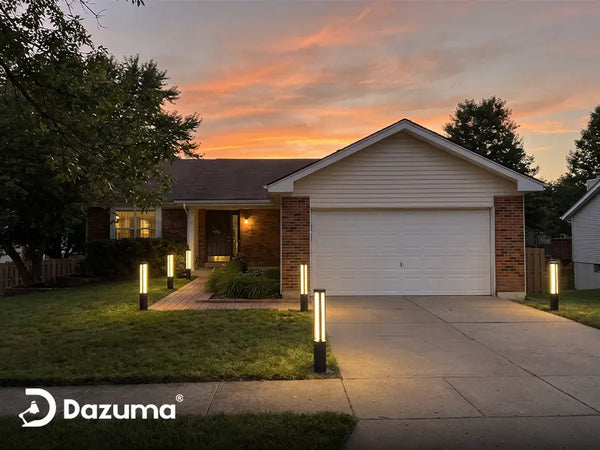
Look down at the next three or four steps rather than at the fixtures. Can you identify the edge of a curb, the first stair, a change from concrete to gravel, and the boundary between the path and planting bed? If a bright lamp pulls your eyes away from the ground, the area may have too much glare and too little usable light.
Then repeat the walk from inside the house. Check bedroom, kitchen, and living-room windows for unwanted light. A fixture aimed well in summer may now reflect from wet paving or bare branches. Take photos and note exact locations before making adjustments in daylight.

Use a Three-Question Test
At each location ask: Can I see the destination? Can I see the ground between here and there? Can I do both without looking into a bright source? Those answers reveal more than simply counting working bulbs.
1. Clear Leaves, Dirt, and Overgrown Plants
Turn off power and let fixtures cool before cleaning. Wipe accessible lenses according to the manufacturer's instructions. Remove leaves, spider webs, mud, grass clippings, and mineral buildup that reduce output or distort the beam. Do not spray cleaner directly into electrical openings.
Ground-level path lights need special attention. Fallen leaves can cover a lens, trap moisture around a base, or hide a fixture from someone raking the bed. Mulch may have shifted uphill against the housing after summer storms. Restore the clearance and drainage specified for the light rather than pulling the fixture higher by its stem or wire.
Trim foliage that blocks a beam or rubs against a fixture, but account for the plant's shape after leaf drop. A spotlight aimed through a full summer canopy may shine directly toward a window once branches are bare. Avoid major pruning solely for lighting unless it suits the plant and season.
Leaves Can Change Both Light and Footing
A covered path light creates a dark patch exactly where wet leaves may be slippery. Clear the walking surface and the fixture together, then check the route again after the next windy day.

2. Check Entries, Paths, Steps, and House Numbers
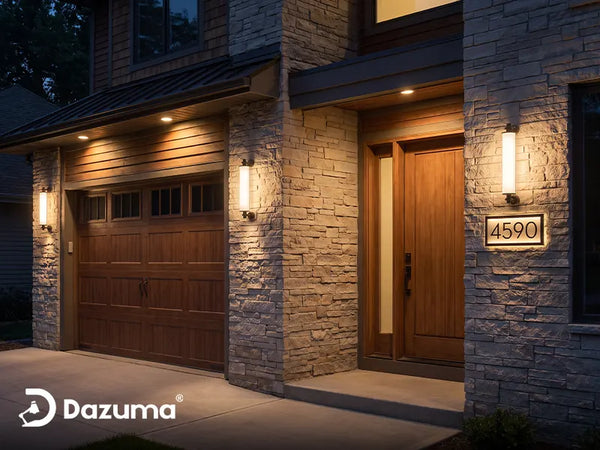
Begin with the places people must use every day. Front and side doors need enough light for keys, packages, faces, and the threshold. Review the entire beam from outdoor wall lighting, not just whether the bulb turns on. A lantern may be bright at eye level but leave the lock and first step in shadow.
Stand at the driveway and confirm that the house number is readable without a phone flashlight. Fall deliveries often arrive after dark, and a visible address helps guests and service providers find the correct home. If the number is lit by spill from another fixture, check it with vehicles and porch decorations in their normal positions.
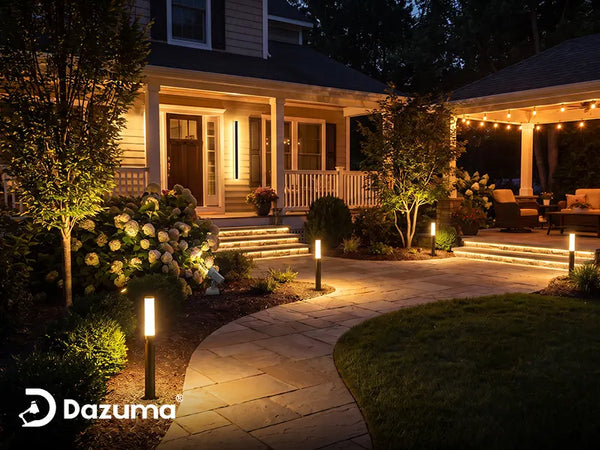
On paths and steps, look for even transitions rather than maximum brightness. The first and last step, turns, landings, and changes in surface deserve priority. If one fixture creates a very bright pool, the next darker section can feel less visible. Reposition, shield, or reduce the bright source before adding more lights.
3. Inspect Fixtures Before Wet Weather
Choose a dry day and switch off the relevant circuit before opening or touching electrical parts. Check accessible lenses, caps, screws, mounting plates, and gaskets for looseness, cracks, brittleness, or gaps. Look for rust, green corrosion, water stains, repeated fogging, or insects collecting inside a lens.
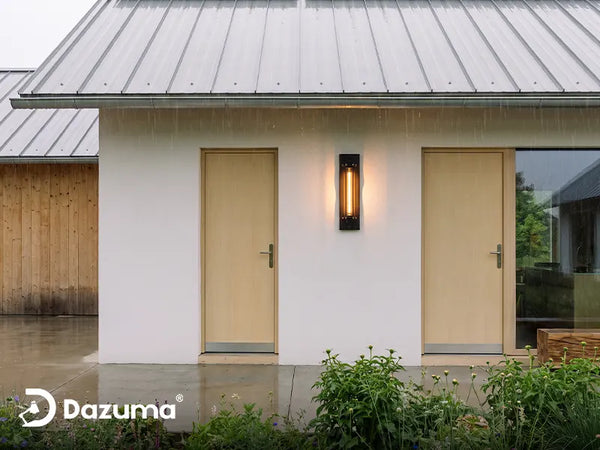
Do not solve every gap with a heavy bead of caulk. Some fixtures use drain or weep openings, and blocking them can trap water. Match the fixture rating to the actual exposure and follow its installation instructions. The guide on keeping rain out of outdoor lights explains where water commonly enters and why drainage matters.
Also inspect the area above and around each fixture. A clogged gutter, damaged downspout, shifted sprinkler, or roof edge can direct far more water at a light than normal rainfall. Correct the water path instead of repeatedly drying the fixture.

Know When to Stop
If a light flickers after rain, repeatedly trips protection, contains standing water, or shows corrosion near wiring, leave the circuit off. That is an electrical inspection issue, not a seasonal cleaning task.
4. Reset Timers and Motion Sensors
A timer that matched summer sunset may leave the entry dark during the fall commute. Review on and off times, the device clock, power-loss backup, and any daylight-saving setting. An astronomical timer or dusk-to-dawn control can follow seasonal sunset more closely, but its location and settings still need checking.
Test the approach from the driveway, sidewalk, side gate, and deck. Motion detection should pick up a person before they reach a step or lock, not after they have entered the dark area. Trim moving branches outside the needed detection zone, angle the sensor away from traffic and HVAC exhaust, and reduce sensitivity only as far as needed.
Set the on-time long enough to park, unload groceries, unlock the door, or take the dog outside. If you are deciding between scheduling and detection, the guide to setting up outdoor timer lighting gives a more detailed control framework.
5. Prepare Solar Lights for Less Sun
Shorter days do not automatically make solar lighting useless, but charging conditions become less forgiving. Clean the panel, remove leaves, and observe its actual fall sun exposure. A location that received strong summer sun may sit behind the house, fence, or evergreen as the sun angle changes.
Move portable outdoor solar lights only when the new position still supports the lighting job. A fully charged decorative light in the wrong location does not improve the dark step you originally needed to see. Test runtime for several normal days rather than judging it after one stormy afternoon.
If one light fades much earlier than identical lights with similar exposure, compare the panel cleanliness, switch setting, battery condition, and shade around each unit. Follow the manufacturer's battery and storage instructions; not every sealed solar fixture is designed for user battery replacement.
Check the Panel at Midday
Stand over the solar light when fall shadows are longest. A clean panel can still charge poorly if a fence, branch, or roof edge shades it during the few strongest hours of sun.

6. Re-Aim Lights and Reduce Glare
Wet paving, glass doors, pale siding, and bare branches can reflect light differently in fall. Walk the property after rain and look for bright reflections from normal eye level. Re-aim accent lights so the tree, wall, or planting intercepts the beam rather than allowing it to continue into a window or sky.
Review the full outdoor lighting system as one scene. A porch light, garage fixture, and landscape spotlight may each look reasonable alone but feel harsh together. Use the lowest useful output, shield visible sources, and keep connected areas reasonably consistent in color temperature.
Do not aim a bright flood directly down the walking line. Side light or shielded downward light often reveals texture and level changes with less glare. Ask a family member to walk toward you during the test; a source that seems fine from behind can be uncomfortable from the opposite direction.
7. Review Electrical Safety Before Holiday Additions
Fall is the right time to inspect exterior power before Halloween or winter decorations add cords and plug-in lights. Use only equipment identified for outdoor use and follow the manufacturer. Check light strings and extension cords for cracked sockets, frayed insulation, exposed wire, loose connections, or damaged plugs. Discard damaged items rather than taping over them.
Outdoor plug-in lighting should use properly protected receptacles, including GFCI protection where required. An extension cord must be rated for the intended outdoor use and load; it is not a substitute for permanent wiring. Keep connections out of standing water and do not pinch cords in doors or windows. If you are unsure about the receptacle, circuit capacity, cover, or grounding, ask a qualified electrician before decorating.
Plan the base lighting and seasonal lighting separately. The porch steps and house number must remain readable even when decorative lights are off. Use timers or controls to switch decorative displays off when the household is asleep or away, and never overload a circuit to create a brighter display.
Fall Outdoor Lighting Checklist
| Area | Fall Check | Pass Test | Escalate When |
|---|---|---|---|
| Entry and address | Clean lens; check lock, threshold, packages, and number | Door and number are readable from the approach | Water, heat damage, or unstable mounting appears |
| Paths and steps | Remove leaves; reveal edges, turns, and landings | Walking surface is visible without glare | Cable, fixture, or housing is loose or damaged |
| Timers and sensors | Update clock, sunset schedule, range, and duration | Light activates before the user reaches the dark zone | Control flickers, overheats, or behaves unpredictably |
| Solar fixtures | Clean panel; check fall shade and evening runtime | Required route remains visible during normal use | Battery swells, leaks, or housing cracks |
| Rain and connections | Inspect ratings, gaskets, drainage, cords, and receptacles | Fixtures remain dry and stable after normal weather | Breaker/GFCI trips, wiring gets wet, or corrosion reaches electrical parts |
Common Mistakes
- Checking lights only in daylight: Beam gaps and glare appear after dark.
- Replacing bulbs before cleaning: Dirt and leaves may be the real cause of dim output.
- Resetting the timer but not the clock: A power loss or daylight-saving setting can shift the schedule.
- Turning motion sensitivity all the way down: False triggers may stop, but people may not be detected soon enough.
- Sealing every opening: Covering designed drainage can trap moisture inside a fixture.
- Moving solar lights only for sun: The new location may no longer illuminate the hazard or destination.
- Adding holiday lights to an unknown circuit: Inspect ratings, cords, receptacles, and capacity first.
- Using brightness to compensate for poor aim: A stronger beam can increase glare without improving visibility.
Final Advice
Complete the checklist before the first stretch of cold, wet evenings, then repeat the quick night walk after heavy leaf fall or a major storm. The system does not need to look dramatically different. It should simply respond earlier, reveal the route more evenly, and cause fewer surprises.
Fix the simple issues first: clean the lens, clear the path, update the timer, trim the branch, and redirect the sprinkler. Treat flickering after rain, repeated tripping, heat damage, standing water, and corrosion near wiring as stop signs. A dependable fall lighting plan is one the household barely notices because the address, door, steps, and path are visible exactly when they are needed.