Who This Is For: This guide is for homeowners planning a new deck, updating an existing one, or trying to add useful nighttime light without seeing bright LED dots from every chair. It will help you choose practical locations before the carpenter closes the framing or the electrician runs the low-voltage cable.
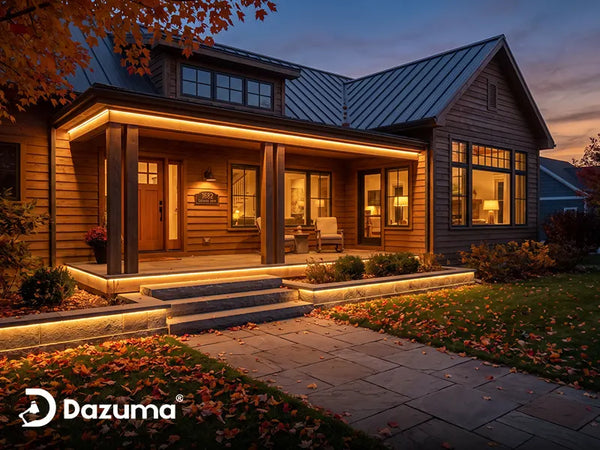
Outdoor LED strip lights under a deck can make stairs easier to read, soften the edge of a raised platform, and turn the space below an upper deck into a comfortable evening patio. The difficult part is not choosing a strip that turns on. It is putting the light where it improves the space without shining directly into people's eyes, collecting water, or leaving the transformer trapped behind finished boards.
I usually ask homeowners to look at the deck from three positions before deciding anything: from the main seating area, from the yard as they approach, and from the first step of the staircase. If the planned strip is directly visible from any of those positions, it will probably feel brighter and less polished than expected. The best installations let you see the illuminated surface while the light source itself stays hidden.

Quick Answer
The most useful places for outdoor LED strip lights under a deck are beneath stair nosings, behind the lower lip of the fascia or rim board, under a handrail, and below built-in benches or toe-kicks. If the deck creates a covered patio underneath, strips can also wash light across beams or a finished under-deck ceiling. In every case, aim the light at a nearby surface and keep the strip out of normal sightlines.
Plan the driver or transformer, cable route, switches, and waterproof connections before installing the strip. A waterproof light does not make an exposed power supply or poorly sealed splice safe outdoors. For a permanent 24V hardwired system, use a qualified electrician and follow the product instructions and local electrical requirements.
Best Placement by Deck Area
| Deck Area | Recommended Position | Light Effect | Watch For |
|---|---|---|---|
| Stair treads | Recessed beneath the front nosing | Defines each step with low glare | Water channels, uneven lines, visible LEDs |
| Fascia or rim | Behind a lower lip, aimed down or inward | Creates a floating perimeter glow | Long exposed runs and glare from the yard |
| Handrails | Under the rail, aimed at stairs or deck boards | Adds useful downward guidance | Loose cable at posts and bright reflections |
| Built-in seating | Below the seat edge or toe-kick | Soft ambient light near conversation areas | Knee-level glare and inaccessible wiring |
| Patio below an upper deck | Inside beams or along a finished ceiling edge | Indirect overhead or perimeter illumination | Striped shadows, low headroom, trapped moisture |
Where to Install Outdoor LED Strip Lights Under a Deck
1. Under Stair Treads for Safer, Cleaner Step Lighting
Stair treads are usually the first place worth lighting because a small change in level is easy to miss at night. Set the strip beneath the front edge of the tread so it throws light down the riser and onto the next walking surface. The nosing should hide the LEDs from someone standing at the bottom of the staircase.
Do not install the strip so close to the front that shoes, shovels, or routine cleaning can hit it. Keep the line straight and consistent from tread to tread. On open-riser stairs, check the view from below as well as above. A strip that looks concealed while descending may be fully visible from the patio.
For homeowners who want a continuous recessed line rather than separate step lights, this flexible design provides the lengths and color temperatures needed to plan the staircase as one coordinated feature.
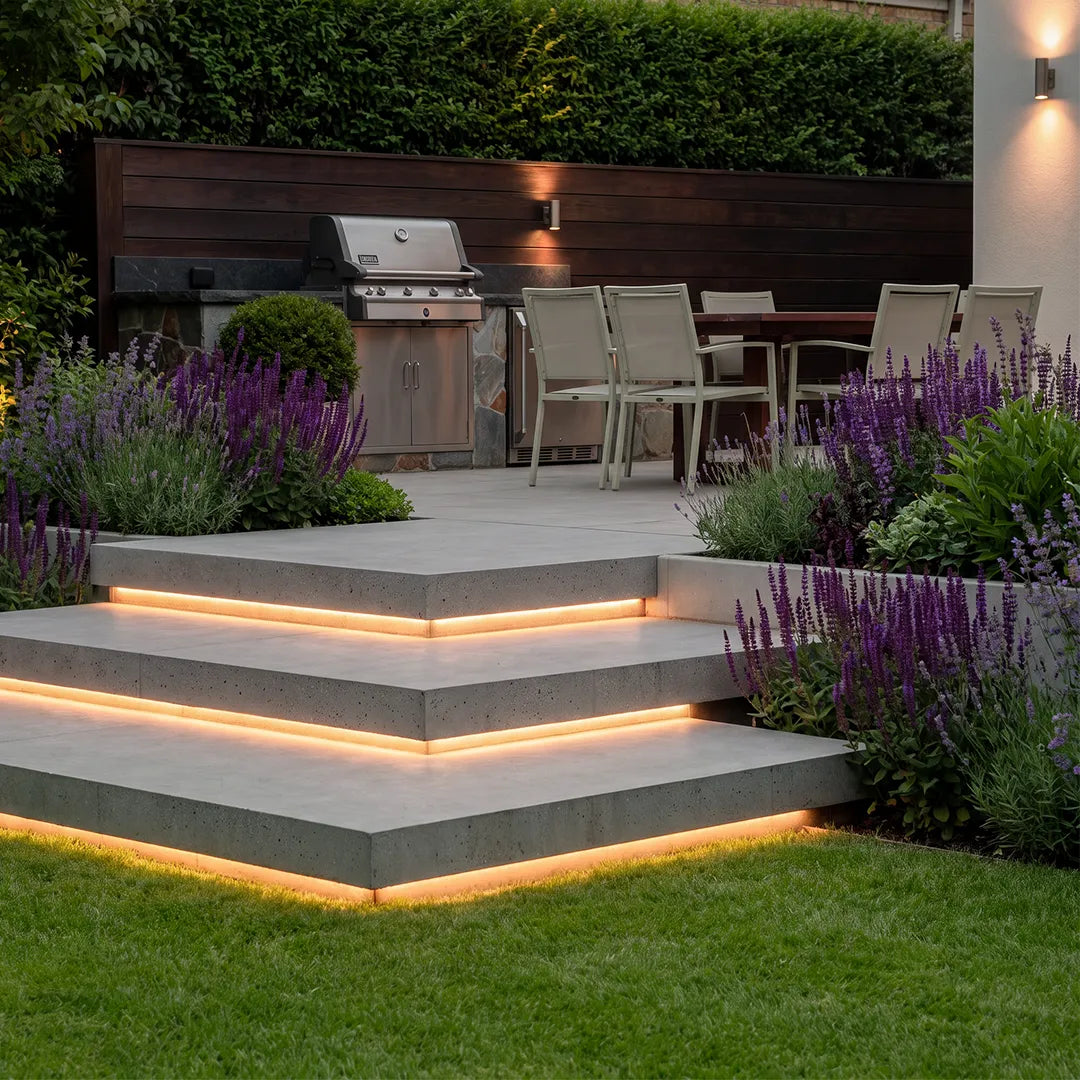
For Recessed Treads and Clean Linear Details
Outdoor Embedded LED Light Strips Modern Flexible Light
Price: $49.99
Best for homeowners planning a flush-mounted line beneath stair treads, along a deck edge, or around a curved architectural detail.
- Flat and three-sided lighting models provide different visual effects.
- Flexible silicone construction can follow straight or shaped layouts.
- Requires a compatible transformer, which is not included.

2. Behind the Fascia for a Floating Perimeter Glow
A strip behind the fascia or rim board can visually lift the deck from the yard. The cleanest result comes from recessing it behind a lip and directing the light down or slightly inward. If the strip points horizontally outward, guests approaching from the yard may see a bright line instead of a soft wash.
Perimeter lighting works best as an accent. It can help define the deck boundary, but it should not be the only light near stairs, a grill, or a gate. Break the run where necessary rather than forcing one continuous strip around every corner and creating difficult splices.
3. Under Handrails to Put Light Where Feet Need It
Under-rail installation is useful when you want more functional light without adding visible fixtures to every post. Aim the strip downward toward the walking surface. This can illuminate stairs or the outer deck edge while the rail shields the source from eye level.
The challenge is getting cable past posts, corners, and gates. Plan those transitions before buying the final strip length. A clean installation may require separate sections instead of bending one strip sharply around every joint. Make sure each connection remains accessible for inspection or replacement.
4. Under Built-In Benches and Toe-Kicks
Lighting below a bench creates a calm glow near the social part of the deck and helps people understand where seating begins and ends. Place it beneath the seat edge or behind a toe-kick so the light lands on the deck boards. Avoid installing it at the front face where it shines across people's legs.
This is one of those details that looks simple in a photo but can feel uncomfortable in person if it is too bright. Put the strip on a dimmer when the compatible driver and product instructions allow it. Evening entertaining usually needs much less light than cleanup.
Side-emitting light can be especially useful along an edge because it produces a softer lateral glow instead of sending all the output straight toward the viewer.
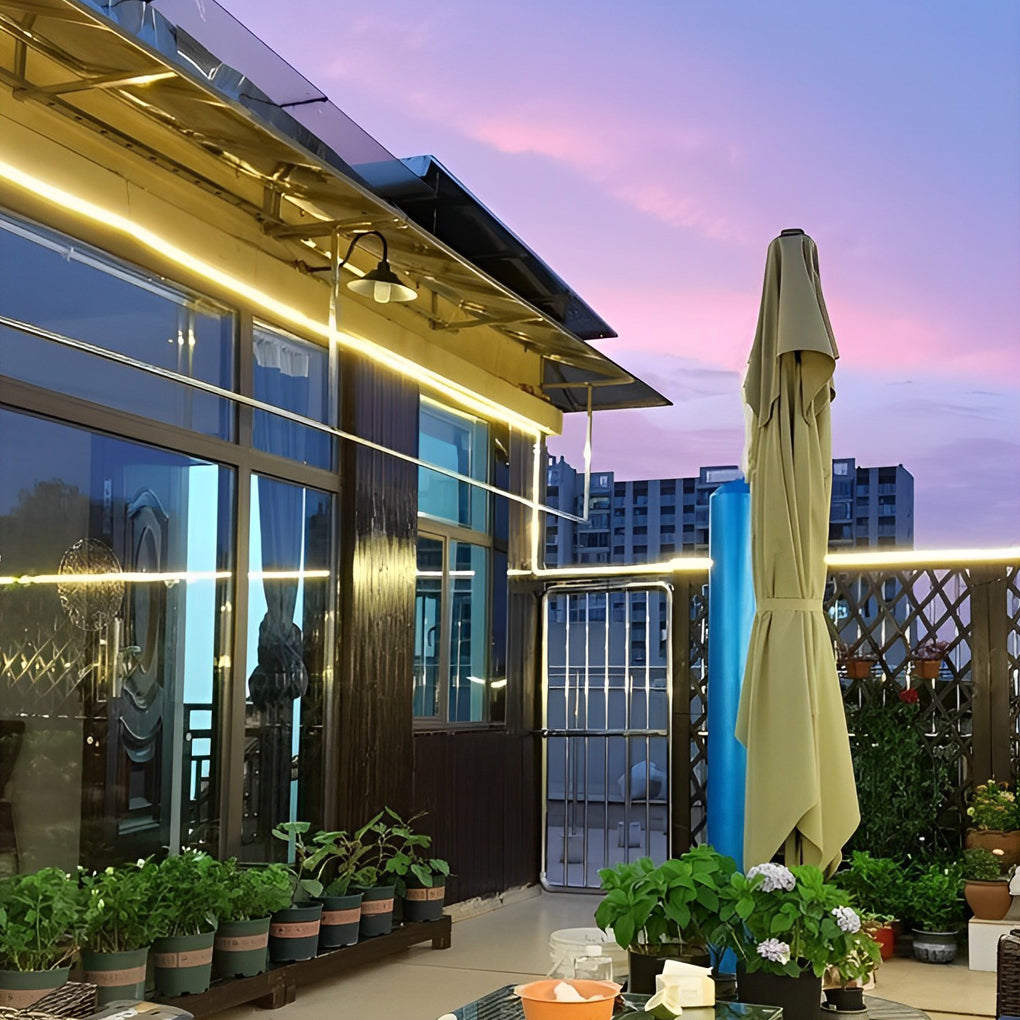
For Soft Edge Lighting and Indirect Glow
Outdoor Stair Lighting Strips Silicone White LED Light
Price: $49.99
Best for deck edges, steps, and seating details where a side-emitting option can create a softer line of light.
- Side-emitting mode suits indirect edge highlights.
- Available in 10, 16, and 33-foot lengths.
- Hardwired design requires a compatible 24V transformer.
5. Along Beams or a Finished Ceiling Below an Upper Deck
If your home has a walkout basement or sloped lot, “under the deck” may mean the entire patio beneath an elevated deck. In that case, treat the area like a low outdoor ceiling. Mount strips along beam edges or the perimeter of a finished drainage ceiling so they wash light across a surface instead of hanging exposed between joists.
Avoid placing parallel bright strips on every joist. That can produce a striped ceiling and uncomfortable overhead glare. One or two concealed lines around the usable patio area often feel calmer. Add a focused task light near an outdoor kitchen or grill rather than asking the strips to provide every type of illumination.
Where Not to Install LED Strip Lights
- Directly in a seated sightline: If you can see individual LEDs from the sofa or dining chair, move the strip behind a deeper lip or choose a diffused, side-emitting effect.
- Inside a water path: Do not place the strip where deck runoff, roof drainage, or a sprinkler continually hits the connection points.
- Where snow tools or feet can strike it: Exposed stair edges and low fascia corners receive more physical abuse than homeowners expect.
- Behind permanently closed trim: Drivers, connections, and removable strip sections need future access.
- Across sharp bends: Do not twist or force a flexible strip beyond the manufacturer's allowed bend direction.
- Near a grill's heat zone: Keep lighting, cable, and power equipment away from high heat and grease accumulation.
Power, Wiring, and Water Protection
Both featured strips operate on 24V DC, but the system still begins with line voltage feeding a suitable transformer or driver. The power supply should be compatible with the strip's total wattage and installed in a dry, ventilated, code-compliant, accessible location. Do not size it by strip length alone. Multiply the specified watts per foot by the planned length, then follow the manufacturer's required capacity and loading guidance.
Long runs can lose brightness toward the far end. Instead of buying one oversized reel and hoping for even output, ask the electrician whether the layout should be divided into shorter runs or powered from more than one approved feed point. The correct approach depends on the strip, driver, wire size, and total load.
Water protection is a system, not a label on one component. The strip, cut ends, connectors, cable entries, junctions, and power supply all need the right protection for their locations. Keep connections above likely puddles and away from runoff. Our guide to waterproofing outdoor lighting connections explains why the splice is often more vulnerable than the fixture.
Use only manufacturer-approved cut points and sealing methods. Cutting first and deciding how to seal the end later is a common and expensive mistake. Test every section before closing channels, fascia, or ceiling panels.
Leave Room for Maintenance
A permanent-looking installation still needs a service plan. Keep the transformer label visible, identify which cable feeds each strip section, and avoid burying every connector behind fixed trim. If one stair run fails later, you should be able to inspect that section without removing half the deck fascia.
Outdoor surfaces also move. Wood expands, contracts, and sometimes twists as seasons change. Leave the clearances required by the mounting system, and do not use the strip itself to bridge a structural joint that opens and closes. Clean leaves and debris from recessed channels during normal deck maintenance. A hidden strip stays attractive only when its light path and drainage route remain clear.
Choose Color Temperature and Brightness for the Way You Use the Deck
For most residential decks, 3000K warm white is the easiest color to live with. It feels comfortable around wood, stone, plants, and outdoor furniture. A 4500K neutral option looks clearer and more task-oriented, while 6000K can feel crisp or stark. Cooler light may be useful in a utility area, but it can make a social deck feel less relaxed.
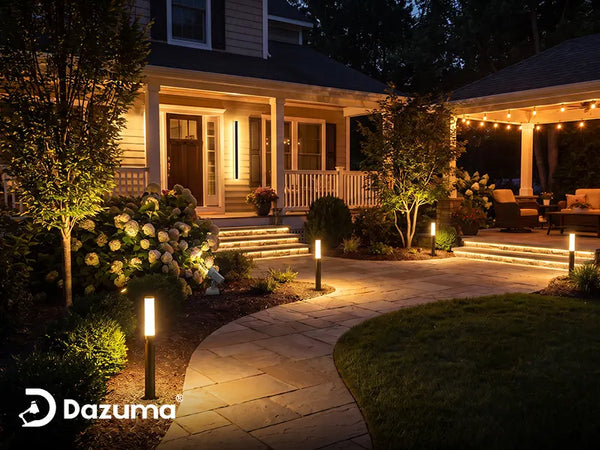
Try to keep the strip lighting close in color to nearby sconces, step lights, and landscape fixtures. A warm deck edge beside a cool blue wall light can make the installation feel pieced together. If you are comparing options, the guide to the best color temperature for outdoor stair lights provides a more detailed visual framework.
Do a Nighttime Mockup Before Committing
Temporarily hold a short working section in place and view it after dark from the stairs, seating area, yard, and windows inside the house. The mockup reveals glare and reflections that are almost impossible to judge in daylight.
Also check the deck when surfaces are wet. Water can make light reflections brighter and show whether a strip highlights uneven boards or exposed cables.

A Practical Planning Checklist
- Mark the real nighttime tasks. Identify stairs, changes in level, gates, seating, and food-preparation areas.
- Choose the surface you want to illuminate. A tread, riser, deck board, beam, or ceiling should receive the light.
- Hide the source. Confirm that the strip cannot be seen from common eye levels indoors and outdoors.
- Measure each run separately. Include corners and transitions, but do not assume the strip can bend in every direction.
- Plan power before trim work. Reserve an accessible, suitable location for the transformer and connections.
- Confirm water movement. Watch where rain, sprinklers, snowmelt, and under-deck drainage travel.
- Test one section at night. Check brightness, color, glare, and shadows before completing the installation.
- Photograph the wiring route. Keep a record before boards or panels conceal the cable.
A homeowner once described the goal perfectly: “I want to see the steps, not stare at the lights.” That is the right standard for this project. Good deck lighting helps people move comfortably and makes the structure feel intentional after dark. It should not call attention to every diode or cable.
Final Advice
Start with stairs and level changes, then add a restrained layer along the fascia, rail, seating, or lower patio. Choose the strip direction according to the surface you want to illuminate. A forward- or surface-emitting strip is useful for direct downlight, while side-emitting light can create a gentler edge effect.
Before ordering, confirm the total run length, cut-point rules, transformer requirements, color temperature, bend direction, mounting method, and connection protection. You can compare these details across outdoor LED strip lights, then coordinate the deck layer with the rest of your outdoor lighting. A little planning before installation prevents the problems homeowners notice most: glare, uneven brightness, visible wiring, and inaccessible repairs.