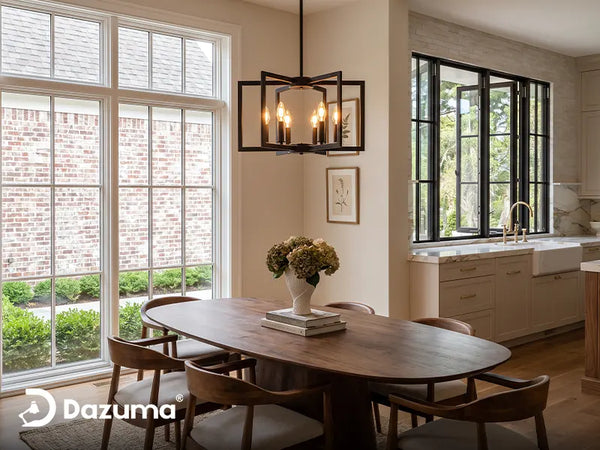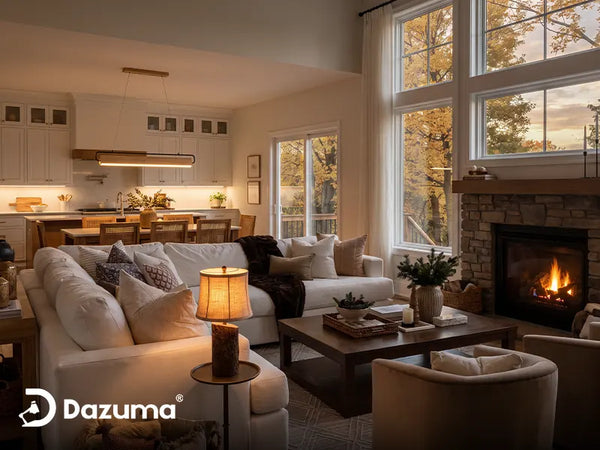

This guide is for homeowners, renovators, and designers choosing a chandelier for a vaulted dining room, living room, or entryway who need to get the scale, finished hanging height, and sloped-ceiling compatibility right before ordering.
A vaulted ceiling gives a room a wonderful sense of space, but it also makes an ordinary chandelier decision more complicated. A fixture can look beautiful in a photograph and still arrive with a canopy that cannot accommodate your slope, a suspension that is too short, or a body that crowds the lower side of the ceiling.
The most successful choice connects the architecture to the way you use the room. Over a dining table, the chandelier should belong to the table. In an entryway, it needs to make an impression while preserving a comfortable route beneath it. Start with those relationships, then work upward to the mounting point.

The Quick Answer for Vaulted Ceilings
Choose a chandelier with manufacturer-confirmed compatibility for your ceiling's actual slope, enough approved suspension length, and a body sized for the furniture or space below. Set the bottom height from the table or floor, then calculate the required drop from the ceiling at the mounting location.
A chain can allow a fixture to hang vertically, but a chain alone does not establish compatibility. The canopy, attachment, wiring arrangement, and any swivel or adapter must also suit the installation. Similarly, “adjustable height” does not automatically mean “sloped-ceiling compatible.” These describe different capabilities.
When comparing chandeliers, save the installation drawing alongside the room photo you love. The drawing helps you decide whether that appearance is achievable in your own space.
Measure the Ceiling Where the Fixture Will Hang
Record the floor-to-ceiling height at the proposed canopy position. The ridge height is useful context, but it does not describe a chandelier mounted several feet down a slope. Using the highest measurement for an off-center mounting point can leave you ordering the wrong suspension length.
- Local mounting height: Measure vertically from the floor to the ceiling at the canopy location.
- Ceiling slope: Establish the angle of the mounting surface relative to horizontal.
- Furniture dimensions: Record the table or seating footprint and its actual position.
- Nearby obstacles: Note beams, fans, upper windows, doors, railings, and circulation routes.
- Existing box location: Check whether it aligns with the intended focal point.
A phone level can help estimate an accessible slope, but have the installer confirm the measurement used for hardware selection. Do not climb onto furniture or improvise access to a high ceiling. A builder's drawing or a professional site measurement is more useful than an uncertain number gathered at a difficult angle.
Ceiling Pitch and Angle Are Different Measurements
A pitch such as 6:12 describes 6 inches of rise over 12 inches of horizontal run. It does not mean a 6-degree slope. That example corresponds to approximately 26.6 degrees from horizontal. If the fixture specification gives a maximum angle, make sure the room measurement uses the same reference.
This distinction can change your shortlist. A fixture approved only up to 22.5 degrees would not meet a 26.6-degree slope without a separately approved solution. Ask about the exact model and hardware combination rather than assuming that all vaulted ceilings fall within one standard limit.
Check Sloped-Ceiling Compatibility First
Look for an explicit sloped-ceiling statement in the specification sheet or installation instructions. If you only see a lifestyle image, an adjustable cord, or a list of rod lengths, compatibility still needs confirmation. A straight suspension must hang as the fixture was designed to hang; forcing it against a slope can leave both the light and its attachment wrong.

The Canopy Can Follow the Slope While the Light Hangs Straight
On a suitable system, the ceiling canopy may sit against the angled surface while an approved joint allows the suspension to remain vertical. The visible angle at the canopy is different from a fixture body hanging crooked. Check the manufacturer's drawing to understand the intended arrangement.
| Suspension Type | What to Confirm | Common Trap |
|---|---|---|
| Single Chain | Approved canopy and attachment, slope allowance, chain and wire length | Assuming flexible chain makes every installation acceptable |
| Rigid Rod or Stem | Approved swivel or adapter, angle limit, available stem combinations | Treating extra rods as a solution to an incompatible mount |
| Single Cable or Cord | Approved angled exit, support arrangement, and adjustment range | Confusing adjustable length with approval for a slope |
| Multiple Suspension Points | Canopy orientation, independent adjustments, and leveling method | Assuming every mounting direction is supported |
Ask About Angle and Orientation Together
A linear chandelier may have restrictions on how its canopy or suspension sits relative to the ceiling slope. Some manufacturers approve a particular model only in a specified orientation. Two fixtures with similar silhouettes can therefore have different installation possibilities.
For linear chandeliers, send the seller a room sketch showing the ridge, downhill direction, table, and proposed canopy. Request confirmation of the exact orientation and maximum slope. Ask whether any necessary adapter is included or must be ordered separately.
Use the fixture manufacturer's approved components. A fan slope kit, generic swivel, or matching-looking rod is not automatically suitable for a chandelier. Compatibility includes the mechanical connection and intended load, not simply the finish color.
Choose the Right Chandelier Size
A high ceiling can make a small fixture look lost, but height alone does not determine diameter. First identify what the chandelier anchors: a dining table, a seating group, an entry zone, or a stairwell. Then consider the room's volume and the visual weight of the design.
Over a Dining Table
For a round chandelier, roughly one-half to two-thirds of the table width is a useful starting point for a mockup. A 48-inch-wide table, for example, suggests testing approximately 24 to 32 inches across. Adjust for the fixture's actual shape and how much room its arms or shades occupy.
For a rectangular table, compare the light's length as well as its width. An elongated chandelier may follow the table more comfortably than a very large round fixture. Keep its edges visually inside the tabletop footprint and check the view from every chair before finalizing the dimensions.
In a Living Room or Entry
As a rough visual starting point for a simple room, adding the room's length and width in feet gives a possible chandelier diameter in inches. A 16-by-20-foot room suggests trying about 36 inches. This is a decorating heuristic, not an engineering rule, and it is less useful for long open plans or irregular spaces.
In a vaulted room, compare a wider silhouette with a taller body before simply increasing diameter. A deeper fixture can occupy some vertical space without spreading too far over furniture. Open frames feel lighter, while dense shades or crystal tiers often have more presence at the same measurements.

Set the Hanging Height for the Room
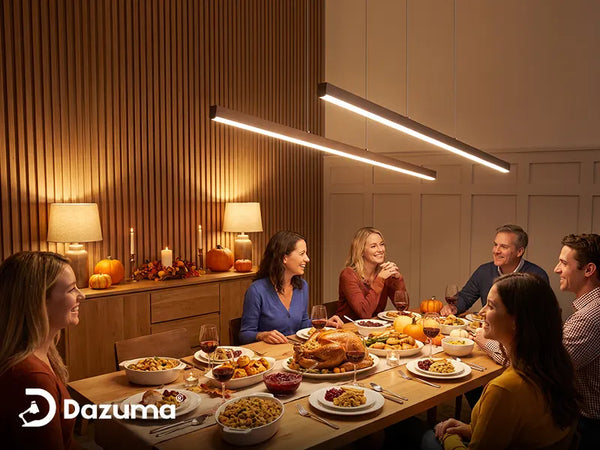
Dining Rooms: Start With the Table
For an 8-foot ceiling, a common starting range is 30 to 36 inches between the tabletop and the chandelier's lowest point. With a vaulted ceiling, use that relationship as an initial visual test, then adjust for fixture scale and sightlines. Do not automatically move the light near the ridge just because the room is tall.
A chandelier suspended too far above the table can feel detached from the meal. A larger or deeper body may bridge the vertical space more successfully than raising a compact fixture. Sit down, look across at another person, and check whether the brightest or heaviest elements interrupt the view.
The guide to how high a chandelier should hang above a dining table explains how to test the final position. Treat formulas as a starting point for that assessment.
Living Rooms and Entries: Protect the Walking Route
Where people can walk underneath, around 7 feet of clearance below the lowest point is a common residential planning baseline. Taller occupants, door movements, the room layout, and applicable requirements may call for more. Have the installer confirm the appropriate clearance for the actual location.
A coffee table is movable furniture, so do not assume it permanently protects a low fixture. Consider how the room might be rearranged. Check the chandelier from the entrance, the sofa, and any upper landing where the light may sit close to eye level.
Calculate the Complete Hanging Drop
Work backward from your chosen bottom height. Required total drop equals the vertical mounting height minus the desired height of the fixture's lowest point above the floor. Use one unit throughout, and measure the ceiling at the actual mount.
Suppose the mounting point is 14 feet, or 168 inches, above the floor. The table is 30 inches high, and your proposed table-to-fixture gap is 36 inches. The bottom of the chandelier would sit 66 inches above the floor, leaving a required total drop of 102 inches.
If the fixture body is 24 inches tall, the remaining 78 inches must accommodate the suspension and canopy assembly. That does not mean ordering exactly 78 inches of chain: attachment loops, joints, and canopy geometry also occupy space. Compare the completed measurement with the manufacturer's minimum and maximum installed heights.
Order the Entire Suspension Plan
Ask about approved extensions and adequate lead wire before purchase. A long chain is not useful if the supplied wire cannot reach. Also ask whether adjustment is continuous or limited to fixed rod increments, and whether the published height includes every decorative drop.

Plan Placement, Orientation, and Light
Center the chandelier on its intended use zone. The room's ridge and the dining table's center do not always align. Decide which relationship matters before electrical work begins. If the box must move, include that work in the plan rather than expecting an unapproved swag or improvised mount to solve the mismatch.
Check the Downhill Edge
A less obvious clearance problem occurs beside the fixture. On a sloped ceiling, the surface above the chandelier's downhill side is lower than the surface at the center mount. A wide fixture can approach that lower plane even when its central drop seems generous.
Ask the installer to check the complete three-dimensional envelope, including shades, branches, decorative tips, and required manufacturer clearances. In a simple straight cross-section, a 6:12 slope falls 12 inches over a 24-inch horizontal distance. That geometric change shows why checking only the centerline can miss a conflict.
Keep the Room Comfortable After Dark
A high chandelier does not replace every other light source. Use supporting lamps or wall lighting where needed, and evaluate the fixture from seated eye level. For a warm residential atmosphere, compare 2700K and 3000K options, then confirm light output and brightness-dimming compatibility separately.
When comparing modern chandeliers, consider both the silhouette in daylight and the view of illuminated bulbs after dark. An airy design can preserve architectural openness while still creating glare if exposed sources face the seating area.

Use the Before-You-Buy Checklist
- Confirm the ceiling height and angle at the exact mounting point.
- Obtain explicit compatibility for the chosen fixture and mounting orientation.
- Check canopy dimensions, adapter requirements, and approved extensions.
- Compare body width, depth, height, and complete installed drop.
- Verify the ceiling box and structural attachment for the installed weight.
- Check nearby beams, walls, doors, fans, and the downhill ceiling plane.
- Confirm voltage, light source, output information, and compatible controls.
- Plan installation access and future bulb replacement or cleaning.
Before scheduling work, review how to install a chandelier to understand the preparation involved. Have a qualified electrician verify mounting support, wiring, and suitable access for a high or difficult installation.
Choose the Fixture and Its Installation Together
The right chandelier for a vaulted ceiling fits the architecture and everyday life below it. Confirm the slope first, choose the scale around the room's focal point, and calculate the complete drop from the desired bottom height. With those decisions settled, the ceiling's extra height becomes an asset instead of an installation surprise.