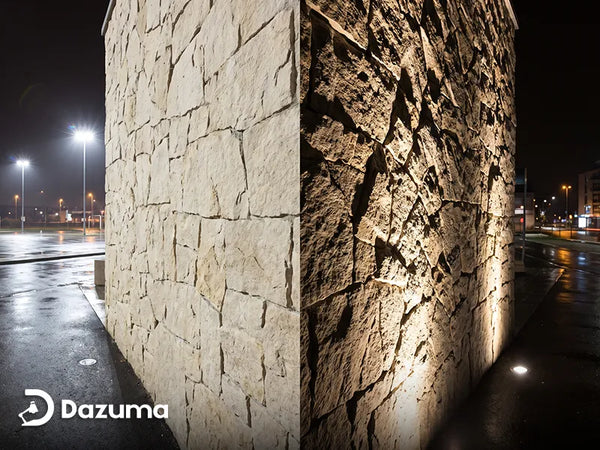
Outdoor spotlights are one of the most effective ways to highlight architectural details, improve security, and create a welcoming nighttime atmosphere. Brick walls are particularly popular mounting surfaces because they provide durability and excellent support for exterior lighting fixtures.
However, installing outdoor spotlights on a brick wall requires proper planning, the right tools, and an understanding of weather-resistant electrical connections. In this guide, we'll walk you through the complete process of installing outdoor spotlights on a brick wall while ensuring safety, durability, and professional-looking results.
Why Install Outdoor Spotlights On A Brick Wall?
Brick walls provide an ideal mounting surface for outdoor lighting because they are stable, weather-resistant, and capable of supporting heavier fixtures.
Outdoor spotlights mounted on brick walls can be used to:
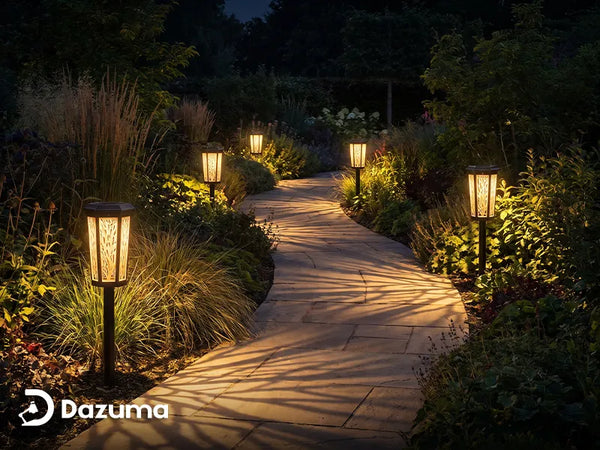
- Highlight landscaping and trees
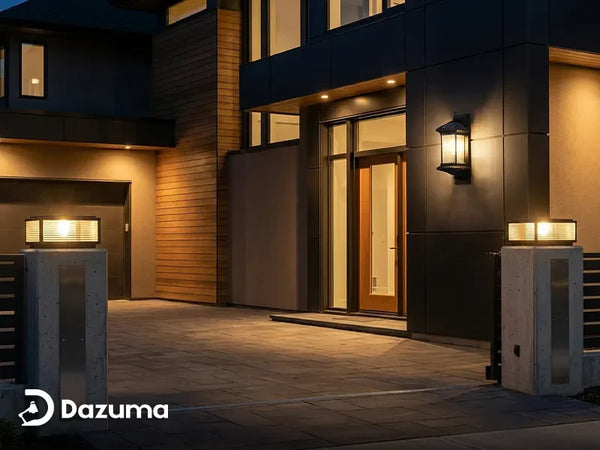
- Illuminate pathways and driveways
- Enhance home security
- Accent architectural features
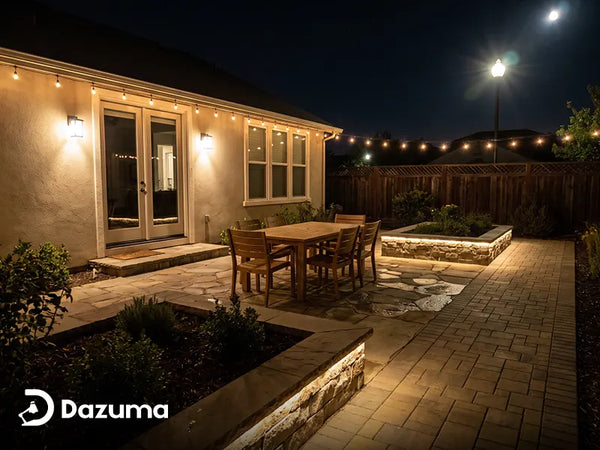
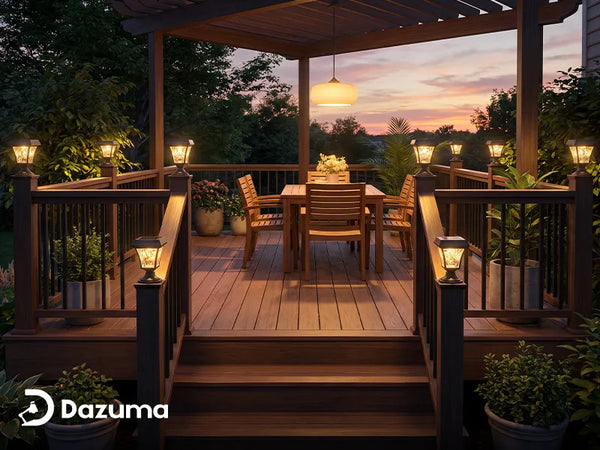
- Create ambient outdoor entertainment spaces
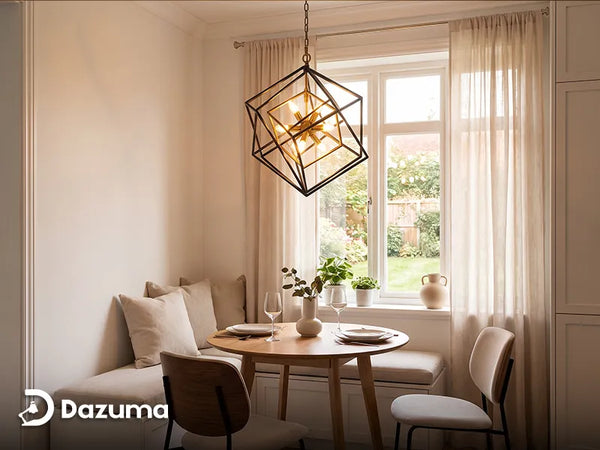
Many homeowners combine spotlights with Outdoor Wall Lighting to create layered illumination that improves both functionality and curb appeal.
Tools And Materials You'll Need
Before beginning installation, gather the following equipment:
- Outdoor-rated spotlight fixtures
- Masonry drill
- Carbide-tipped masonry drill bits
- Hammer drill
- Wall anchors
- Outdoor electrical box
- Screwdriver
- Voltage tester
- Wire connectors
- Weatherproof silicone sealant
- Safety glasses and gloves

Using the proper masonry drill bit is critical. Standard wood or metal bits will wear quickly and may crack or damage the brick surface.
When possible, drill into the mortar joints rather than directly into the brick. This minimizes visible damage and makes future fixture replacement easier.
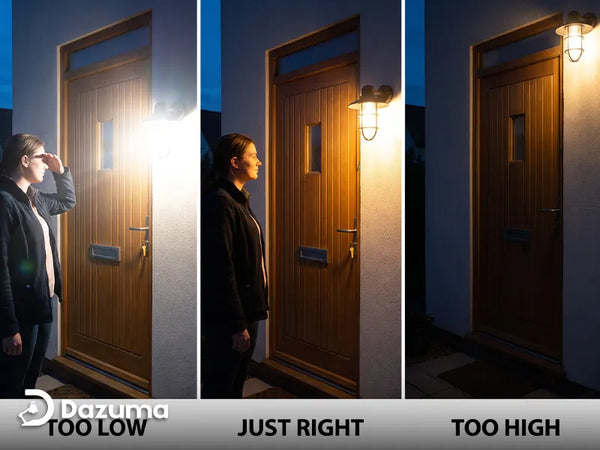
Choose The Right Spotlight Location
The placement of your spotlight determines its effectiveness.
Consider the primary purpose of the light before installation:
| Lighting Goal | Recommended Placement |
|---|---|
| Security Lighting | Entryways, garage doors, side yards |
| Landscape Accent | Facing trees, shrubs, garden beds |
| Architectural Highlighting | Stonework, columns, façade features |
| Patio Lighting | Outdoor seating and dining areas |
Aim to position fixtures high enough to avoid glare while still achieving the desired lighting angle.
Step 1: Turn Off Power
Before handling any electrical wiring, switch off power at the circuit breaker.
Use a voltage tester to verify that no electricity is present before touching wires. Never rely solely on a wall switch for electrical isolation.
Step 2: Mark Mounting Points
Hold the spotlight mounting bracket against the brick wall and mark the drilling locations using a pencil or marker.
Double-check spacing and fixture alignment before drilling.
For multiple fixtures, use a level to ensure a professional appearance.
Accurate positioning is especially important when installing several spotlights along a wall. Uneven spacing can become very noticeable once the fixtures are illuminated at night.
Take measurements carefully and verify sight lines from key viewing locations around the property.

Step 3: Drill Into The Brick Wall
Using a hammer drill equipped with a masonry bit, drill holes at the marked locations.
Apply steady pressure without forcing the drill. Excessive pressure may crack older bricks.
After drilling, remove dust from each hole before inserting anchors.
Step 4: Install Anchors And Mount The Fixture
Insert masonry anchors into the drilled holes.
Secure the spotlight mounting bracket using corrosion-resistant screws designed for exterior applications.
The fixture should sit firmly against the wall without movement.
For long-lasting performance, many homeowners select durable fixtures from premium Outdoor Lighting collections specifically designed for harsh weather conditions.
Step 5: Connect The Wiring
Carefully connect the fixture wires according to manufacturer instructions.
Typical wiring includes:
- Black wire = Hot
- White wire = Neutral
- Green or bare copper = Ground
Use weatherproof wire connectors approved for outdoor installations.
If installing low-voltage systems, you may also integrate fixtures into existing Landscape Lighting networks for greater flexibility and energy efficiency.
Recommended IP Ratings For Outdoor Spotlights
| IP Rating | Protection Level | Recommended Use |
|---|---|---|
| IP44 | Splash Resistant | Covered Patios |
| IP65 | Water Jet Resistant | Most Outdoor Walls |
| IP67 | Temporary Immersion | Harsh Weather Areas |
Step 6: Seal And Weatherproof
Apply exterior-grade silicone sealant around mounting points and electrical penetrations.
This prevents moisture intrusion that could damage wiring or brickwork over time.
Proper weatherproofing is often the difference between a fixture lasting three years and lasting fifteen years.

Step 7: Test And Adjust The Beam Angle
Restore power and test each fixture.
Adjust beam direction until the desired lighting effect is achieved.
Most modern LED spotlights feature adjustable heads that allow precise aiming for landscape features, entryways, or architectural details.
Common Installation Mistakes To Avoid
- Using indoor-rated fixtures outdoors
- Skipping weatherproof wire connectors
- Drilling too close to brick edges
- Ignoring beam angle adjustments
- Choosing insufficient IP ratings
- Failing to seal wall penetrations
Final Thoughts
Installing outdoor spotlights on a brick wall is a practical project that can significantly improve your home's appearance, safety, and usability after dark. By selecting proper fixture locations, using weather-resistant materials, and following safe wiring practices, you can achieve professional-quality results that last for years.
If you're planning a complete outdoor lighting upgrade, explore Dazuma's collection of Outdoor Wall Lighting, spotlights, and premium exterior fixtures designed to withstand the elements while elevating your home's curb appeal.