Lighting a luxury villa isn’t just about picking pretty fixtures—it’s about creating an experience. When a client approached us to supply 150 lights for a high-end villa, the goal wasn’t simply to “light up” the space. It was to shape mood, highlight architecture, and make every room feel intentional.
This kind of project sits at the intersection of design, logistics, and technical planning. From selecting statement chandeliers to coordinating installation timelines, every step required precision. In this case study, we’ll walk you through how the entire process unfolded—from concept to final glow.
Project Overview: Understanding the Client’s Vision
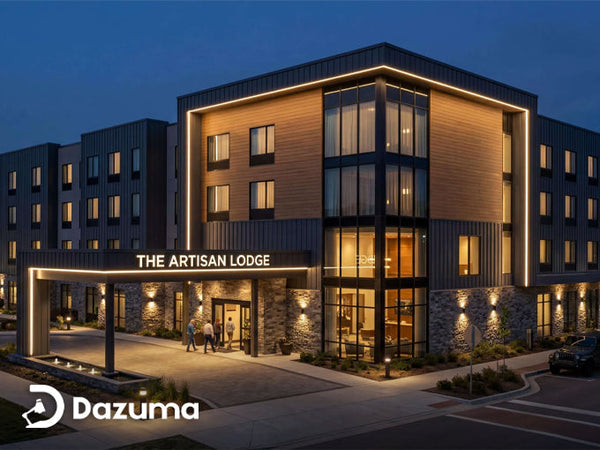
The villa itself was expansive, featuring multiple living areas, a large open kitchen, several bedrooms, spa-style bathrooms, and a landscaped outdoor space. The client wanted a modern luxury feel—clean lines, warm tones, and subtle sophistication.
But beyond aesthetics, they had practical needs:
- Comfortable lighting for everyday living
- Statement pieces for entertaining
- Seamless indoor-outdoor transitions
From day one, it was clear: this project wasn’t about individual fixtures—it was about creating a cohesive lighting story throughout the home.
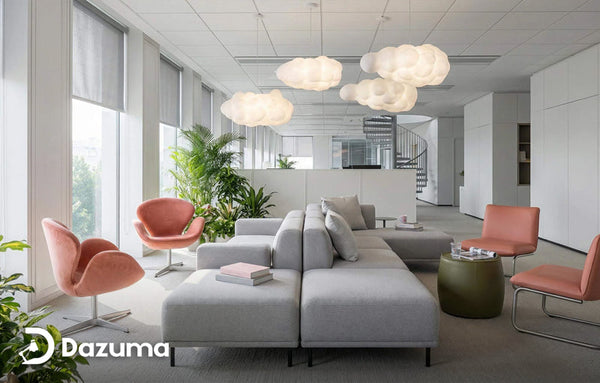
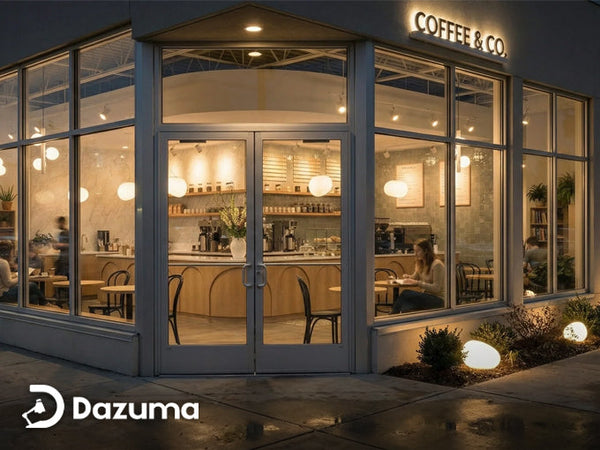
 A stylish living space featuring layered lighting for a cozy and sophisticated look.
Lighting Plan Strategy: From Concept to Blueprint
Instead of jumping straight into product selection, we started with a layered lighting plan. This is where many projects either succeed or fail.
We broke the design into three core layers:
- Ambient lighting for overall brightness
- Task lighting for functionality (kitchen, bathroom, etc.)
-
Accent lighting to highlight textures and focal points
Then we mapped everything room by room.
In the living room, we used a large chandelier as the centerpiece, supported by recessed lighting for balance. The kitchen featured pendant lights over the island paired with under-cabinet LEDs—practical but still stylish. Bedrooms leaned softer, with warm bedside lighting and subtle ceiling fixtures to create a relaxed vibe.
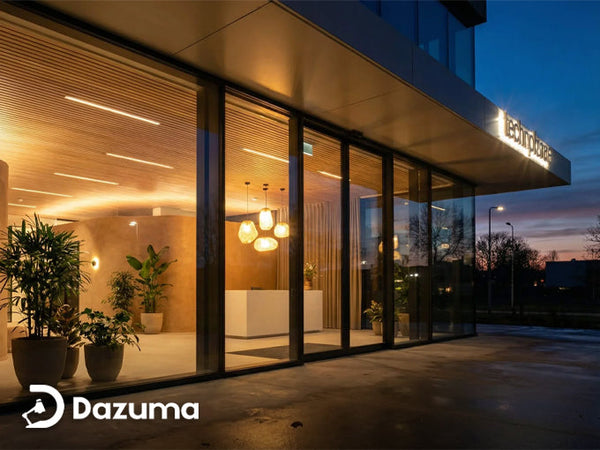
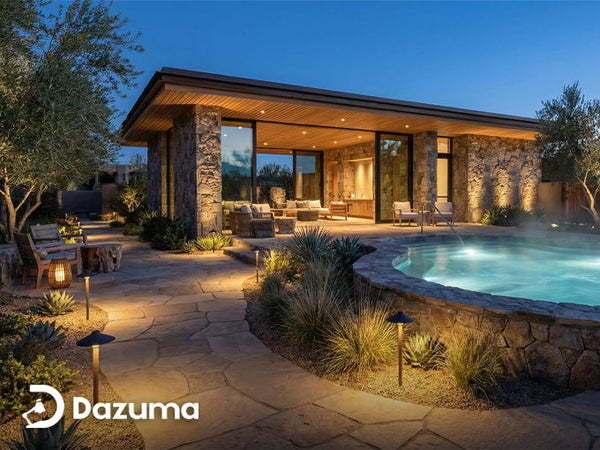
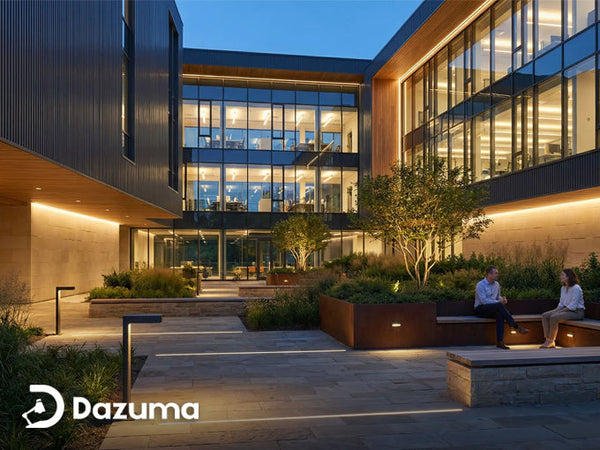
Outdoors, we focused on atmosphere. Pathway lights, wall sconces, and landscape lighting worked together to make the villa feel just as inviting at night as it did during the day.
Product Selection: Choosing the Right 150 Fixtures
Selecting 150 fixtures sounds overwhelming—but with a clear plan, it becomes manageable.
The key was consistency. Even though each room had different needs, everything had to feel connected. We stuck to a unified palette of materials—brushed metal finishes, warm glass tones, and a few natural textures to soften the look.
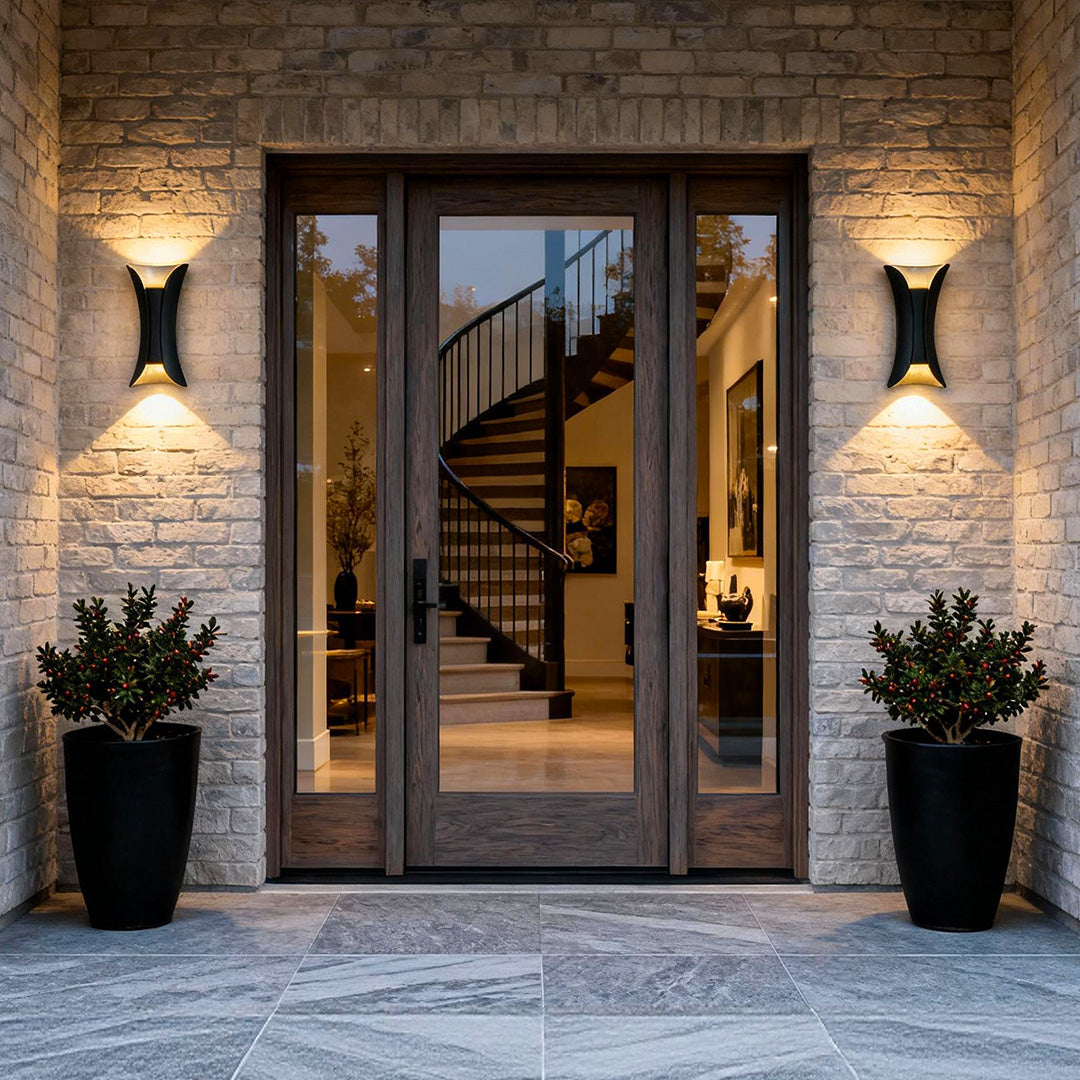
One major decision was balancing custom vs. ready-made fixtures. For statement areas like the entryway and dining room, we went custom. These pieces acted as visual anchors. For more functional spaces, we used high-quality standard fixtures to stay within budget and timeline.
We also leaned heavily into LED technology. Not only is it energy-efficient, but it also allowed us to fine-tune color temperature throughout the home. Warmer tones for relaxation areas, slightly cooler tones where clarity mattered—like kitchens and bathrooms.

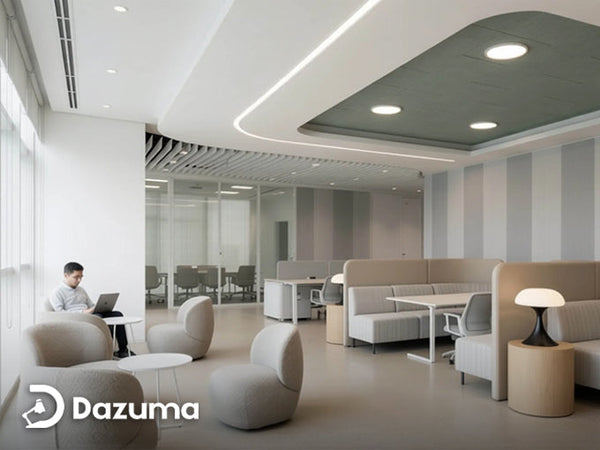
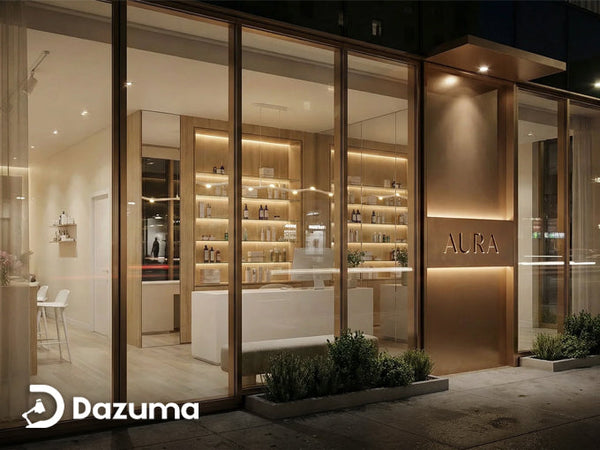
A curated collection of lighting designs showcasing versatility in style and function.
Logistics and Supply Chain Challenges
Here’s where things get real. Supplying 150 lights isn’t just about design—it’s a logistics game.
We had to coordinate multiple SKUs, ensure consistent finishes across batches, and manage production timelines carefully. Even a slight delay in one category could affect the entire installation schedule.
Shipping was another challenge. Many fixtures—especially chandeliers—are fragile and require specialized packaging. We built in extra protection and even included backup units for critical pieces, just in case.
Timing was everything. The construction team had their own schedule, and we had to align perfectly. That meant constant communication and a bit of flexibility when things inevitably shifted.
Installation Process: Turning Plans into Reality
Once everything arrived on-site, the focus shifted to execution.
We worked closely with electricians and contractors to ensure every fixture was installed correctly. Detailed installation guides helped minimize confusion, especially for more complex pieces.
Of course, no project goes exactly as planned. Ceiling heights needed adjustment. A few fixture placements had to be tweaked on the fly. That’s normal—and it’s why having a responsive team matters.
After installation, we fine-tuned everything:
- Adjusting light angles
- Testing dimmers
- Making sure color temperatures felt right in each space
This final step is often overlooked, but it’s what transforms “good lighting” into “great lighting.”
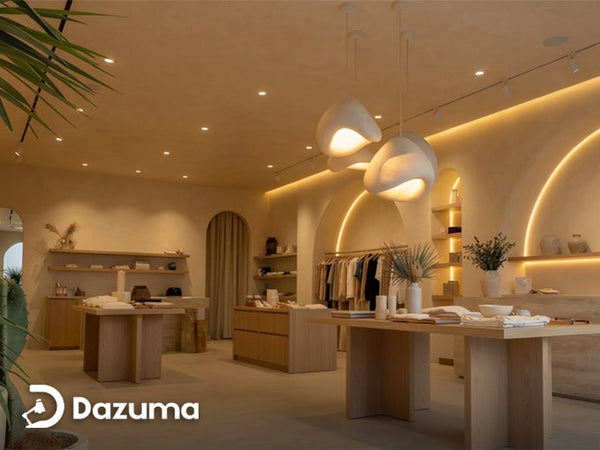
 Professional installation of a statement chandelier in a grand interior space.
Final Results: Before and After Impact
The transformation was dramatic.
During the day, the villa felt clean and elegant. At night, it came alive. The lighting added depth, warmth, and a sense of luxury that wasn’t there before.
The client’s feedback? They loved how each space had its own personality while still feeling connected to the overall design. That’s exactly what we aimed for.
Key Challenges and How They Were Solved
No large project is without hiccups.
- Shipping delays were handled by building buffer time into the schedule
- Minor fixture damage was solved with pre-ordered backup units
- Design adjustments were made quickly thanks to flexible sourcing
Cost Breakdown: What Does a 150-Light Project Cost?
While costs can vary widely, here’s a rough idea based on this project:
- Standard fixtures: $100–$500 each
- Statement pieces: $1,000–$5,000+
- Total project range: $25,000–$80,000+
The biggest lesson? Know where to invest. Spend more on focal points and save on functional lighting where possible.
Lessons Learned from This Luxury Lighting Project
A few things stood out:
- Start lighting design early—don’t treat it as an afterthought
- Always think in layers, not single fixtures
- Communication between teams is everything
- Order extra units—you’ll thank yourself later
These small decisions can have a big impact on the final result.
Tips for Homeowners and Designers Planning Similar Projects
If you’re planning a large-scale lighting project, here’s some real-world advice:
- Plan your lighting before construction wraps up
- Mix different types of lighting for depth and flexibility
- Don’t underestimate the importance of color temperature
- Work with suppliers who understand large orders
And most importantly—think beyond function. Lighting is one of the easiest ways to elevate a space.
Conclusion: Bringing Luxury Spaces to Life with the Right Lighting
This case study shows that lighting is more than just a finishing touch—it’s a core part of the design process.
Supplying 150 lights for a luxury villa required careful planning, strong coordination, and a clear vision. But when everything came together, the result was worth it.
If you’re working on a similar project, take the time to plan it right. Because in luxury spaces, lighting isn’t just seen—it’s felt.