Who This Is For: This guide is for homeowners planning backyard lighting who want better visibility around a patio, gate, lawn, or landscape feature—but do not want the yard to feel like a parking lot.
Quick Answer: Control the Beam Before You Add Brightness
Backyard flood lights look comfortable when the fixture is hard to see but the surface it illuminates is easy to see. Aim the beam down or across a wall, tree canopy, gate, or work area; keep its brightest center away from seats and windows; and use the lowest output that completes the task. For everyday residential light, warm white around 2700K to 3000K usually blends more naturally with wood, brick, foliage, and skin tones than blue-white light.
The biggest mistake is asking one bright flood light to do every job. A single exposed source creates a white hot spot, deep black shadows, and uncomfortable glare. A calmer plan uses flood light only where broad task coverage is genuinely useful, then adds a small amount of lower-level path, wall-wash, or landscape light so the background does not disappear. You can compare suitable fixture types in the Flood Lights, Outdoor Spotlights, and Wall Wash Lighting collections.
Why Backyard Flood Lights Can Feel So Harsh
Homeowners often blame wattage alone, but harshness usually comes from three conditions working together: you can see the glowing face of the fixture, one large area is evenly blasted with light, and everything beyond that area remains nearly black. Your eyes adapt to the brightest thing in view, so the rest of the yard becomes harder—not easier—to read.
Direct Glare
If someone on the patio, at the kitchen sink, or approaching a gate can look straight into the LEDs, the light is aimed too high or mounted in the wrong sightline. Tilting it a few degrees may help, but a visor, shield, deeper mounting position, or different fixture can be more effective. Never solve glare by merely adding another bright light.
Flat, Wall-to-Wall Brightness
A yard is not a warehouse floor. Trees, masonry, steps, and planting beds look more dimensional when light has a clear hierarchy. Decide what should be brightest, what only needs a faint edge, and what can remain dark. Darkness is part of the design; it gives illuminated features contrast and keeps a backyard restful.
Spill Beyond the Property
Light aimed horizontally can reach a neighbor's bedroom, the street, or the sky long after it stops helping you. DarkSky International's Five Principles for Responsible Outdoor Lighting are a useful design filter: make light purposeful, targeted, low-level, controlled, and warm-colored. Their advice is not about making a yard unsafe; it is about putting light only where and when it earns its place.
Hide the Source, Reveal the Surface
Before changing the lamp, sit in every chair and walk the normal route from the house to the yard. If you see the emitting face, adjust the location or shielding. The practical goal is simple: see the step, table, gate latch, or tree—not the lamp doing the work.
A Five-Step Plan for Softer Backyard Flood Lighting
1. Give Every Flood Light One Job
Write the job beside each proposed fixture on your sketch: grill task light, side-gate access, play area, tree accent, or occasional security. If the label is simply “make the whole yard brighter,” pause. That broad goal usually produces too much output and poor placement. Start with the activity that actually needs light, then size the beam to it.
2. Aim at a Surface, Not Into Open Space
A beam becomes useful when it lands on something. Aim down toward the driveway apron, across textured masonry, into the lower half of a tree canopy, or onto a gate area. Avoid aiming from ground level toward eye height beside a dining or conversation area. Uplighting can be beautiful on a specimen tree, but the beam should terminate within the foliage instead of shooting through an open crown.
3. Keep Everyday Light Warm and Modest
For patios and residential landscaping, 2700K feels similar to warm interior light, while 3000K reads a little crisper without usually becoming clinical. Cooler light can be appropriate for a short-duration work or security task, but it attracts attention and can make foliage and skin look hard. If color temperature is still unfamiliar, see the practical comparison in 2700K vs. 3000K vs. 4000K Outdoor Lighting.
4. Lift the Background Gently
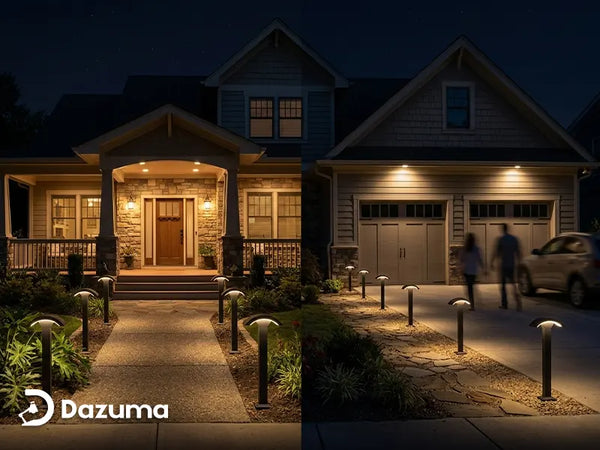
If the patio is bright and the yard behind it is black, do not automatically brighten the patio again. Add one or two low-output points farther back: a shielded path light, a soft wall wash, or a narrow accent on a tree. This reduces the dramatic contrast your eyes must manage and makes the yard feel deeper. The secondary layer should be quieter than the main task light.
Think in Foreground, Middle Ground, and Background
Let a low step light define the foreground, a controlled flood support the grill or play zone, and one soft tree or wall accent hold the background. Three restrained layers often feel more comfortable than one powerful source, even when the total light output is lower.
5. Put the Light on a Schedule or Sensor
Task and security flood lights rarely need to run at full output all night. Use a timer, motion sensor, or suitable lighting control so the fixture operates during activity and turns off afterward. Make sure the control is electrically compatible with the fixture and driver. A light that performs beautifully for twenty minutes can become a neighborhood nuisance when left on until dawn.
Where and How to Aim Backyard Flood Lights
| Area or Task | Better Placement | Operating Strategy | Avoid |
|---|---|---|---|
| Grill or prep counter | Above and slightly in front of the worker; aim down at the surface | Manual switch; on only while cooking | Mounting behind the cook and creating a body shadow |
| Gate or side yard | High enough to cover latch and walking surface; aimed inside the property | Motion activation with short hold time | A horizontal beam into bedroom windows |
| Lawn or play area | Two controlled directions from edges if needed, aimed across and down | Use only during active play or cleanup | One low, eye-level source facing players |
| Tree or sculpture | Offset from the viewing axis; terminate beam on the feature | Evening schedule; off overnight | Lighting every tree equally or aiming beyond the canopy |
| Patio seating | Use reflected or shielded light around the perimeter | Warm, lower-level layer with manual control | A visible flood-light face over the sofa or dining table |
Mounting height cannot be reduced to one universal number. Beam angle, fixture output, yard depth, eaves, fences, trees, and local code all change the answer. The dependable method is to start with the manufacturer's allowed mounting range, aim the beam below normal sightlines, and test from the actual chairs, doors, windows, and property edge.
When a High-Output Flood Light Makes Sense
A high-output fixture can be appropriate for a large play surface, detached barn, broad utility area, long driveway apron, or occasional cleanup and security work. It is usually the wrong starting point for mood lighting beside a small patio. In a typical backyard, place a powerful fixture away from conversation seating, aim it tightly onto the task zone, and control its operating hours.
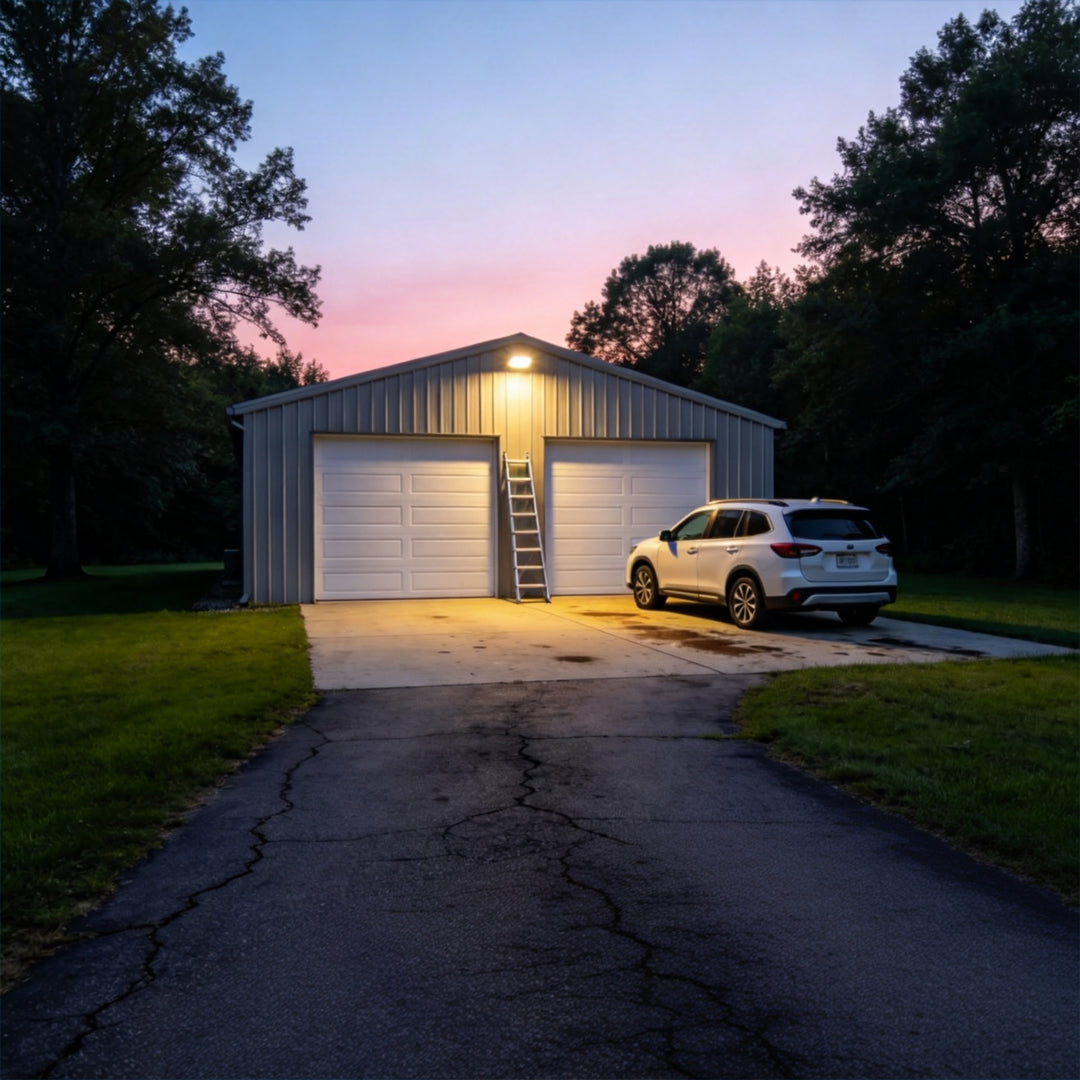
LED Flood Light Lamps Modular Waterproof Outdoor Light
This IP65 aluminum-and-tempered-glass fixture is offered in 50W, 100W, 150W, and 200W versions, with 110–277V hardwired power and 6000K daylight-white output. It is designed for broad, high-visibility applications rather than soft patio ambience.
Designer note: Consider the lowest suitable wattage and reserve it for a large task or security zone. Because 6000K is visually crisp and attention-getting, shield it from seating and neighboring windows and keep it on a switch, timer, or compatible sensor instead of using it as an all-night landscape wash.
Listed price: From $188.99 at the time of writing. Confirm the selected wattage, dimensions, and installation requirements on the product page.
Check Wattage and DimensionsThis is also where many projects go wrong: a fixture engineered for arenas, industrial facilities, or large outdoor areas gets mounted twelve feet from a dining table. The fixture may be performing exactly as designed while feeling completely wrong for the setting. Product suitability depends on scale and purpose, not simply whether the housing is weather-resistant.
How to Use Colored Flood Lights Without Turning the Yard Into a Stage
Colored light is most convincing when it has one focal point and a reason. Use it on a single tree, sculpture, textured wall, or party backdrop, while keeping paths and faces in warm white light. Washing the fence, lawn, house, and planting beds in different saturated colors at once makes the yard visually noisy and can distort depth.
For normal evenings, warm white should remain the visual baseline. Save stronger RGB effects for a gathering, holiday, or special event, and turn them off afterward. If you want a restrained look, choose one color at a time and let surrounding areas remain quiet. Before buying an RGB fixture, confirm how color selection works with the complete control and power setup; “RGB” does not automatically mean an app, remote, or dimming capability.
One Color, One Feature, One Occasion
A useful rule is to stop after the first colored focal point and look again. If it already creates the mood, more color will dilute the effect. Keep colored light out of direct sight and do not let it become the brightest element seen from inside the house.
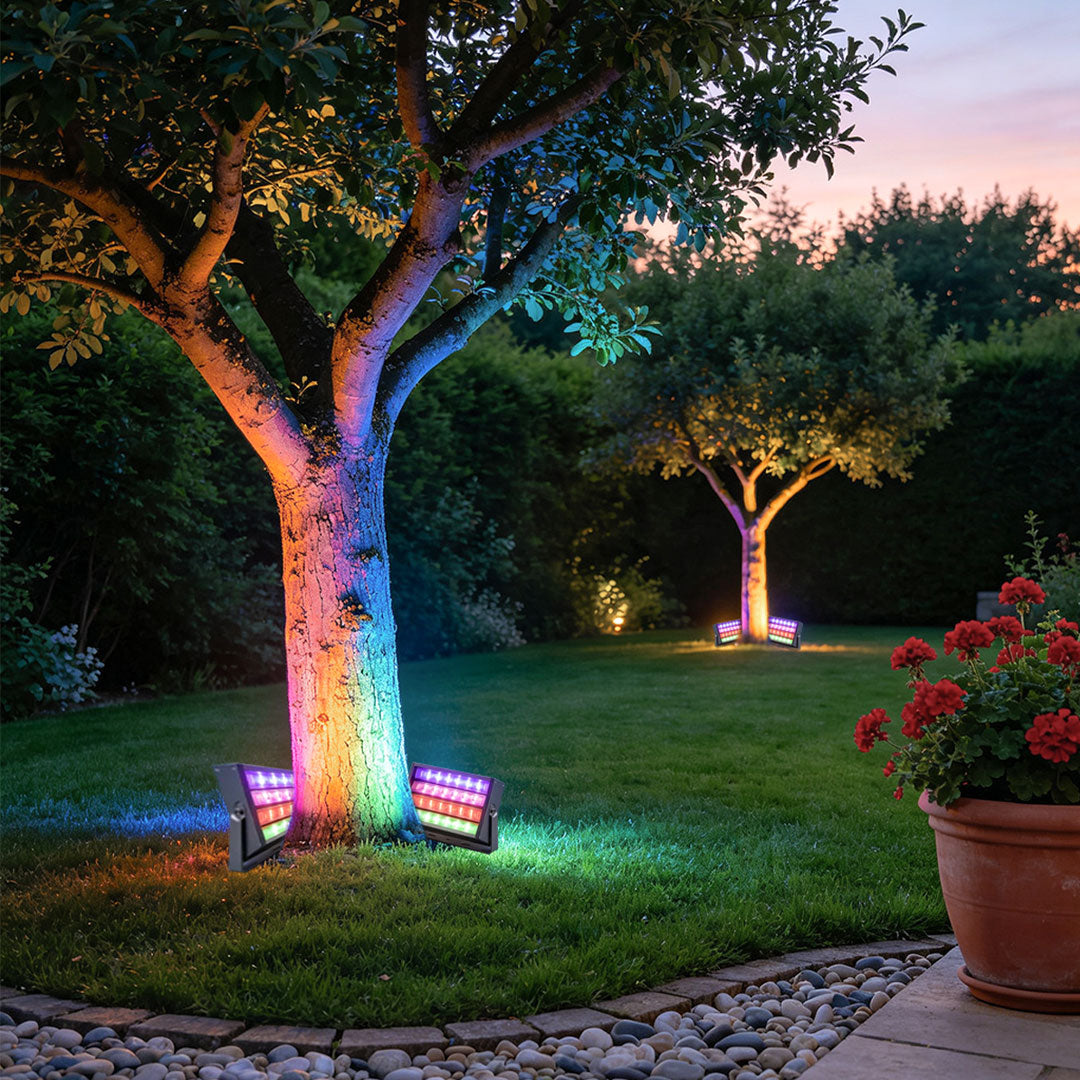
Colored Flood Lights Modern Outdoor RGB LED Metal Light
This hardwired DC24V RGB fixture comes in 48W and 72W versions. Its gray aluminum housing, glass cover, wall-mount bracket, and IP65 rating suit outdoor landscape applications such as trees, sculptures, and garden corners.
Designer note: Treat this as a high-brightness feature light, not general patio fill. Aim it at one substantial surface, shield the lamp face from the main viewing direction, and use it during planned evening hours. The product page lists wall-switch control but does not explain the color-selection method, so confirm the complete control and power-supply requirements before purchase.
Listed price: $420.99 at the time of writing. Review the 48W and 72W options with your installer.
Review RGB Fixture DetailsDo This Nighttime Test Before Final Tightening
Temporary aiming is one of the best favors you can do for yourself. After the sun is fully down, turn on one fixture at a time. Adjust slowly, then secure the bracket only after checking the light from all normal viewpoints. If possible, ask a second person to stand at the fixture while you call out small changes from the patio.
- Sit down. Check every dining and lounge seat. No one should stare into the emitting face.
- Walk the route. Move from the back door to the gate, grill, steps, and bins. Watch for body shadows and sudden glare.
- Go indoors. Look through kitchen, living-room, and bedroom windows. Outdoor light should not dominate the interior view.
- Check the boundary. Stand at the fence or property edge and confirm the beam ends on your surface.
- Take a phone photo. A blown-out white patch often reveals overlighting that your eyes began to tolerate.
- Repeat after plants grow. Seasonal foliage can block, reflect, or redirect a beam months later.
A Real-World Fix Often Costs Nothing
On one backyard consultation, the owners expected to replace a glaring garage-mounted flood. We first rotated it farther down and slightly toward a pale masonry wall, then limited its runtime to dog walks and cleanup. The reflected light made the gate readable, while the patio stopped feeling exposed. The lesson was not that every fixture can be saved—it was that aiming and operation deserve a proper test before more products are added.
If light reaches beyond your lot or makes the night sky noticeably brighter, revisit shielding, angle, output, and hours of operation. The broader guide to choosing outdoor lights while reducing light pollution provides more context for neighbor-friendly planning.
Backyard Flood Light Buying and Installation Checklist
- Purpose: Name the exact surface or activity the fixture will illuminate.
- Beam: Choose broad flood coverage for a true task zone; use a narrower spotlight for a single feature.
- Output: Start with the lowest practical wattage or lumen package and avoid buying by maximum brightness alone.
- Color temperature: Favor 2700K–3000K for everyday residential ambience; use cooler light selectively and briefly.
- Glare control: Look for an adjustable bracket, shielding options, and a location where the lamp face can stay out of view.
- Weather exposure: Verify the fixture's listed outdoor rating against the actual wet or damp location.
- Controls: Confirm compatibility with the intended switch, timer, sensor, dimmer, driver, or transformer.
- Power: Match voltage and wiring requirements exactly; do not assume all LED flood lights connect the same way.
- Neighbors and code: Check local lighting rules, HOA requirements, and nearby bedroom windows before installation.
- Electrical safety: Use a qualified electrician for new hardwired outdoor circuits, drivers, and wet-location connections.
Conclusion
The best backyard flood lighting is not the brightest setup. It is the one that lets you cook, walk, play, or secure the gate without noticing the fixture every few seconds. Give each light a job, aim it at a surface, keep the source out of normal sightlines, add only enough background light to soften contrast, and control when it runs.
If you remember one test, make it this: sit where you actually relax. When you can see the people, steps, and selected landscape features—but not a glaring LED panel or a glowing neighbor's window—the backyard will feel both safer and more like home.