Fluorescent light fixtures have long been a practical lighting solution for kitchens, garages, offices, laundry rooms, and basements. However, many homeowners today are replacing outdated fluorescent fixtures with modern LED alternatives that offer better energy efficiency, cleaner aesthetics, and lower maintenance requirements.
If you are wondering how to change a fluorescent light fixture, the process is usually straightforward when handled carefully. With the right tools and proper safety precautions, replacing an old fluorescent fixture can dramatically improve the appearance and functionality of your space.
Why Homeowners Replace Fluorescent Light Fixtures
Traditional fluorescent fixtures often develop buzzing noises, flickering tubes, inconsistent brightness, or ballast failures over time. Modern LED lighting solutions eliminate many of these issues while consuming less electricity and lasting significantly longer.
| Lighting Type | Average Lifespan | Energy Efficiency | Maintenance |
|---|---|---|---|
| Fluorescent Fixture | 7,000–15,000 Hours | Moderate | Ballast & Tube Replacement |
| LED Fixture | 25,000–50,000 Hours | Excellent | Minimal |
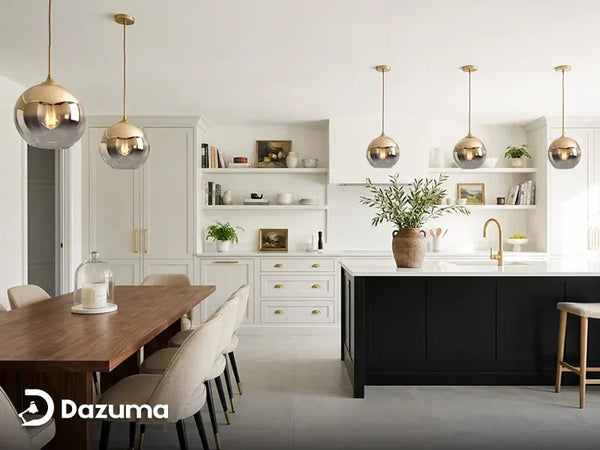
Modern lighting also gives homeowners greater design flexibility. Replacing a bulky fluorescent fixture with sleek ceiling lights or elegant pendant lighting can instantly modernize an outdated room.

Tools Needed To Change A Fluorescent Light Fixture
Before starting the project, gather all required tools and safety equipment. Proper preparation helps ensure a smooth and safe installation process.
- Voltage tester
- Screwdriver set
- Wire stripper
- Electrical tape
- Wire connectors
- Ladder
- Safety gloves and goggles
Always shut off power at the circuit breaker before touching any electrical wiring. Use a voltage tester to confirm that the power is completely off before removing the fixture.
Step-By-Step Guide To Changing A Fluorescent Light Fixture
Step 1: Turn Off The Power
Locate the appropriate breaker in your electrical panel and switch off power to the fixture. Never rely solely on the wall switch for safety.
Step 2: Remove The Fluorescent Tubes
Carefully rotate and remove the fluorescent tubes from the fixture. Store them safely to avoid breakage, since fluorescent bulbs contain small amounts of mercury.
Step 3: Remove The Fixture Cover
Most fluorescent fixtures have a lightweight metal or plastic cover secured with clips or screws. Remove the cover to expose the wiring and mounting hardware.
Step 4: Disconnect The Wiring
Use a voltage tester again before disconnecting wires. Remove the wire nuts connecting the fixture wires to the ceiling wiring. Typically, you will see black (hot), white (neutral), and green or bare copper (ground) wires.
If the existing wiring appears damaged or outdated, consult a licensed electrician before proceeding. Older homes sometimes contain unsafe wiring configurations that require professional upgrades.
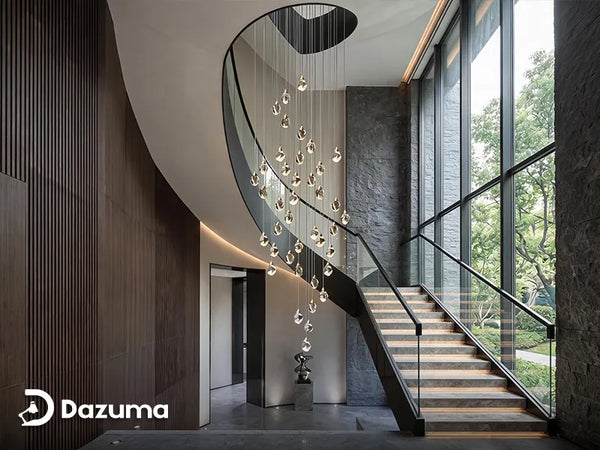
Many homeowners replacing fluorescent lights also take the opportunity to upgrade to decorative modern chandeliers or stylish wall sconces for a more customized interior design.

Step 5: Install The New Fixture Mounting Bracket
Most new fixtures include a mounting bracket that attaches directly to the electrical box. Secure the bracket firmly using the provided screws.
Step 6: Connect The New Wiring
Match the corresponding wires from the new fixture to the ceiling wiring:
| Fixture Wire | Connects To | Purpose |
|---|---|---|
| Black | Black Ceiling Wire | Power Supply |
| White | White Ceiling Wire | Neutral Connection |
| Ground Wire | Ground Screw or Copper Wire | Electrical Safety |
Secure all connections tightly using wire nuts and wrap with electrical tape if needed.
Step 7: Attach The New Fixture
Carefully mount the new fixture according to the manufacturer’s instructions. Restore power at the breaker and test the light.

Should You Replace Fluorescent Fixtures With LED?
For most homeowners, the answer is yes. LED fixtures provide several major advantages:
- Lower energy consumption
- Longer lifespan
- Reduced maintenance
- Cleaner modern appearance
- Instant full brightness
- No fluorescent buzzing or flickering
LED fixtures are also available in a wide range of styles, from minimalist flush mounts to statement lighting pieces that enhance interior décor.
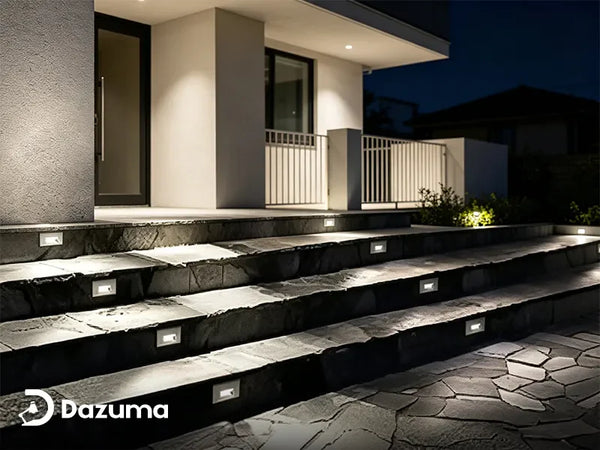
If you are upgrading outdoor utility spaces, modern outdoor wall lights can also improve safety, visibility, and curb appeal around garages, patios, and entryways.
When To Call A Professional Electrician
Although many fluorescent fixture replacements are DIY-friendly, certain situations require professional help. Contact a licensed electrician if:
- The wiring appears damaged or overheated
- The ceiling box feels loose or unstable
- You are installing a heavy fixture
- Your home has outdated electrical systems
- You are uncomfortable working with electricity
Professional installation ensures compliance with local electrical codes while reducing the risk of wiring errors or future safety issues.
Final Thoughts
Learning how to change a fluorescent light fixture is a valuable home improvement skill that can dramatically improve both the style and functionality of your living space. With proper preparation and safety precautions, many homeowners can successfully complete the project in just a few hours.
At Dazuma, we offer a wide selection of premium indoor and outdoor lighting designed to help homeowners upgrade outdated spaces with beautiful modern illumination. Explore our curated collections of ceiling lights, pendant lighting, chandeliers, and wall sconces to find the perfect fixture for your next lighting upgrade.