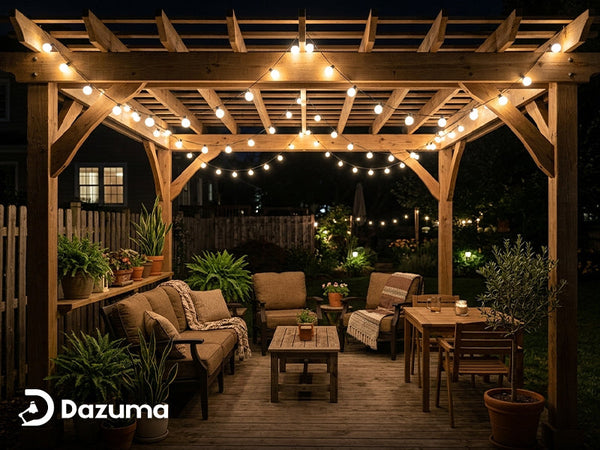
Landscape lighting is one of the most effective ways to improve curb appeal, increase outdoor safety, and create a warm atmosphere around your home. Whether you want to illuminate garden paths, highlight architectural features, or enhance backyard entertaining spaces, learning how to connect landscape lighting properly is essential for long-lasting performance and safety.
Most residential landscape lighting systems use low-voltage power, making them easier and safer to install compared to standard line-voltage outdoor wiring. With the right planning, transformer size, and cable connections, homeowners can create a professional-looking outdoor lighting setup that dramatically enhances their property.
How Landscape Lighting Systems Work
A low-voltage landscape lighting system typically includes four main components:
- Transformer
- Low-voltage cable
- Landscape light fixtures
- Connectors and timers
The transformer converts standard 120-volt household electricity into safer 12-volt power suitable for outdoor lighting systems. Low-voltage cables then distribute power throughout the landscape lighting layout.
| Component | Purpose | Typical Lifespan |
|---|---|---|
| Transformer | Converts 120V to 12V | 10–15 Years |
| LED Landscape Lights | Outdoor illumination | 25,000–50,000 Hours |
| Low-Voltage Cable | Transfers power | 10+ Years |
Modern landscape lighting systems are highly energy-efficient, especially when paired with LED fixtures designed for outdoor environments.

Step 1: Plan Your Landscape Lighting Layout
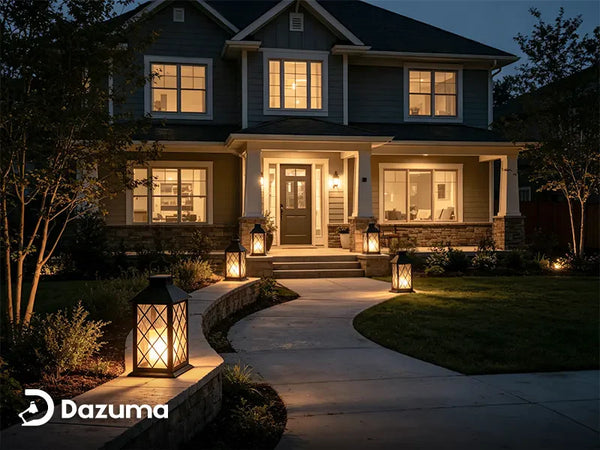
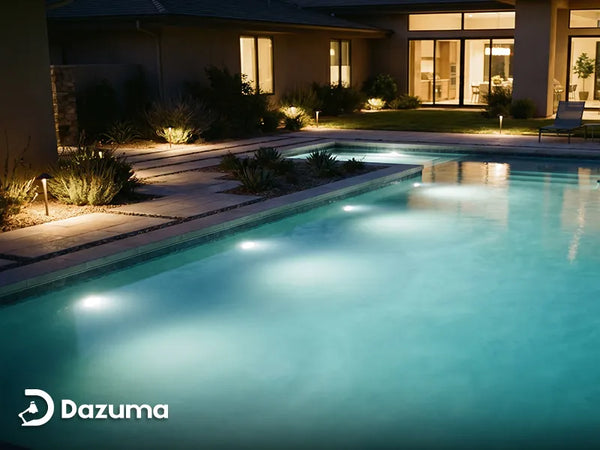
Before installing any wiring, map out the locations of all fixtures. Focus on key outdoor areas such as pathways, trees, flower beds, patios, and entryways.
Common landscape lighting fixture types include:
- Path lights
- Spotlights
- Flood lights
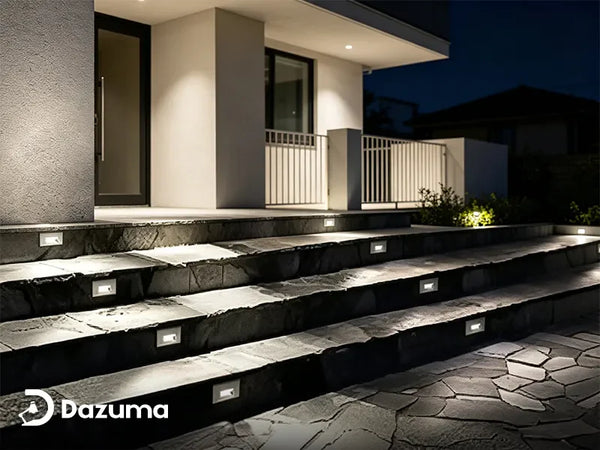
- Deck lights
- Well lights
Proper fixture spacing prevents uneven lighting and excessive brightness. Most pathway lights are spaced approximately 6 to 8 feet apart for balanced illumination.
Many homeowners combine pathway fixtures with decorative outdoor wall lighting to create layered exterior lighting effects around entrances and patios.
Step 2: Choose The Correct Transformer Size
Transformer sizing is critical for maintaining proper voltage throughout the lighting system. To calculate transformer requirements, add together the wattage of every fixture in your layout.
The general formula is:
Total Fixture Wattage × 1.2 = Recommended Transformer Capacity
For example, if your lighting system uses 120 watts total, you should select at least a 150-watt transformer to provide additional capacity and prevent overload.
| Total Fixture Wattage | Recommended Transformer |
|---|---|
| Up To 60W | 75W Transformer |
| 60W–120W | 150W Transformer |
| 120W–240W | 300W Transformer |
Step 3: Connect The Low-Voltage Wiring
After positioning the fixtures, lay the low-voltage cable along the planned lighting path. Avoid placing cables near sharp rocks, sprinkler lines, or areas prone to digging.
Use weather-resistant landscape lighting connectors to attach fixtures to the main cable. Most modern systems use pierce-style connectors that simplify installation.
When connecting the cable:
- Keep wire connections tight
- Avoid excessive cable bends
- Leave slight slack for adjustments
- Protect exposed wiring from moisture
Professional-grade outdoor lighting fixtures often include better waterproofing and corrosion resistance for long-term durability.

Step 4: Test The Lighting System
Before burying the cable, test the entire system to ensure all fixtures operate correctly. Check for:
- Consistent brightness
- Secure wire connections
- Transformer operation
- Timer functionality
If certain fixtures appear dim, voltage drop may be occurring due to excessive cable length or overloaded circuits. Splitting the lighting system into multiple cable runs often helps improve performance.
Step 5: Bury And Secure The Wiring
Once testing is complete, bury the low-voltage cable approximately 4 to 6 inches underground. In garden beds, the cable can often be hidden beneath mulch for easier future access.
Take extra care around pathways, driveways, and lawn edges where digging or landscaping work may occur later.

Common Landscape Lighting Mistakes To Avoid
Even simple low-voltage systems can experience problems if installed incorrectly. Avoid these common mistakes:
- Using an undersized transformer
- Overloading a single cable run
- Improper waterproof wire connections
- Installing fixtures too close together
- Using indoor-rated fixtures outdoors
For entryways and exterior walls, pairing landscape lighting with stylish outdoor wall lanterns creates a more complete and balanced exterior lighting design.
Final Thoughts
Learning how to connect landscape lighting allows homeowners to transform outdoor spaces while improving nighttime visibility and curb appeal. With proper planning, transformer sizing, and waterproof connections, a low-voltage lighting system can provide years of reliable performance.
At Dazuma, we offer premium outdoor lighting solutions designed to enhance modern landscapes, patios, walkways, and exterior architecture. Explore our curated collections of landscape lighting, outdoor wall lights, and decorative exterior fixtures to create a beautiful outdoor environment that feels both welcoming and functional.