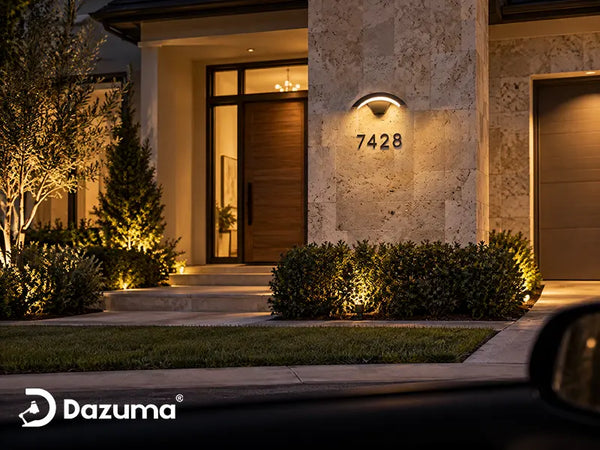
Who This Is For: This guide is for homeowners planning exterior lighting who want their house and landscape to look welcoming after dark—but do not want harsh beams, random bright spots, light shining into windows, or a yard that feels overlit.
Good Spotlighting Reveals the House Instead of Flooding It
Outdoor spotlights are often added one at a time until the yard becomes a collection of unrelated beams—one too bright, one blocked by leaves, and another aimed at a window or the sky.
A better plan starts with what should be visible from the street, driveway, patio, and inside the house. One illuminated tree, a softly defined entry wall, and limited path guidance often create more depth than lighting every foundation shrub.

Quick Answer: Where Should Outdoor Spotlights Go?
Place outdoor spotlights where they can illuminate a specific vertical or sculptural feature without shining directly into a person’s eyes. The most useful locations are:
- At the base of selected trees with attractive trunks or canopies.
- Several feet from a facade to reveal stone, brick, columns, or rooflines.
- Near the front entry to emphasize the address wall, porch columns, or landscaping—not the door viewer’s face.
- At driveway curves, path intersections, and grade changes where orientation is needed.
- Near sculptures, large planters, textured fences, and garden walls.
- At side-yard transition points where a completely dark passage feels uncomfortable.
Avoid aiming beams toward bedroom windows, neighboring properties, drivers, pedestrians, or open sky. Responsible outdoor lighting principles favor light that is useful, targeted, no brighter than necessary, active only when needed, and warmer in color when possible.
A Simple Outdoor Spotlight Placement Framework
First, Choose the Viewing Direction
Walk the property at dusk and identify the main street, driveway, entry, patio, and indoor views. A feature may deserve light from one direction but disappear behind plants from another.
Second, Choose One Purpose for Each Fixture
Give each fixture one primary job: focal point, orientation, boundary, or background depth. One beam rarely lights a tree, walkway, address, and driveway well at the same time.
Third, Decide What Should Remain Dark
Darkness creates separation. Keeping lawns and ordinary shrubs quiet makes selected trees and walls more noticeable.
Finally, Test Before Permanently Mounting
Temporarily place ground fixtures, then change distance and tilt after dark while checking important views and nearby windows.
Homeowners building a broader exterior plan can compare fixture roles in Outdoor Lighting rather than expecting spotlights to replace path, wall, and entry lighting.

Design From the View, Not From the Fixture
Stand where people will actually see the house. A light hidden perfectly in a planting bed is not useful if its beam misses the feature from the main arrival view.
Where to Place Spotlights on the Front Facade
Use Spotlights to Break Up a Wide, Flat Elevation
Break up a wide facade by selecting two or three elements—stone, columns, a gable, or a nearby tree—instead of lighting the whole elevation equally.
Move the Fixture Away From the Wall for a Softer Effect
A fixture close to brick or stone creates strong texture; moving it farther away softens and spreads the effect. Adjust for wall height, beam spread, and surface texture.
Aim Between Windows, Not Into Them
On two-story walls, aim at masonry, trim, or roof details rather than windows. Always check the result from inside nearby rooms.
Do Not Compete With Porch Lights
Let porch sconces handle faces and locks while spotlights support nearby architecture. Keep beams below eye level and avoid overpowering the doorway.
The Outdoor Spotlights collection is useful for comparing focused fixtures, while wall-washing applications may be better served by dedicated wider-distribution lighting.
Where to Place Spotlights for Trees and Garden Features
Place the Light Near the Drip Line for a Full Tree
To reveal trunk and canopy, place the fixture some distance from the tree and aim through selected branches rather than directly into dense foliage.
Use Close Uplighting for Bark Texture
Close uplighting emphasizes bark and lower branches but creates stronger shadows. Use lower output and stop the beam within the canopy.
Light Fewer Plants With More Intention
Avoid lighting every shrub. Choose distinctive forms such as a multi-trunk tree, ornamental grass, specimen agave, or sculpted evergreen.
Use Cross-Lighting for Sculptures and Large Planters
For sculpture, one main beam and a weaker fill can reveal depth without producing two equally visible sources.
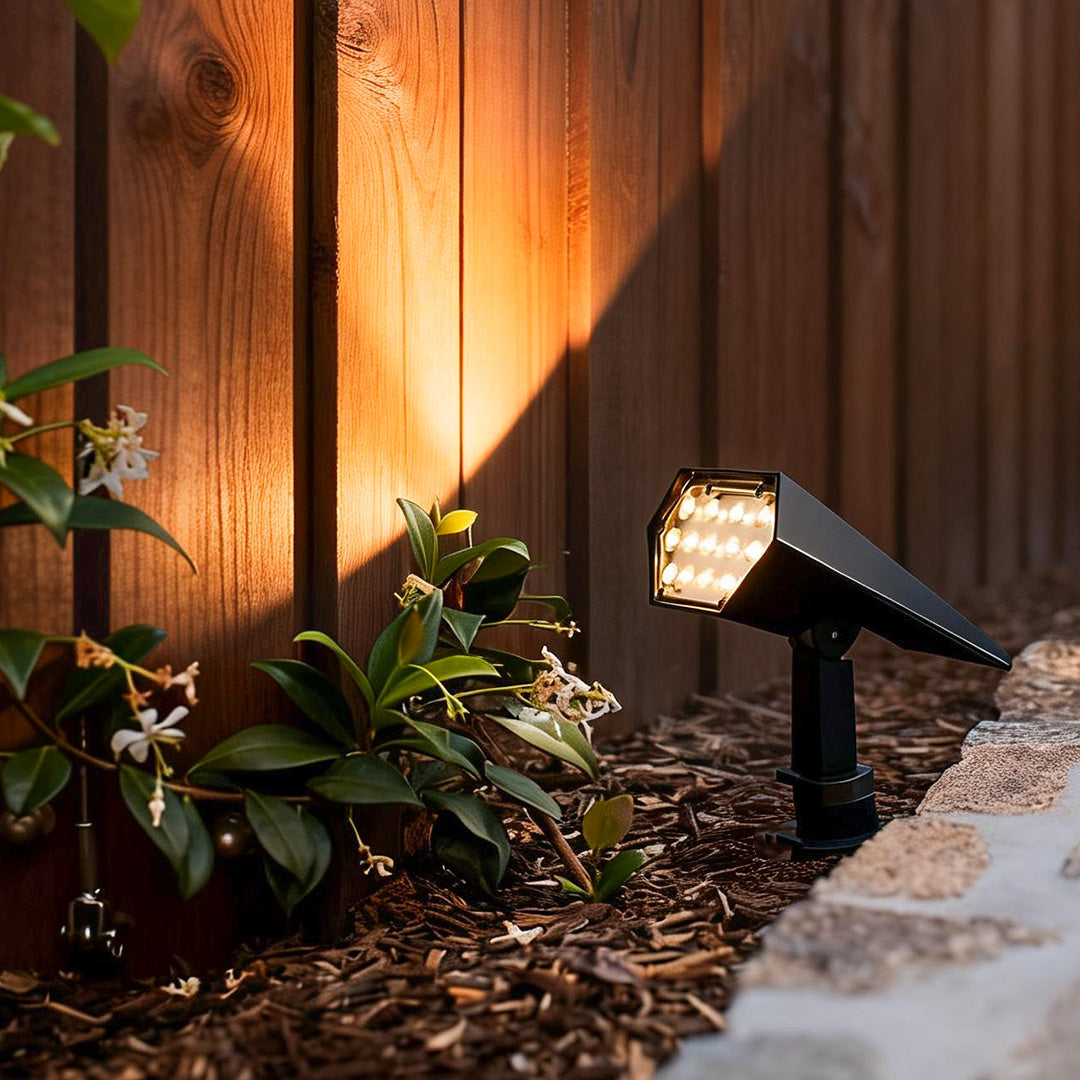
Warm Accent Lighting for Plants and Fences
Flood Spike Light Adjustable Angle Solar Spotlight
Current Page Price: $165.99 for the selected set of two
Best for small trees, shrubs, wood fences, planters, and garden focal points where a modest warm beam or occasional RGB color is more useful than broad security lighting.
- The lamp head and solar-panel angle can be adjusted for aim and charging.
- A listed 4.5–6 hour charge supports approximately 10–12 hours of operation.
- Multiple pack sizes support repeated accents across a larger planting bed.
For a deeper overview of beam use, fixture aiming, and landscape applications, see Master Outdoor Spotlights: A Professional Landscape Lighting Guide.
Use the Tree to Catch the Beam
Aim through the trunk and canopy so the light ends on foliage. If a bright beam continues past the tree into the sky or a neighbor’s window, lower the angle or move the fixture.

Spotlights Near Entries, Paths, Driveways, and Steps
Use Them at Decision Points, Not Along Every Foot of Path
Use spotlights where a path splits, a driveway curves, the grade changes, or a gate appears. Path lights are better for continuous guidance.
Light the Surface or Landmark Beside the Step
Near steps, illuminate an adjacent wall or planter rather than aiming directly at the person climbing.
At a Driveway, Protect the Driver’s View
At driveway curves, light a tree, wall, address marker, or planting edge—never approaching drivers or the street.
Use the Front Entry as the Brightest Functional Zone
Keep the entry recognizable without making it dramatically brighter than everything around it.
Spotlight Placement for Fences, Boundary Walls, and Side Yards
Highlight Fence Texture Selectively
Light fence sections that back a seating area, important plant, or indoor view. Lighting the full boundary can make a small yard feel enclosed.
Use a Side Yard Light at the Transition
A side passage may need only a gate, wall texture, or far-end planting as a visual anchor. Hide the source from anyone turning the corner.
Consider a Base-Mounted Fixture on Hardscape
On hardscape, a base-mounted light may be more stable than a spike. Keep it out of foot, mower, and vehicle paths while preserving panel sun exposure.
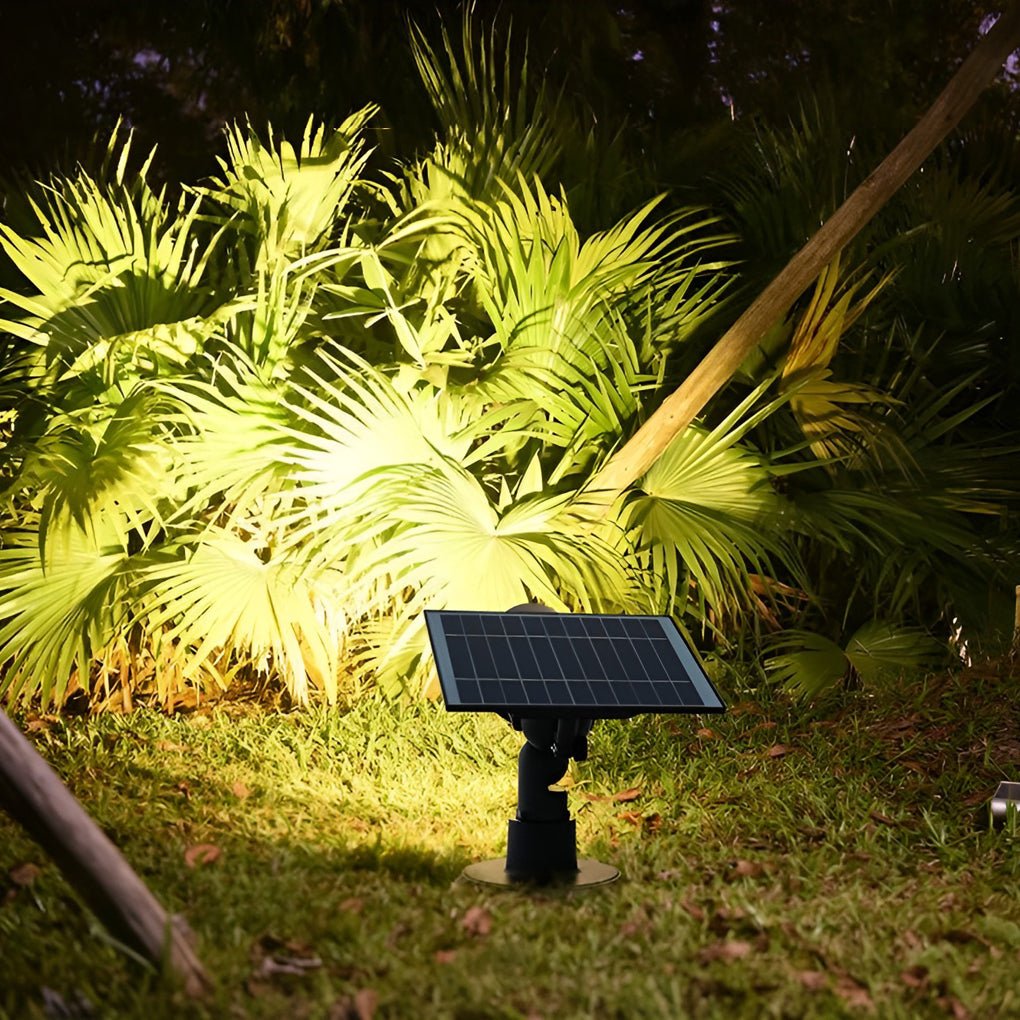
Flexible Placement on Soil or Hardscape
Lawn Spot Lights Outdoor Adjustable Solar Tree Light
Current Page Price: $109.99 for one fixture
Best for trees, courtyard walls, facade accents, and paved or planted locations where ground-insert and base-mounted options provide more installation flexibility.
- The solar panel and lamp head adjust independently.
- A listed five hours of direct sun supports approximately ten hours of operation.
- Ground-insert and base-mounted versions suit planting beds or solid surfaces.
Where Solar Spotlights Need Sun
Do Not Put the Solar Panel in the Same Shade You Want to Illuminate
Do not place the entire solar fixture under the canopy it lights. Aim the lamp at the feature while the adjustable panel faces open sky and stronger sun.
Check the Site at Several Times of Day
Observe the site at several times of day because buildings and seasonal foliage change panel exposure.
Keep Panels Away From Irrigation Spray and Debris
Avoid standing water, repeated sprinkler spray, buried mulch, and leaf buildup. Clean the panel periodically.
Expect Seasonal Changes
Day length, clouds, temperature, cleanliness, and shade change solar runtime, so listed operating time is not guaranteed at every site. See How To Place Solar Lights In Landscaping for more planning detail.
You can compare solar-specific formats in Solar Spotlight and the broader Outdoor Solar Lights collection.

Beam Direction, Glare, Color, and Spacing
Aim the Beam at a Surface That Will Stop It
End the beam on a wall, trunk, canopy, fence, or sculpture. Reduce the upward angle if light continues beyond the feature.
Hide the Bright Source From Normal View
Use a low plant, rock, or landscape edge to shield the LED face when this does not block charging or trap water.
Use Warm White for Everyday Architecture and Planting
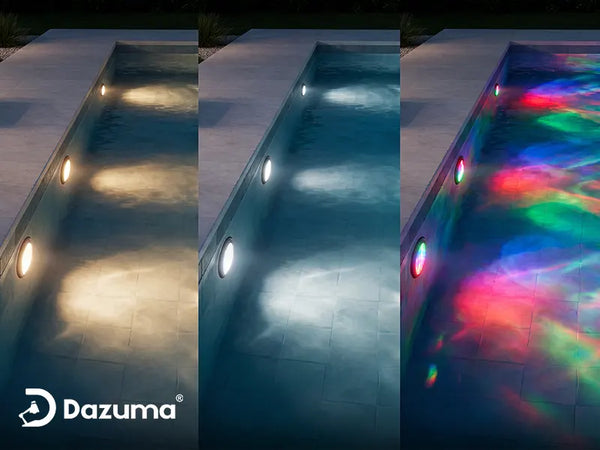
Warm white around 3000K suits wood, brick, stone, bark, and foliage. Use cool white carefully and reserve RGB mainly for events or seasonal effects.
Space by Composition, Not a Fixed Number
Spotlights do not need equal spacing. Place one, evaluate the whole nighttime view, and add another only when a specific area lacks purpose or depth.
Choose Front Lighting or Backlighting Intentionally
Front lighting reveals color, bark, masonry, and surface detail. Backlighting places the fixture behind a plant or sculpture and creates a darker silhouette against an illuminated wall or fence. Backlighting can make ornamental grasses, open-branched trees, and sculptural planters feel more dramatic, but the lamp must remain hidden from the main viewing direction. Do not place it where guests walking behind the feature will face the beam. In many residential yards, one front-lit architectural surface and one backlit planting create enough contrast without adding more fixtures.

See the Effect, Not the LED
If people notice the bright fixture before they notice the tree or wall, lower the aim, shift the position, or add subtle shielding.
A Realistic Whole-House Spotlight Layout
Imagine a two-story home with a stone garage wall, mature front tree, curved driveway, patio fence, and narrow side gate. Eight evenly spaced foundation lights make the facade look flat and expose every ordinary shrub.
A better five-light plan uses one beam on the stone between windows, one on the tree trunk and lower canopy, and one on the planting and address marker at the driveway curve. In back, one reveals the fence behind the patio and another lights a far-end side-yard planting.
Porch sconces handle faces and locks, while path lights provide continuous guidance. The homeowners check bedroom windows, panel sunlight, and tree-light spill before final placement. Five purposeful fixtures create more structure than eight repeated cones.
Common Outdoor Spotlight Placement Mistakes
Lighting Every Foundation Shrub
Repeated equal beams remove depth and make ordinary landscaping look overly formal. Choose specimen plants and architectural features instead.
Aiming Directly Up the Side of a Window
Exterior drama is not worth interior glare. Redirect the beam to wall sections, columns, or roof details between windows.
Using Spotlights as Path Lights
Narrow beams produce bright and dark patches along walking routes. Use path lights for continuous guidance and spotlights at decision points or adjacent features.
Placing Solar Panels Under Trees or Eaves
The best visual location may not provide enough sun. Adjust the panel separately or move the fixture.
Aiming Beyond the Feature
A beam that continues into the sky or another property wastes light and creates glare or light trespass.
Choosing RGB as the Everyday Front-Facade Mode
Color is useful for events and seasonal effects, but warm white usually creates a more welcoming and timeless residential appearance.
Installing Permanently Before Testing at Night
Daytime placement cannot reveal glare, overlap, window intrusion, or whether the beam actually reaches the intended surface.
Assuming an IP Rating Solves Every Site Problem
Outdoor protection does not make a fixture immune to standing water, mower impact, buried mulch, irrigation spray, or poor panel exposure. Placement still matters.
Outdoor Spotlight Placement Checklist
- Identify the main street, driveway, entry, patio, and indoor viewing directions.
- Give each spotlight one primary purpose.
- Choose a limited number of trees, walls, or garden features to emphasize.
- Keep beams away from windows, neighbors, drivers, and pedestrians.
- Aim the light so a surface or canopy stops the beam.
- Use path lighting—not narrow spotlights—for continuous walkway guidance.
- Confirm solar panels receive reliable direct sunlight.
- Keep fixtures out of low drainage areas and routine mower paths.
- Use warm white for the everyday layout and RGB selectively.
- Temporarily test every fixture after dark before final mounting.
- Review the result from inside the house as well as from the street.
- Reduce output or remove a fixture when the yard begins to feel uniformly bright.
Final Advice: Build a Nighttime View, Not a Ring of Lights
Outdoor spotlights work best when they create a sequence: an illuminated tree at the property edge, a softly defined architectural surface, a recognizable entry, and one or two landscape features that add depth behind the house.
Start with the darkest important area, place one fixture, and evaluate the whole property. Keep the LED source out of direct view, let the beam end on a real surface, and preserve darkness between focal points. For solar models, treat sun exposure as part of the design rather than an afterthought.
The goal is a welcoming, understandable, layered property—not brightness from every angle. A few carefully aimed spotlights usually work better than many evenly spaced fixtures.