
Who This Is For: This guide is for homeowners who want a memorable Halloween display without making the front walk hard to follow. It works whether you expect a steady stream of trick-or-treaters, a few party guests, or simply want an atmospheric view from the street.
Introduction
From the sidewalk, the best Halloween house gives people two signals at once: something interesting is happening, and the front door is easy to reach. A glowing pumpkin can set the scene; it cannot tell a child where a low step begins. Purple light can turn a tree into a dramatic silhouette; it should not wash out the porch, the walkway, and the faces of the people greeting you.
That tension is the point of a good plan. Keep a familiar, steady lighting route from sidewalk or driveway to the door. Then add temporary color and themed details beside it. You can change the Halloween mood without having to rebuild the safe route each time. Think of it as a house that stays welcoming even when its garden becomes a little mysterious.

The Quick Plan: A Clear Route and Two Accents
If you have one evening to prepare, start with three decisions. First, which approach will visitors actually use? Second, what single feature should catch their eye from the street? Third, where will the welcome feel warm rather than eerie? For many homes, the answers are the front walk, a cluster of pumpkins or one lit tree, and the porch.
Put the decorative objects in a flowerbed, on a stable porch surface, or alongside a fence. Leave the path itself uncluttered. Keep the steps, turn, doorbell, and house number readable. The Halloween feature should be an invitation to look, not a detour people must navigate. A neighborhood with many small children benefits particularly from an obvious route to the candy bowl and back.
Before settling on colors, walk the approach at night with the everyday exterior lights on. Notice where the route changes direction and where the porch light is already doing enough work. For a closer look at level changes and glare, Dazuma's guide to lighting walkways and steps as days get shorter helps identify the places that deserve steady illumination.
| Area | Lighting Job | Halloween Detail | Nighttime Test |
|---|---|---|---|
| Sidewalk to path | Reveal the route's start and any turn | One visible accent beyond the entry | Can a first-time guest tell which way to go? |
| Path and steps | Show paving, edges, and changes in level | Small decorations in the adjacent bed | Is every step visible without staring into a bulb? |
| Tree or garden bed | Create a distant focal point | Restrained purple, amber, or patterned light | Does color stay off the walking surface? |
| Porch and door | Make faces, doorbell, and address readable | Pumpkins or one hanging decoration | Can visitors see and be seen comfortably? |
Keep the Arrival Route Clear
Guide Visitors Before They Reach the Decorations
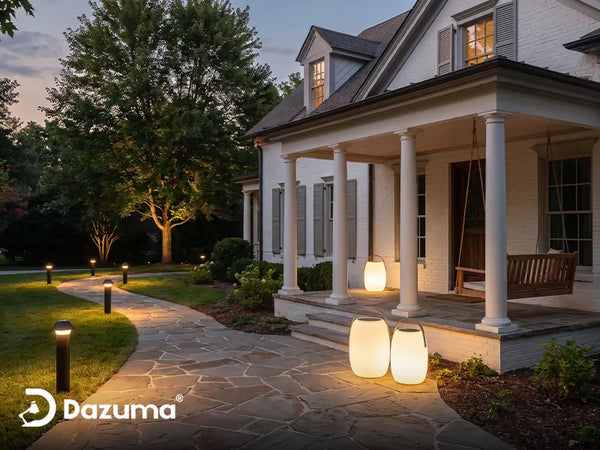
Someone arriving after sunset should see the path entrance before they notice every prop. A porch light may establish the destination, but a bend or short set of steps can still vanish between the sidewalk and door. Add light where a guest must decide where to turn or place a foot. That can mean a low fixture near the start of the walk, another near a curve, and dedicated visibility at steps rather than a perfectly even row of glowing markers.
Choose light distribution by what it reveals on the ground. Some decorative stakes produce striking patterns but little usable light between the patterns. Treat those as scenery. Compare the actual pool on your paving with a more restrained path light when the route needs practical guidance. Fixture spacing is a test to perform on your path, not a universal distance to copy from a diagram.
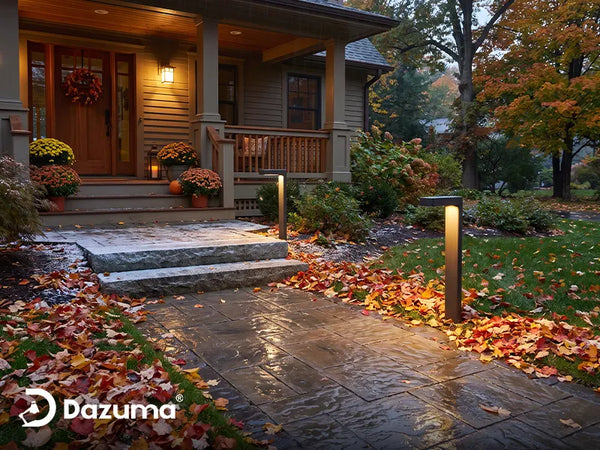
Orange or purple light can make a display recognizable, but a heavily colored path can make surface changes harder to read. Use a warm or otherwise clear, consistent route and keep saturated colors in a neighboring tree, fence, or planting bed. Check the effect after dark: wet leaves, dark stone, and gravel may look quite different than they did when you arranged the display in daylight.

Keep Pumpkins Beside the Path
A small group in the planting bed reads as one intentional scene. The clear paving and steady step light do the work of welcoming visitors to the door.
Give the Porch a Friendly Face
The doorway is where theatrical lighting should relax. Guests need to locate the bell, read the house number, see who opens the door, and turn safely to leave. Keep an exterior wall or porch light operating as the visual anchor. A lit pumpkin can sit beside the entry, but it should not replace the light that reveals the threshold and faces.
Look from child height as well as adult height. A lamp concealed by a tall decoration may illuminate the wall beautifully while casting a hard shadow across the last step. Test the view when the door opens, too: a bright indoor hallway can make a dim outdoor landing feel even darker by comparison. If the ordinary porch source is too glaring, change its aiming or select a suitable shielded fixture rather than switching it off for the sake of atmosphere.
Build the Halloween Scene in Layers
Layer One: A Small Pool of Pumpkin Light
Use one or a few glowing pumpkins together as a focal group. A front flowerbed, a stable porch corner, or a low wall that does not border a drop can work. Vary their apparent height through the arrangement, but keep the group compact enough to read from the street. Ten scattered pumpkins may feel busy while three near the entrance tell a clearer story.
Battery-powered candles or purpose-made LED pumpkin lights provide the visual effect without an open flame near paper, fabric, dry leaves, or costumes. The light source still needs to be suitable for its location; a seasonal accent listed for indoor use belongs behind a window or under conditions its instructions allow. Dazuma's Halloween Lights collection mixes themed pieces with outdoor display options, so check each product's location rating and power method rather than assuming everything on the page is interchangeable.
Layer Two: One Dramatic Background
A tree, hedge, or plain wall can carry the spooky color. Aim a restrained purple accent into the trunk and lower branches or let a wash of amber reveal foliage. Start with a single location. From the sidewalk, the color should make a silhouette or texture visible, not flatten the whole front yard into an evenly lit purple field. Keep the beam away from bedrooms, traffic, neighboring windows, and the sky as much as possible.
If the tree is close to the path, shift the fixture and aim until the colored glow stays mainly on the tree. The path should remain legible in its ordinary light. The exact effect depends on the beam of the selected outdoor spotlight, the tree's shape, and the viewing angle. Avoid promising that every colored bulb will produce the same result on different foliage.
This is also where the view from inside matters. Stand at the front window: the best arrangement may frame the pumpkins in the foreground and the tree beyond, while keeping the bright fixture itself out of sight. If the source is visible as a sharp point, move it before adding a second accent. More color rarely fixes glare.
Keep the Purple in the Background
A single tree can supply the mystery while the warm entry light remains familiar. View the scene from the sidewalk and the front window before adding anything else.

Layer Three: A Simple Edge or Overhead Glow
String lights can outline one fence section or define a porch edge. A short, tidy run often gives the scene more shape than wrapping every rail, shrub, and tree. If you choose orange, let it be a supporting color around the dark boundary rather than a second bright focal point competing with the pumpkins. For a covered patio party, a warm strand can work in the gathering zone even when the front yard has a stronger Halloween color.
Match the light string to the mounting location. Use the manufacturer's specified supports and connection limits, and do not stretch a cord across a walking route or pinch it in a door. Check the exact outdoor string lights for weather suitability and mounting guidance before hanging them. Decorative strings help outline an area; they do not automatically provide sufficient visibility on steps.

Outline One Boundary
A single fence segment or porch edge makes the scene read clearly from the street. Leave adjacent sections dark enough to provide contrast.
Choose a Layout for Your Home
Small Porch or Townhouse Frontage
Work with the small scale. Keep the porch light, put a compact pumpkin group off to one side, and frame a window or a short railing with a single restrained accent if that placement is allowed. A colored lamp inside a front window can create a spooky backdrop without putting an indoor-rated fixture outside. Check that the window treatment does not block the view of the door and that decorations remain clear of heat sources.
A narrow walkway cannot surrender much width to props. Leave clearance for people to approach in groups and turn around. If the house has only one step, that step deserves more attention than another hanging decoration. The strongest visual idea may simply be a warmly lit door against one dark, themed window.
Suburban Front Yard With a Tree
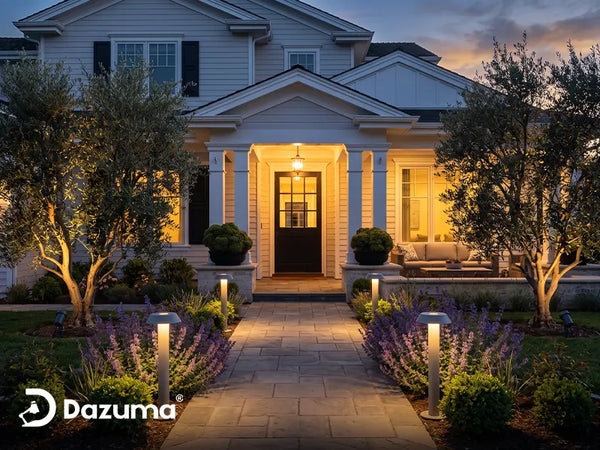
Use the tree as the dramatic element and leave the lawn mostly dark. A small pumpkin group in the foreground connects the color to Halloween; steady path and porch lights explain how guests reach the door. This has a beginning, middle, and end when viewed from the street. You can add a short fence light if the property has a natural boundary, but stop if it competes with the tree.
Test the tree accent from a car-height view as well as from the sidewalk, particularly if the fixture faces the street. Rotate it away from approaching drivers and any neighboring window. If the tree has sparse leaves, a soft beam may reveal branches more effectively than an intensely saturated wash.
Backyard Halloween Gathering
A party needs a different balance. Give the food table and seating enough comfortable light for conversation. Keep the route to the house and bathroom visible throughout the evening. Put the theatrical accents beyond the social area: one colored tree, a decorated fence, or a small cluster of glowing objects along a planting bed. Guests should see the effect while seated without looking straight into the lamp.
Do not make a fog effect, strobe, or moving projection the only visual cue to a step. If you use an effect light at all, keep it away from the required walking route and consider guests who may find flashing light uncomfortable. A static colored scene can be just as memorable and is easier to coordinate with steady practical lighting.
Set the Mood for Each Part of the Night
Think in two switches or schedules. The base layer—entry, path, and steps—comes on before visitors arrive and stays on while the route is in use. The Halloween layer—tree color, lanterns, window accents, and decorative strings—can start later and turn off when trick-or-treating or the party ends. Separating them means a failed seasonal lamp does not leave visitors without a route.
During the early evening, let warm porch light do most of the welcoming. As the sky darkens, the pumpkins and colored tree become more visible without requiring a drastic increase in brightness. For the late evening, you may turn off the decorative layer while keeping whatever entrance lighting the household still needs. A simple photograph at each stage can reveal whether an accent looks balanced or much brighter than expected.
A dusk sensor, timer, or compatible smart control may help, but check what actually controls each fixture. A sensor follows ambient light; a fixed clock time does not automatically follow sunset. If you are adjusting a timer around the fall clock change, Dazuma's outdoor timer adjustment guide explains why the clock and the desired lighting schedule are separate decisions.

Make the Final Safety Check
Before the first visitors arrive, walk the actual route from the curb, driveway, or sidewalk with all Halloween lights on. Look for uneven paving hidden by shadow, cords crossing the ground, loose props, and a doorbell that is hard to find. Repeat the walk with a child beside you if possible. Confirm that the return trip is equally clear; the front door and street look different when viewed in reverse.
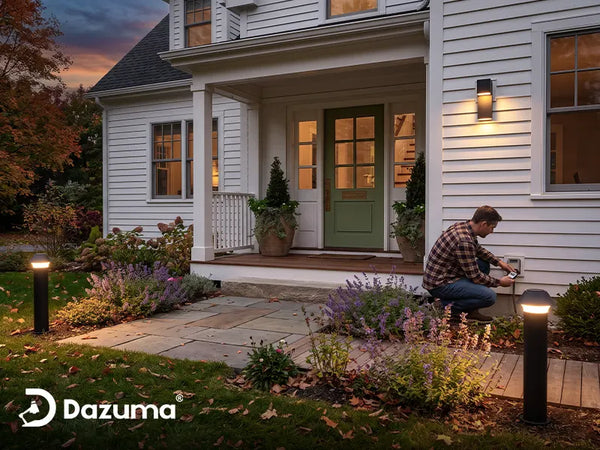
Use decorations and cords marked for outdoor use where they will be exposed. Inspect them before installation, follow the manufacturer's connection and mounting instructions, and use GFCI protection for outdoor electrical decorations. Keep fabric, paper, dry leaves, and other decorations away from bulbs, heaters, and open flames. Battery-operated lights offer a flame-free way to illuminate jack-o'-lanterns. These checks are easy to overlook when you are focused on the finished photograph.
Finally, stand across the street. You should recognize the Halloween scene, understand which path leads to the door, and see a comfortable welcome at the porch. If every object is bright, switch off one accent. If the scene feels spooky but the route is hard to read, improve the path and step light before adding another decoration. A great display lets the mood surprise your guests while the way home stays reassuringly obvious.