Who This Is For: This guide is for homeowners replacing or planning outdoor wall lights near a porch, entryway, garage, courtyard, balcony, or exterior wall and wanting a clear step-by-step installation checklist before starting.
Outdoor wall lights look simple from the outside. One fixture, one mounting plate, a few wires, and the wall suddenly feels safer and more polished at night. But because exterior lighting deals with moisture, temperature changes, wall materials, and electrical connections, installation deserves more care than an indoor decorative light.
A good outdoor wall light installation does three jobs at once. It puts the light in the right place, mounts the fixture securely, and protects the wiring area from weather exposure. When those pieces line up, your porch feels more welcoming, your garage wall looks more finished, and the light pattern feels intentional instead of random.
This guide walks through the process in plain English. It is written mainly for replacing an existing hardwired wall fixture, not for adding a brand-new circuit. If you are adding new wiring, moving a junction box, working with damaged wires, or unsure about local electrical rules, hire a licensed electrician. For browsing fixture types before installation, Dazuma’s Outdoor Wall Lighting collection can help you compare styles, beam patterns, and mounting options.

Quick Answer: Can You Install Outdoor Wall Lights Yourself?
You may be able to replace an existing outdoor wall light yourself if the electrical box is already in place, the wiring is in good condition, the circuit is turned off at the breaker, and you are comfortable verifying that no power is present before touching wires. That is the simple version.
Do not treat this as a shortcut project. Outdoor fixtures are exposed to rain, humidity, dust, insects, and wall movement. A loose mounting plate, missing gasket, poor seal, or wrong fixture rating can lead to water intrusion or early failure. Outdoor electricity needs more protection than indoor lighting because the fixture area may face weather, sprinkler spray, temperature swings, and moisture trapped behind the backplate.
If you are installing a new outdoor wall light where no fixture existed before, adding a new switch, fishing wire through walls, connecting to a new circuit, or dealing with aluminum wiring, hire a pro. This article can still help you understand the process and talk with your electrician more clearly.
Before You Install Outdoor Wall Lights
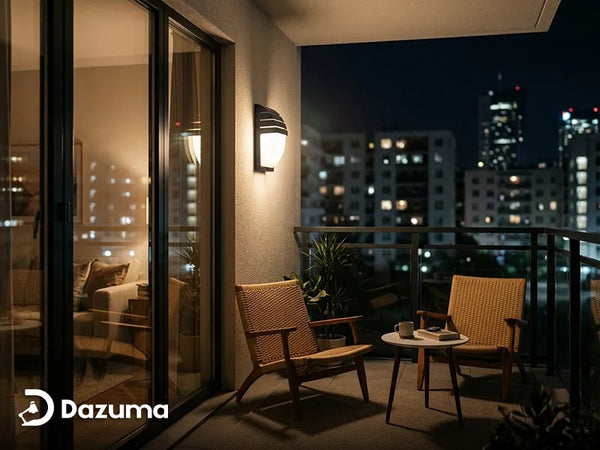
Start with the location. Is the fixture going under a covered porch, beside a garage, along an exposed courtyard wall, or near a balcony? Covered areas may see less direct rain, while exposed walls need stronger weather protection. The fixture should match the location. A light that works under an eave may not be suitable for a wall that gets hit by direct rain or sprinkler spray.
Check The Wall Surface
Brick, stucco, wood siding, concrete, and stone all need different anchors or screws. Do not assume the hardware in the box will fit every wall. A fixture can be electrically correct but still fail if it is not physically mounted well. If the backplate rocks, tilts, or leaves a large gap, solve that before connecting power.
Choose The Right Beam Direction
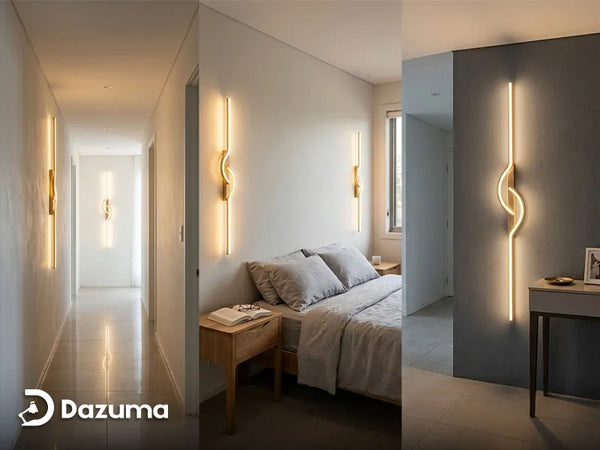
Plan the light effect before you start. Up-and-down wall lights create a decorative beam on the wall. Lantern-style sconces give a softer glow around the entry. Motion sensor lights help with convenience and security. If you are comparing styles, Outdoor Wall Sconces are usually the broadest category, while Up & Down Wall Lights are better when you want architectural light beams.
Prepare Your Tools And Materials
You do not need a huge toolbox for a basic fixture replacement, but you do need the right basics. Gather everything before turning off the power so you are not searching for a part halfway through.
| Item | Why You Need It |
|---|---|
| Voltage tester | Confirms the power is off before touching wires. |
| Screwdrivers or drill | Removes the old fixture and secures the mounting bracket. |
| Wire connectors | Connects fixture wires according to the product instructions. |
| Outdoor-rated caulk | Helps seal gaps around the fixture backplate when appropriate. |
| Level and tape measure | Keeps paired lights aligned and evenly spaced. |
| Wall anchors or masonry bits | Useful for brick, concrete, stone, or stucco surfaces. |

Plan The Wall Before You Touch Wiring
Good installation starts before the old fixture comes off. Check the mounting surface, fixture size, light direction, and whether the junction box is centered where you want the new light to sit.
This is also the time to decide whether the light should be decorative, practical, motion-activated, or a mix of all three.
How To Install Outdoor Wall Lights Step By Step
Step 1: Turn Off Power At The Breaker
Turn off the circuit at your electrical panel. Do not rely only on the wall switch. After the breaker is off, use a voltage tester at the fixture area to confirm that no power is present. If you cannot confirm the circuit is off, stop and call an electrician.
Step 2: Remove The Old Fixture
Unscrew the old fixture from the wall and gently pull it away from the box. Take a quick photo of the existing wiring before disconnecting anything. This can help you remember the original setup, but still follow the new fixture’s installation instructions.
Step 3: Inspect The Box And Wall
Look for corrosion, cracked boxes, loose screws, damaged insulation, water marks, or insects inside the fixture area. Outdoor fixtures often fail because the wall box or seal was already compromised. If the electrical box is loose, damaged, or not appropriate for the fixture, fix that before mounting the new light.
Step 4: Attach The Mounting Bracket
Install the new mounting bracket according to the manufacturer’s instructions. Make sure it is level and firmly attached. For heavier fixtures or uneven exterior surfaces, take extra time here. A beautiful outdoor wall light will still look cheap if it leans or sits loosely against the wall.
Step 5: Connect The Wires Correctly
Connect wires only after confirming the breaker is off and after reading the product instructions. In many U.S. residential fixtures, black is often hot, white is neutral, and green or bare copper is ground, but you should not guess. Old homes, previous repairs, and regional differences can create surprises. If the wires do not match the instructions, call a licensed electrician.
Step 6: Mount The Fixture Body
Carefully tuck the wires into the box, align the fixture body or backplate with the bracket, and tighten the screws. Do not pinch wires behind the backplate. If the fixture includes a gasket, make sure it sits flat and does not fold or twist.
Step 7: Seal The Edges Where Needed
For many exterior fixtures, a neat bead of outdoor-rated caulk around the top and sides of the backplate helps reduce water intrusion. Do not seal the bottom completely unless the manufacturer instructs you to do so. Leaving a small lower escape path can help moisture drain instead of trapping it behind the fixture.
Step 8: Restore Power And Test The Light
Turn the breaker back on and test the wall switch, motion sensor, or dusk-to-dawn control if your fixture has one. Check that the light direction looks right, the fixture is secure, and the wall area around it is dry and clean.

Mounting Height, Placement, And Weatherproofing Tips
Outdoor wall light height depends on the fixture, the door height, and what the light is supposed to do. Around front doors, many wall sconces are placed near eye level or slightly above, often so the center of the fixture sits around the upper third of the door height. The goal is to light faces, keys, steps, and the entrance without glaring directly into the eyes.
Doorway, Garage, And Courtyard Placement
For garage doors, paired lights should be aligned and spaced evenly. For long blank walls, up-and-down lights can create rhythm and architectural interest. For narrow side passages, keep fixtures compact so they do not stick out into the walking path.
If your fixture includes a motion sensor, placement affects performance. A sensor pointed toward the sidewalk, driveway, or approach path is usually more useful than one aimed straight at a blank wall. Dazuma’s Motion Sensor vs Timer Outdoor Lights guide is useful if you are deciding whether convenience controls matter for your entry or garage lighting.
Weatherproofing Details That Matter
Outdoor wall lights need more than a good-looking finish. The fixture, box, gasket, wiring method, and wall surface all matter. Check whether your wall light is rated for the exposure it will face. A covered porch is not the same as an exposed wall. A fixture under deep eaves may only see humidity and wind-driven moisture. A courtyard wall may receive rain, dust, sprinkler spray, and direct sun.
The Dazuma guide Weather Resistance Ratings: What UL Listed And ETL Mean For Outdoor Lights is a strong companion if you are comparing IP ratings, damp locations, and wet locations before installation.
Think About The Beam, Not Just The Fixture
An up-and-down light creates a wall pattern. A lantern spreads glow outward. A motion sensor light watches an approach zone. Mounting height and aim should support the way the fixture actually works.
Before final tightening, stand back and picture how the light will look from the street, from the door, and from inside the home.

Recommended Style For Compact Entry Areas
For a front door, balcony, or compact exterior wall, a curved up-and-down light can be a clean option because it gives the wall a finished look without taking up much visual space. The fixture below is better treated as a compact architectural accent rather than a large flood-style security light.
Compact architectural pick
Up Down Lighting Wall Lights Modern Curved LED Waterproof Light
Price: $91.99
Best for front entrances, courtyards, balconies, and covered exterior walls where you want a compact fixture with a warm up-and-down lighting effect.
- Up-and-down beam direction for a clean wall pattern.
- Aluminum body with glass shade for a modern exterior look.
- Works well when you want decorative light near an entry instead of a bulky wall lantern.
Common Mistakes And Final Checklist
Common Installation Mistakes To Avoid
- Skipping the voltage test: Turning off the switch is not enough. Always turn off the breaker and verify with a tester before touching wires.
- Using an indoor fixture outside: Indoor fixtures are not designed for exterior moisture and temperature changes.
- Forgetting the gasket or seal: A missing gasket or poorly sealed backplate can allow water behind the fixture.
- Mounting paired lights unevenly: Even small height differences around a door or garage can look obvious at night.
- Choosing light direction too late: Up-and-down lights, lanterns, wall washers, and motion sensor lights behave differently.
Final Outdoor Wall Light Installation Checklist
| Power | Breaker off and voltage tested before touching wires. |
| Fixture rating | Suitable for the outdoor exposure level. |
| Wall box | Secure, clean, and appropriate for the fixture. |
| Mounting | Bracket level and tightly attached. |
| Wiring | Connected according to manufacturer instructions. |
| Weatherproofing | Gasket seated and edges sealed where appropriate. |
| Testing | Switch, sensor, beam direction, and fixture stability checked after power is restored. |
Recommended Style For Modern Wall-Washing Effects
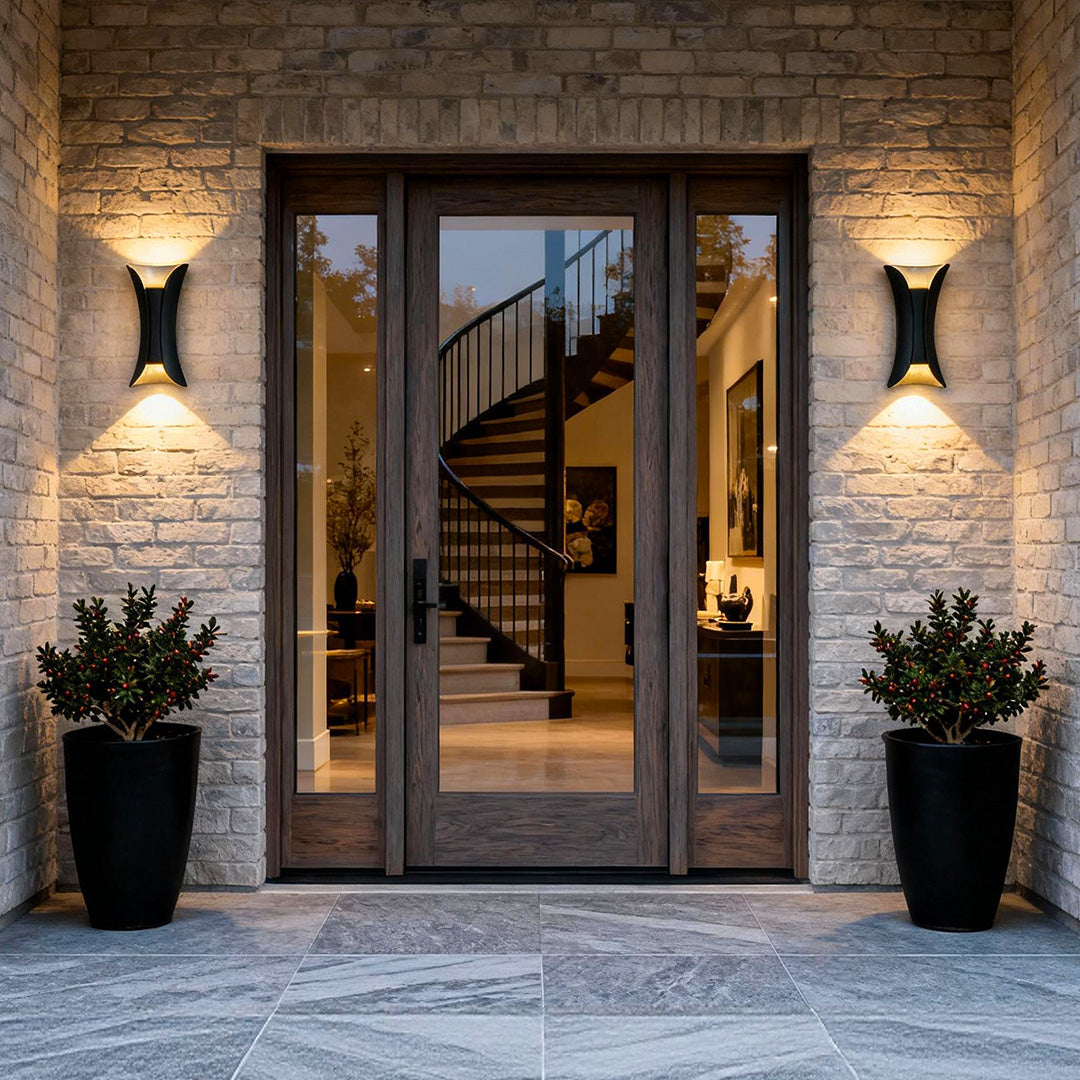
If the goal is less “small porch sconce” and more “modern wall feature,” a beam-style up-and-down fixture can give the exterior wall a more sculptural look. This works especially well on garage walls, villa exteriors, courtyard corridors, and clean stucco or stone surfaces.

Modern wall-washing pick
Beam Wall Light Wavy Aluminum Outdoor LED Up-Down Light
Price: $99.99
Best for modern villa walls, garage entrances, courtyard corridors, balcony walls, and homeowners who want a stronger decorative wall-washing effect.
- Wavy aluminum shape gives the wall a more designed nighttime effect.
- Black finish works well with modern exterior doors, railings, and trim.
- Better for decorative wall rhythm than for wide-area flood lighting.

Final Advice
Outdoor wall light installation is not just a matter of attaching a fixture to the wall. It is a small safety project, a weatherproofing project, and a design decision all at once. Take your time with the location, the fixture rating, the wall surface, and the electrical box before you start tightening screws.
If you are replacing an existing fixture and everything is in good condition, the job may be straightforward. If you are adding new wiring, finding corrosion, seeing damaged insulation, moving the box, or feeling unsure at any point, call a licensed electrician. That is not overcautious. It is how you protect the home and get a cleaner result.
Once installed properly, outdoor wall lights do more than make the house brighter. They guide guests to the door, make evening arrivals feel safer, highlight architectural texture, and give the exterior a finished look every night.