Who This Is For: This guide is for homeowners planning landscape lighting around existing trees, ornamental shrubs, or newly planted beds—and wondering whether an in-ground fixture can be installed there without damaging roots, collecting water, disappearing under mulch, or becoming impossible to service.
Quick Answer: Yes, but “Under a Tree” Is Not an Installation Method
Well lights can be installed near and beneath trees or shrubs when the fixture is rated for the exposure, the location drains, the wiring method is appropriate, and installation does not require cutting important roots. A well-planned in-ground light can make a trunk feel sculptural, reveal the layered shape of a Japanese maple, or give a shrub border a quiet evening glow without leaving a visible stake fixture in daytime.
The risky version is different: someone digs a deep hole beside the trunk, drops in a light, buries the cable and connection in wet soil, then covers everything with mulch. That setup may injure roots, trap water, overheat or corrode components, and leave the lens buried after the first season of garden maintenance.
I tell homeowners to separate the decision into four questions: Can I dig here safely? Will water leave the fixture cavity? Is this fixture truly suited to the intended exposure? Will the beam still work after the plant grows? If any answer is unclear, adjust the location or use an above-ground accent light instead.

First, Make Sure the Fixture Matches the Job
The term well light is used broadly. Some products are substantial landscape uplights designed to sit in a drained in-ground housing. Others are small recessed marker lights intended for wood decks, concrete steps, pavers, or path edges. Both can appear in a Well Lights collection, but they do not create the same effect.
Before ordering, look beyond the category name. Confirm the installation surface named by the manufacturer, the ingress-protection rating, operating voltage, wattage, dimensions, beam information if published, and whether a sleeve, housing, transformer, driver, or drainage detail is required. Also check whether the fixture is meant to be walked or driven over; “in-ground” does not automatically mean drive-over rated.
Compact Well Light Versus High-Output Tree Uplight
A compact 3W well light can softly reveal the base of a small ornamental tree, skim the underside of a shrub, or create a rhythm of warm points beside a garden walk. What it may not do is project a strong, controlled beam 20 or 30 feet into a mature canopy. For that, you normally need more output and suitable optics—not simply a fixture that is labeled “in-ground.”
| Planting Situation | Aiming Starting Point | Primary Goal | Main Caution |
|---|---|---|---|
| Small ornamental tree | Test roughly 2–4 ft from the trunk | Reveal trunk and lower canopy | Distance is not proof that digging is root-safe |
| Medium shade tree | Test roughly 4–8 ft away | Create height and branch texture | Use two angles instead of one harsh beam |
| Large mature tree | Start wider, often 8 ft or more | Light selected structure, not every leaf | Roots can extend far beyond the canopy |
| Dense shrub mass | Test near the front or side edge | Graze foliage and preserve depth | Keep the lens clear of leaves and irrigation spray |
These are visual aiming ranges, not guaranteed safe digging distances. Every root system and soil condition is different, so finalize the actual hole only after checking what is below the surface.
Protect the Tree Before You Protect the Lighting Layout

Do Not Trench Blindly Through the Root Zone
Tree roots are often shallower and more widespread than homeowners expect. A neat circle around the trunk is not an empty utility zone. Start with shallow hand investigation at the proposed light and cable route; stop when you meet substantial roots instead of cutting through them for the sake of symmetry.
A lighting plan is easy to move. A mature structural root is not. If a deep fixture housing conflicts with a major root, shift the light, widen the aiming angle, use a shallower product on nearby hardscape, or switch to a surface-mounted spotlight. For a valuable mature tree, complicated root conditions, or any trenching that may affect stability, involve a qualified arborist before excavation.
Also avoid changing the soil grade around the trunk merely to make a light sit flush. Adding soil can reduce oxygen around roots, while digging away soil can expose or damage them. Keep the root flare visible, keep mulch away from the trunk, and fit the lighting into the existing grade rather than rebuilding the tree’s environment around a fixture.
A common landscape-plan mistake is making every light perfectly evenly spaced on paper. Plants are living obstructions. Once roots, irrigation tubes, drainage lines, and sightlines are checked, an installation may need to move a foot or two. Viewers rarely notice the fixture spacing; they notice whether the nighttime composition feels balanced.
A Compact Low-Voltage Well Light for Shrubs and Small Trees
For a small ornamental tree, low shrub grouping, or garden walkway where glare control matters, this six-piece set is the more conservative choice. Each compact fixture uses a 3W warm-white LED, DC24V low-voltage power, a honeycomb anti-glare face, and an IP67 enclosure. I would use it for gentle near-field uplighting or repeated accents—not promise that a 1.8-inch fixture will illuminate a mature tree’s entire canopy.
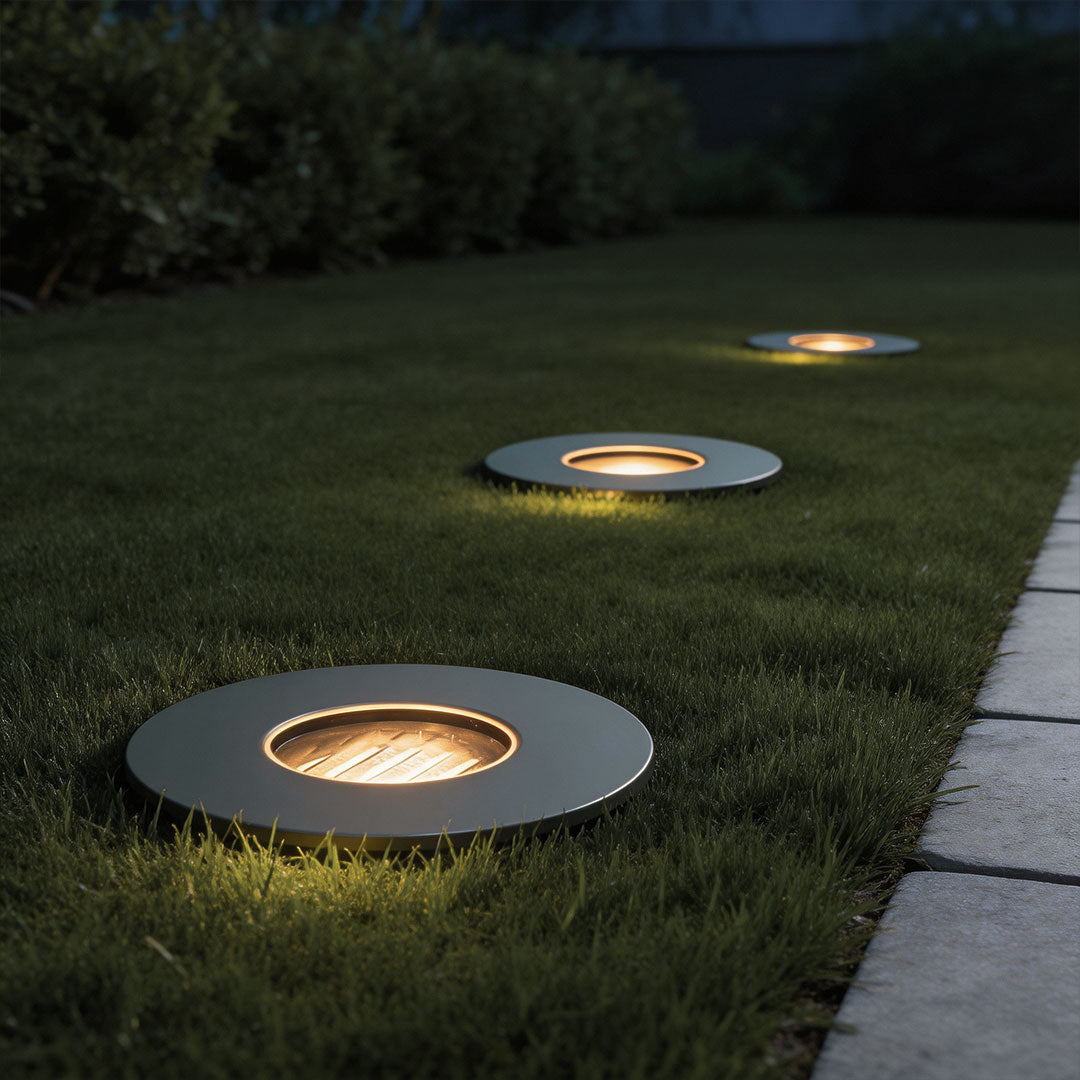
6 PCS Inground Well Light Anti-Glare Recessed Step Light
Price: $367.99 for the listed 6-piece set
A compact, flush-mounted option for gentle accents around shrubs, small trees, steps, and walkways where a softer, less glaring source is preferred.
- Honeycomb shielding helps reduce harsh glare from normal viewing angles.
- Warm 3000K light works naturally with bark, foliage, and residential paving.
- Stainless steel, aluminum, and glass are listed for outdoor flush mounting.
Drainage Matters as Much as the Fixture’s IP Rating
An IP rating describes tested resistance to dust and water at the fixture enclosure. It does not guarantee that a poorly built hole will drain, that a buried splice is protected, or that every component in the system can sit underwater indefinitely. In plain language: a waterproof-rated light still needs a water-conscious installation.
Think of the Fixture as a Tiny Roof Drain
Before installing, fill the proposed cavity with water and observe whether it drains. If water remains, do not assume a handful of gravel will solve a larger clay-soil or high-water-table problem. Move the light to a better-drained position, build the manufacturer-approved drainage assembly, or choose an above-ground fixture.

Keep the lens and trim at the intended finished grade, not below a mulch basin. Mulch, leaf litter, and soil can trap moisture, block light, and hold heat against the face. A small clear service ring around the fixture makes cleaning easier and discourages a landscaper from burying it during the next mulch application.
Connections deserve the same attention as the light. Use the connector type and enclosure required by the product instructions and local electrical code, keep serviceable components accessible, and protect the cable route from edging tools and future planting. Our guide to waterproofing outdoor lighting connections explains why the weakest point is often the splice rather than the fixture body.
A 12W In-Ground Option for a Stronger Tree Accent
This second fixture is listed at 12W and comes in four diameters from 4.7 to 7.9 inches, making it a more plausible candidate when you want a stronger accent on a courtyard tree, taller shrub grouping, or nearby wall. However, its page specifies IP65 and 110V hardwired power. I would place it only in a properly drained, manufacturer-compatible recess—not at the bottom of a wet planting hole—and confirm its beam characteristics before relying on it for a particular canopy.
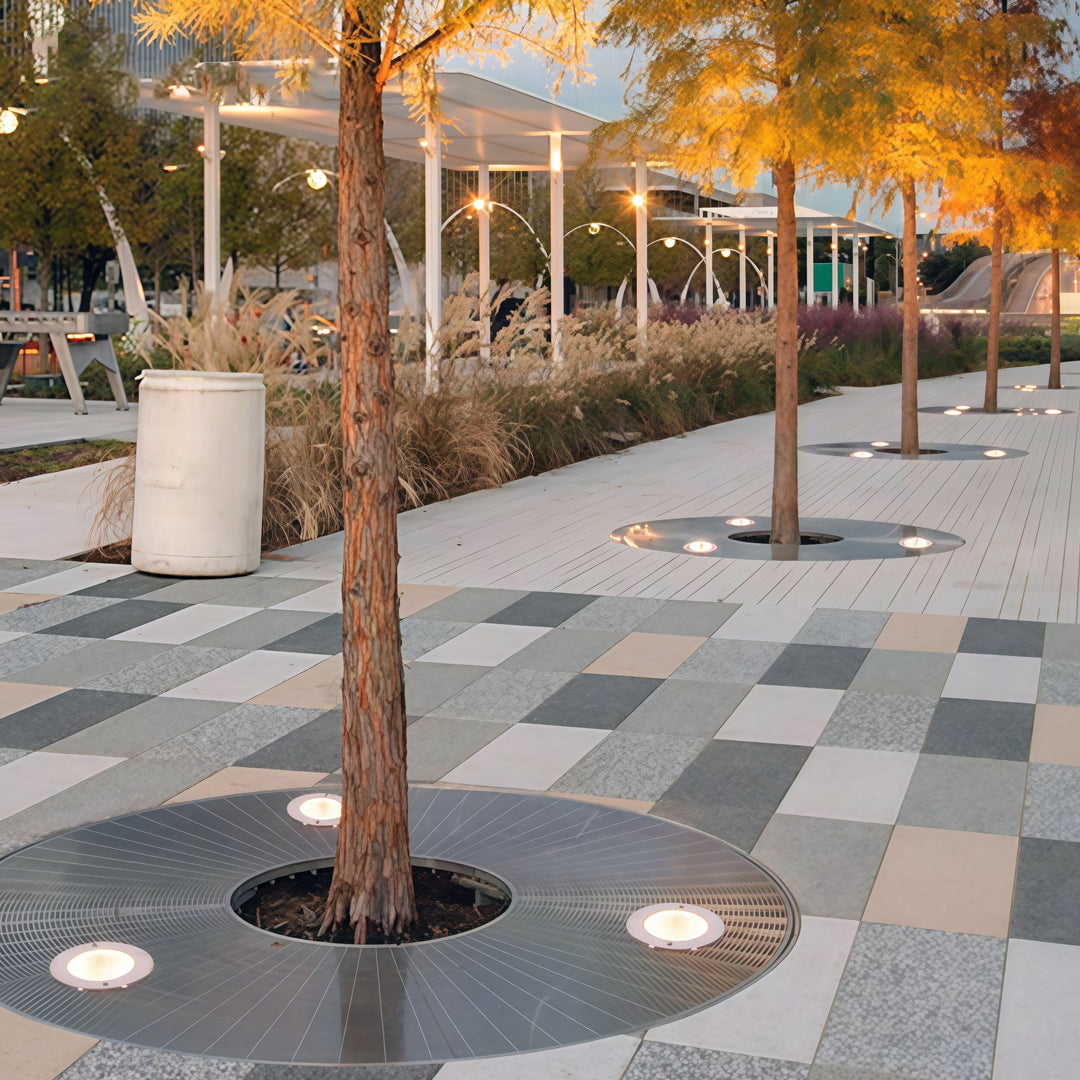
Inground Light Outdoor Waterproof Landscape Engineering Light
Price: From $192.99 for the listed 1-piece option
A stronger warm-white accent for a properly built recess near small-to-medium trees, taller shrubs, courtyard planting, or architectural surfaces.
- Warm 3000K light suits bark, stone, and most residential planting palettes.
- Stainless-steel construction and a tempered-glass face are listed for outdoor use.
- Its 110V hardwired specification calls for professional, code-compatible installation.
Because this model is listed as 110V hardwired, have a qualified electrician confirm required product listing, GFCI protection where applicable, wiring method, and local code before installation. Its IP65 rating describes protection from dust and water jets; it does not support treating the fixture as submersible. A landscape bed is not the place to improvise a line-voltage connection.
How to Aim Well Lights at Trees and Shrubs
Do the aiming test after dark with a temporary light before cutting any hole. Move the source closer and the trunk becomes more dramatic, with strong contrast and a steep beam. Move it farther away and more of the canopy enters the composition. The right position is usually the one that reveals form without placing the brightest spot directly at eye level.

Use Two Gentle Angles for a Feature Tree
One light directly against the trunk can make the tree look flat from the main viewing point. Two lower-intensity beams from different sides often create better depth, especially when one catches the trunk and the other reaches a key branch or lighter foliage.
For a detailed approach to beam placement, see our guide on using uplighting for trees and landscaping. The important design move is to light the plant’s structure selectively rather than trying to turn the entire canopy into a glowing object.
For Shrubs, Light Across the Plant Instead of Straight Into It
Dense shrubs can swallow a vertical beam. A light placed slightly in front or to the side may skim across the outer foliage and reveal texture more effectively. Keep it out of the pruning zone and check the view from inside the house; an exposed source that looks harmless from the patio can create uncomfortable glare through a bedroom window.
Use warm light and only as much brightness as needed. The 2700K–3000K range usually feels comfortable with bark, warm stone, and residential planting. Timers or other controls help ensure that decorative landscape lighting is not running all night when no one is using the yard.
When an Above-Ground Spotlight Is the Better Choice
Well lights are attractive because they visually disappear. That advantage is not worth forcing the wrong installation. Choose an adjustable fixture from an Outdoor Spotlights collection when roots are too dense to dig, soil drains poorly, seasonal flooding occurs, the tree is still growing rapidly, or you expect to change the planting design.
A stake or surface-mounted spotlight is easier to move as a shrub grows, easier to re-aim after pruning, and often easier to keep above mulch. It can also offer a more controllable beam. The tradeoff is daytime visibility and exposure to garden tools. In a naturalistic bed, a dark-finished spotlight placed behind low foliage can remain quite discreet.
Likewise, if the real goal is safe walking rather than highlighting a plant, use dedicated Path Lights or recessed markers along the circulation edge. Do not aim a powerful uplight toward pedestrians and call it path lighting; glare can make steps and grade changes harder to see.
A Practical Checklist Before Any Hole Is Cut
- Define the visual target. Decide whether you are lighting the trunk, lower branches, canopy, shrub texture, or path edge.
- Test after dark. Use a temporary source to check distance, angle, brightness, and glare from the house and street.
- Investigate roots by hand. Move the fixture rather than cutting substantial roots to preserve a perfectly symmetrical plan.
- Check drainage. Test the proposed cavity and follow the manufacturer’s housing and drainage instructions.
- Verify every electrical component. Confirm voltage, driver or transformer requirements, outdoor-rated connectors, cable method, controls, and local-code requirements.
- Keep the light serviceable. Do not hide access points below permanent masonry or layers of soil and mulch.
- Coordinate with irrigation. Avoid direct spray where possible and do not place the fixture in a low basin that repeatedly fills.
- Plan for growth. Leave a sensible cable route, expect to re-aim, and make sure stems will not engulf the fixture.
Revisit the Lighting After the Garden Changes
A fixture that was clear in spring may disappear under summer foliage or become buried after fall mulching. Clean the lens, remove debris, check drainage, inspect visible cable and connections, and adjust the beam at least seasonally.

Final Advice: Let the Plant Decide Where the Light Goes
Yes, well lights can be installed under trees and shrubs, and the result can be one of the most refined forms of residential landscape lighting. The fixture nearly disappears by day while the plant gains shape and presence at night. But successful installation is less about hiding a light at any cost and more about respecting roots, water, electricity, maintenance, and future growth.
Start with the nighttime effect, then find the safest location that can produce it. Use a compact low-voltage well light for soft shrub and small-tree accents, a larger properly housed landscape well light for stronger uplighting, or an adjustable above-ground spotlight when roots and drainage make excavation unwise. Do not let a category label or IP number replace the installation instructions.
My simplest rule is this: if the ideal optical position conflicts with a major root or a wet cavity, move the fixture—not the tree. A slightly offset light that stays dry, remains accessible, and leaves the plant healthy will look better five years from now than a perfectly centered light installed in the wrong place.