Installing a chandelier can dramatically transform a room, adding elegance, character, and valuable illumination. However, one of the most important parts of the installation process is learning how to connect chandelier wires correctly and safely. Improper wiring can lead to flickering lights, electrical hazards, or damage to your fixture.
Whether you're replacing an existing light fixture or installing a brand-new chandelier, this guide will walk you through the essential wiring process while helping you understand common wire colors, connections, and troubleshooting tips.
Understanding Chandelier Wiring Basics
Before connecting any wires, it's important to understand the three primary electrical conductors found in most residential lighting installations.
| Wire Type | Typical Color | Purpose |
|---|---|---|
| Hot Wire | Black | Carries electrical current |
| Neutral Wire | White | Returns current to panel |
| Ground Wire | Green or Bare Copper | Provides electrical safety |
Most modern chandeliers use these standard wiring configurations, although imported fixtures may occasionally have different wire colors. Always consult the manufacturer's instructions before installation.

Turn Off Power Before Working
Safety should always come first. Locate the appropriate circuit breaker and switch off power to the lighting circuit.
Never rely solely on the wall switch. Use a non-contact voltage tester to confirm that no electricity is present before touching any wires.
This simple precaution can prevent serious injury and is considered a standard practice among professional electricians.
Tools Needed For Chandelier Wiring
Gather all necessary tools before beginning the installation:
- Voltage tester
- Wire strippers
- Screwdrivers
- Wire connectors (wire nuts)
- Electrical tape
- Ladder
- Assistant for heavier chandeliers
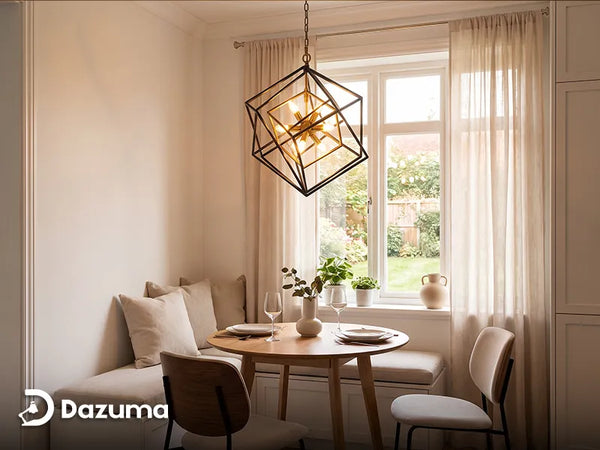
If you're upgrading your fixture, this may also be an excellent opportunity to explore modern chandeliers that offer improved energy efficiency and contemporary designs.
How To Connect Chandelier Wires Step By Step
Step 1: Mount The Electrical Box
Before wiring begins, verify that the ceiling electrical box is rated to support the chandelier's weight. Heavy fixtures often require reinforced mounting brackets.
Step 2: Identify Ceiling Wires
Carefully separate the wires coming from the ceiling box:
- Black = Hot
- White = Neutral
- Green/Bare Copper = Ground
Older homes may have different wiring colors, so testing is highly recommended.
Step 3: Connect Neutral Wires
Join the chandelier's white wire to the ceiling's white neutral wire using a properly sized wire connector.
Twist clockwise until secure and gently tug to verify a solid connection.
Step 4: Connect Hot Wires
Next, connect the chandelier's black wire to the ceiling's black hot wire.
This connection supplies power to the fixture whenever the wall switch is activated.
If your chandelier includes multiple lamp arms, the manufacturer may have already combined internal wiring into a single hot lead.

Step 5: Connect Ground Wires
The ground connection is critical for electrical safety.
Attach the chandelier's green or bare copper wire to the ceiling ground wire and grounding screw located on the mounting bracket.
Never omit the ground connection, even if the fixture appears to function normally without it.
Step 6: Secure And Test
Carefully tuck all wiring into the electrical box and mount the chandelier according to the manufacturer's instructions.
Restore power and test the fixture.
Common Chandelier Wiring Mistakes
| Mistake | Potential Result |
|---|---|
| Loose wire connections | Flickering lights |
| Incorrect hot/neutral pairing | Fixture malfunction |
| No ground connection | Safety hazard |
| Overloaded ceiling box | Structural failure |
When To Hire A Professional Electrician
While many homeowners successfully install chandeliers themselves, certain situations warrant professional assistance:
- Aluminum wiring
- Knob-and-tube wiring
- No existing ceiling box
- Very heavy chandeliers
- Multiple switch configurations
- Smart lighting integrations
For grand entryways or dining rooms, professionally installed modern chandeliers often provide the safest and most attractive result.

Choosing The Right Chandelier For Your Space
If you're replacing an outdated fixture, consider upgrading to a chandelier that better suits your room size and design style.
Popular options include crystal chandeliers for formal dining rooms, modern lighting for contemporary interiors, and statement fixtures for foyers and staircases.
Selecting the right fixture is just as important as wiring it correctly.
Final Thoughts
Learning how to connect chandelier wires is a valuable skill for homeowners looking to upgrade their lighting safely and confidently. By understanding wire functions, following proper installation procedures, and observing electrical safety practices, you can successfully install many chandelier styles yourself.
Ready to upgrade your space? Explore Dazuma's collection of premium chandeliers, modern lighting, and statement ceiling fixtures to find the perfect centerpiece for your home.
```