Low voltage landscape lighting is one of the most effective ways to improve outdoor visibility, increase curb appeal, and create a warm, welcoming atmosphere around your home. From illuminating garden pathways to highlighting trees and architectural features, a properly wired landscape lighting system can completely transform your exterior space.
If you are learning how to wire low voltage landscape lighting, understanding the correct transformer setup, cable layout, and waterproof connections is essential for long-term reliability and safety. Fortunately, low voltage systems are relatively DIY-friendly compared to standard line-voltage electrical work.
What Is Low Voltage Landscape Lighting?
Low voltage landscape lighting systems operate using a transformer that reduces standard household 120-volt electricity down to a safer 12-volt output. This lower voltage makes installation easier and safer for residential outdoor lighting projects.
A complete landscape lighting system typically includes:
- Transformer
- Low-voltage cable
- LED landscape fixtures
- Waterproof wire connectors
- Timers or smart controls
Many homeowners choose modern landscape lighting systems because they offer excellent energy efficiency while creating professional outdoor lighting effects.
| Component | Purpose | Typical Lifespan |
|---|---|---|
| LED Landscape Lights | Outdoor illumination | 25,000–50,000 Hours |
| Transformer | Converts 120V to 12V | 10–15 Years |
| Low-Voltage Cable | Transfers Power | 10+ Years |

Step 1: Plan Your Lighting Layout
Before wiring any fixtures, map out your entire outdoor lighting design. Determine where each fixture will be installed and identify the best cable routing path.
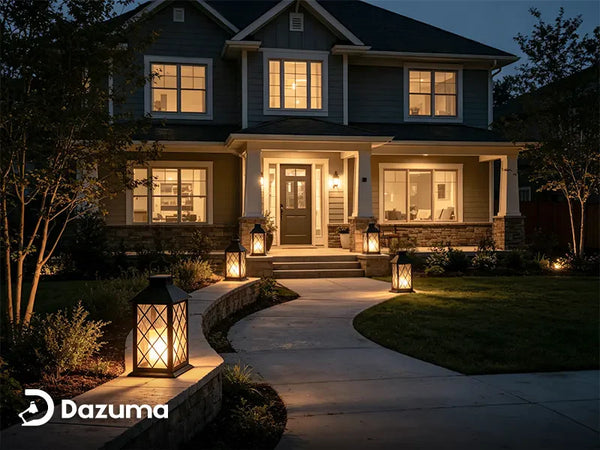
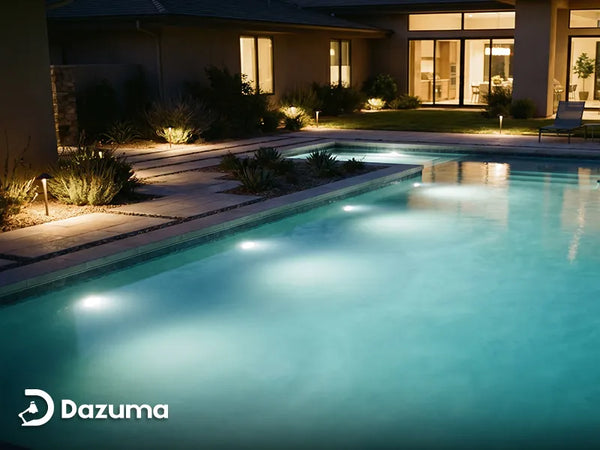
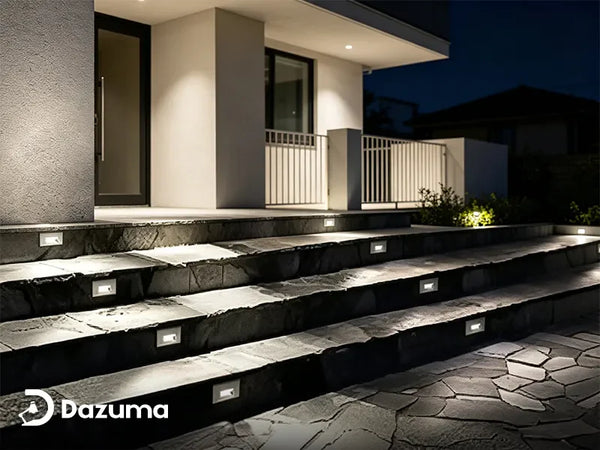
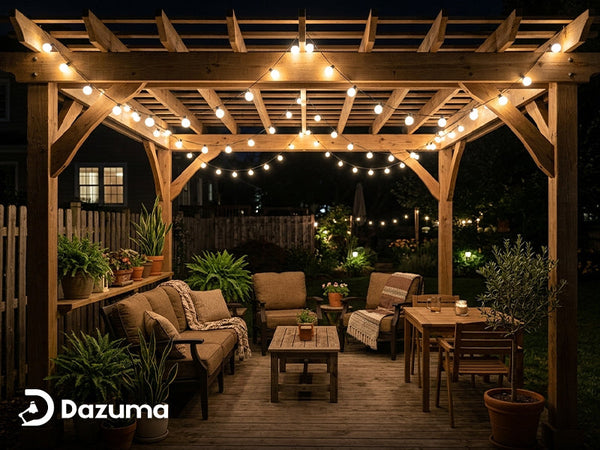
Common landscape lighting applications include:
- Garden path lighting
- Driveway illumination
- Tree uplighting
- Patio accent lighting
- Deck and stair lighting
Proper fixture placement creates balanced lighting while minimizing glare and dark spots. Combining pathway lighting with decorative outdoor wall lighting can create a more layered and sophisticated exterior lighting design.
Step 2: Choose The Correct Transformer Size
Transformer sizing plays a major role in overall system performance. An undersized transformer can cause dim lights, voltage drops, and inconsistent brightness.
To calculate transformer size, add together the wattage of every fixture in the system and multiply the total by 1.2 to allow additional capacity.
Total Fixture Wattage × 1.2 = Recommended Transformer Capacity
For example, if your lighting system uses 100 watts total, you should install at least a 120-watt transformer.
| Fixture Wattage Total | Recommended Transformer |
|---|---|
| Up To 60W | 75W Transformer |
| 60W–120W | 150W Transformer |
| 120W–240W | 300W Transformer |
Step 3: Run The Low Voltage Cable
After finalizing the layout, begin running low-voltage cable from the transformer to each fixture location. Most residential systems use 12-gauge or 14-gauge landscape lighting wire.
There are several common wiring methods:
- Daisy chain layout
- T-layout wiring
- Hub wiring system
Hub wiring often produces the most consistent brightness because each fixture receives similar voltage levels. However, simpler daisy-chain systems work well for smaller residential projects.
Professional-grade outdoor lighting fixtures with integrated LED technology typically provide better long-term performance and weather resistance.

Step 4: Connect The Fixtures
Once the cable is positioned, connect each landscape fixture using waterproof connectors specifically designed for outdoor use. Most low-voltage systems use quick-connect fittings that pierce the cable insulation to establish electrical contact.
When making wire connections:
- Ensure tight waterproof seals
- Avoid excessive cable tension
- Protect exposed wiring from moisture
- Keep connections above standing water areas
Moisture intrusion is one of the most common causes of landscape lighting failures, so proper waterproofing is critical.
Step 5: Test The System Before Burial
Before burying the cable, turn on the transformer and test every fixture. Verify:
- Consistent brightness
- Proper fixture positioning
- Secure connections
- Correct timer operation
If fixtures at the end of the cable run appear dimmer, voltage drop may be occurring. Using thicker cable or splitting the system into multiple runs can improve performance.

Step 6: Bury And Protect The Wiring
After confirming the system works correctly, bury the low-voltage cable approximately 4 to 6 inches underground. In flower beds and landscaped areas, cables can often be concealed beneath mulch for easier maintenance access.
Avoid placing cable directly beneath areas likely to be dug up later for irrigation or landscaping work.
Common Low Voltage Landscape Lighting Mistakes
Even well-designed systems can develop issues if wiring is handled incorrectly. Avoid these common mistakes:
- Using an undersized transformer
- Installing too many fixtures on one cable run
- Poor waterproof connections
- Choosing indoor-rated fixtures for outdoor use
- Using wire gauges that are too small
For entryways and patios, combining landscape fixtures with decorative outdoor wall lanterns creates a more balanced exterior lighting scheme.
Final Thoughts
Learning how to wire low voltage landscape lighting is one of the best ways to upgrade your outdoor environment while improving nighttime safety and visual appeal. With proper transformer sizing, quality waterproof connections, and thoughtful fixture placement, homeowners can create a professional outdoor lighting system that lasts for years.
At Dazuma, we offer premium landscape lighting, outdoor wall lights, and exterior fixtures designed to elevate modern outdoor living spaces. Explore our curated outdoor lighting collections to create a welcoming, elegant atmosphere around your home.