Low voltage landscape lighting is one of the best ways to improve outdoor safety, enhance curb appeal, and create a warm nighttime atmosphere around your home. Whether you want to illuminate pathways, accent trees, or highlight architectural details, learning how to run low voltage landscape lighting correctly is essential for long-lasting performance and professional-looking results.
Unlike traditional line-voltage systems, low voltage landscape lighting uses safer 12-volt electricity supplied through a transformer. This makes installation more manageable for homeowners while still providing powerful and energy-efficient outdoor illumination.
What Is Low Voltage Landscape Lighting?
Low voltage landscape lighting systems reduce standard 120-volt household electricity to 12 volts using a transformer. The system distributes power through low-voltage cable connected to outdoor lighting fixtures.
A standard low voltage system typically includes:
- Transformer
- Low-voltage wire
- LED landscape fixtures
- Waterproof connectors
- Timers or smart controls
Modern landscape lighting systems are highly energy-efficient and provide reliable illumination for pathways, patios, gardens, and outdoor living spaces.
| Component | Purpose | Average Lifespan |
|---|---|---|
| LED Fixtures | Outdoor illumination | 25,000–50,000 Hours |
| Transformer | Converts 120V to 12V | 10–15 Years |
| Low Voltage Cable | Transfers power | 10+ Years |

Step 1: Plan Your Landscape Lighting Layout
Before running any cable, create a detailed lighting plan. Identify the locations of pathways, patios, flower beds, driveways, trees, and architectural features you want to illuminate.
Common low voltage lighting applications include:
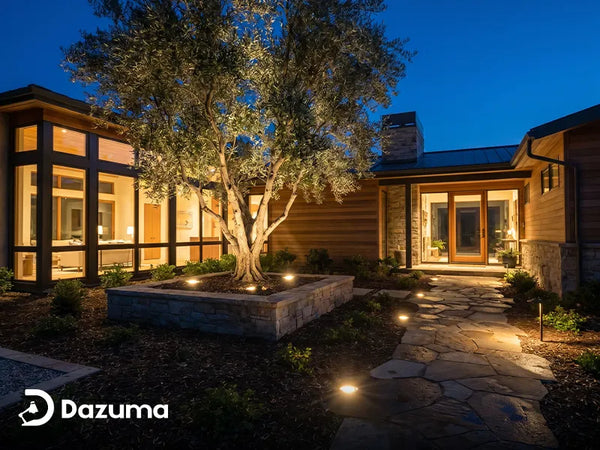
- Path lighting
- Tree uplighting
- Garden accent lighting
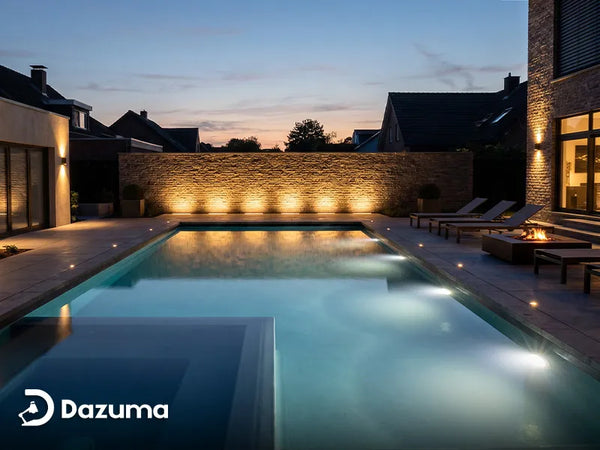
- Deck lighting
- Patio perimeter lighting
Balanced fixture spacing helps create a cleaner and more professional appearance. Most pathway lights are spaced approximately 6 to 8 feet apart for even illumination.
Many homeowners combine pathway fixtures with decorative outdoor wall lighting to create layered lighting effects around entryways and outdoor seating areas.
Step 2: Choose The Correct Transformer
The transformer powers the entire low voltage system, so selecting the correct size is essential. Calculate the total wattage of all fixtures and multiply by 1.2 to provide additional capacity.
Total Fixture Wattage × 1.2 = Recommended Transformer Size
For example, if your fixtures total 100 watts, a 120-watt or 150-watt transformer is recommended.
| Fixture Load | Recommended Transformer |
|---|---|
| Up To 60W | 75W Transformer |
| 60W–120W | 150W Transformer |
| 120W–240W | 300W Transformer |
Step 3: Run The Low Voltage Cable
After positioning the transformer, begin running low voltage cable throughout the landscape according to your layout plan. Most residential systems use 12-gauge or 14-gauge outdoor-rated cable.
There are several common wiring methods:
- Daisy chain layout
- T-method wiring
- Hub system layout
Hub layouts often provide more balanced voltage across fixtures, especially for larger installations. Smaller systems can typically use simpler daisy-chain wiring.
Professional-grade outdoor lighting fixtures with integrated LED technology usually offer better weather resistance and long-term durability.

Step 4: Connect The Fixtures
Use waterproof connectors specifically designed for outdoor lighting systems. Most landscape lighting fixtures include quick-connect fittings that simplify installation.
When making wire connections:
- Keep connectors sealed from moisture
- Avoid stretching cable tightly
- Protect exposed wiring from damage
- Leave slight slack for future adjustments
Moisture intrusion is one of the most common causes of landscape lighting system failure, making proper waterproofing extremely important.
Step 5: Test The Entire System
Before burying the cable, test every fixture to confirm proper operation. Verify:
- Consistent brightness
- Secure wire connections
- Correct beam positioning
- Proper transformer function
If fixtures near the end of the cable run appear dimmer, voltage drop may be occurring. Upgrading to thicker cable or splitting fixtures across multiple runs can help improve performance.

Step 6: Bury The Cable Safely
After testing is complete, bury the low voltage cable approximately 4 to 6 inches underground. In landscaped areas, cables can often be hidden beneath mulch for easier future maintenance.
Be cautious around irrigation systems, edging, and areas that may require future digging.
Common Mistakes To Avoid
Even high-quality landscape lighting systems can underperform if installed incorrectly. Avoid these common mistakes:
- Undersized transformers
- Overloaded cable runs
- Poor waterproof connections
- Improper fixture spacing
- Using indoor-rated fixtures outdoors
Combining landscape lighting with decorative outdoor wall lanterns can create a more complete and visually balanced exterior lighting design.
Final Thoughts
Learning how to run low voltage landscape lighting is one of the most effective ways to upgrade your outdoor environment while improving nighttime safety and curb appeal. With thoughtful planning, proper transformer sizing, and weatherproof connections, homeowners can create professional-quality outdoor lighting systems that last for years.
At Dazuma, we offer premium outdoor lighting collections designed to elevate pathways, patios, gardens, and exterior living spaces. Explore our landscape lighting and outdoor wall lighting collections to create a beautiful and welcoming outdoor atmosphere.