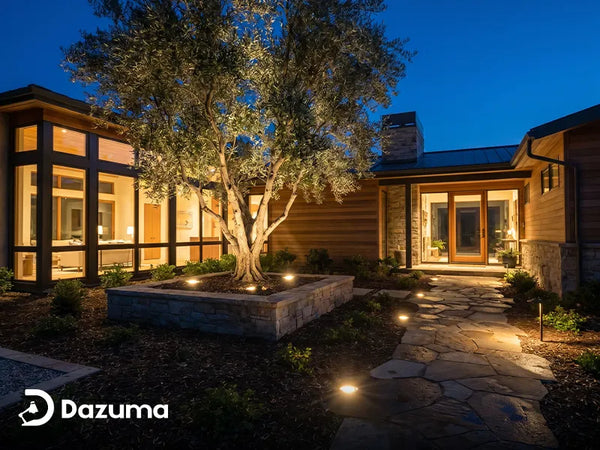
In the realm of landscape and exterior architectural design, few innovations have been as visually transformative as linear illumination. For decades, illuminating a backyard or patio meant relying exclusively on bulky spotlights or traditional wall lanterns. Today, the introduction of commercial-grade Outdoor LED Strip Lights has completely revolutionized how professionals shape nighttime environments. By hiding the actual light source and allowing only a continuous, seamless glow to wash over textured stone, wooden decks, and concrete pathways, we can create an atmosphere of pure, modern luxury.
However, bringing this five-star resort aesthetic to your own home requires navigating a minefield of technical specifications. The outdoor environment is brutally unforgiving. A cheap strip light purchased online might look beautiful on the first night, but after a single month of UV exposure, heavy rain, and temperature fluctuations, the silicone will yellow, the adhesive will fail, and the delicate diodes will short out. As a professional lighting designer, I constantly remind clients that purchasing outdoor linear lighting is fundamentally different from buying indoor cabinet lights. Let us break down the essential rules, critical specifications, and installation secrets you must know before investing in your exterior linear lighting project.

The Most Critical Factor: Understanding IP Ratings
When evaluating any exterior electrical fixture, the Ingress Protection (IP) rating is the absolute most important specification. This two-digit number dictates exactly how resilient the light is against solid objects (like dust) and liquids (like rain or pool water). Unlike standard indoor strips which are often bare copper circuits (IP20), outdoor strips must be heavily encased in protective extrusion.

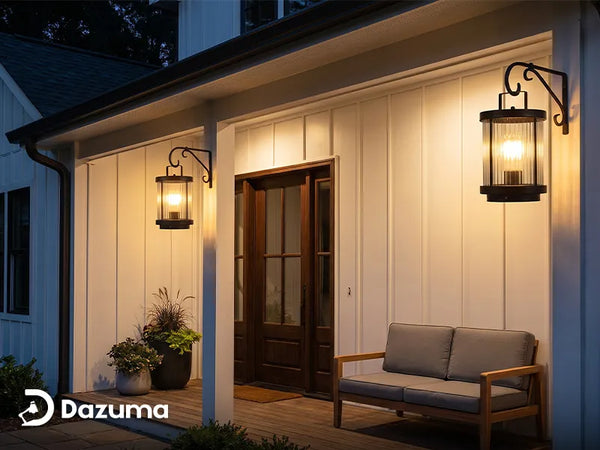
If you are installing linear lighting under the eaves of a fully covered porch alongside your Outdoor Ceiling Lights, an IP65 rating is generally sufficient to protect against atmospheric moisture and light splashes.
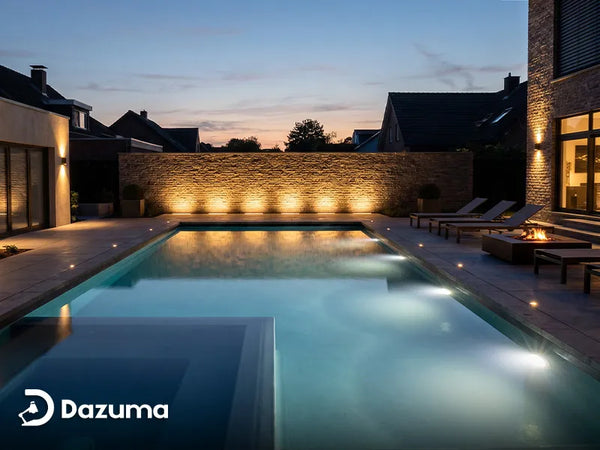
However, if the strip will be exposed to direct rainfall, buried along a garden pathway, or mounted to an open-air fence, you must step up to an IP67 rating. These strips are typically encased in a thick, UV-resistant silicone sleeve that prevents water from reaching the delicate circuit board, even during severe storms. Using anything less than IP67 in an exposed outdoor environment is a guaranteed recipe for premature failure.
Technical Specification Guide: Selecting The Right IP Rating
To ensure your investment survives the brutal transition of the seasons, use this professional architectural reference table to perfectly match your project's environmental exposure to the required IP rating:
| IP Rating Level | Water Resistance Level | Ideal Outdoor Applications |
|---|---|---|
| IP20 / IP33 | None (Indoor Only) | Never use outdoors. Reserved for indoor cabinets and dry coves. |
| IP65 | Splash Proof / Low Pressure Jets | Under covered patios, roof eaves, and heavily protected outdoor kitchens. |
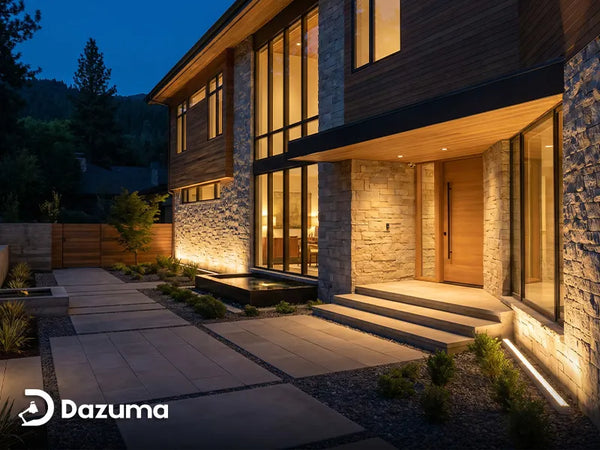
| IP67 | Weatherproof / Heavy Rain | Open deck stairs, exterior retaining walls, and uncovered fence lines. |
| IP68 | Fully Submersible | Inside swimming pools, submerged water features, and decorative ponds. |
Brightness, Density, And Eliminating "Spots"
The second most common mistake homeowners make is buying strips with low LED density. If you purchase a strip with only 30 LEDs per meter, it will look like a string of dotted Christmas lights. In professional design, we strive for a seamless, continuous ribbon of light that looks like a single glowing neon beam.
To achieve this dotless effect, you must look for high-density strips featuring at least 120 LEDs per meter. Alternatively, the newest industry standard is COB (Chip On Board) LED technology. COB strips feature hundreds of microscopic diodes covered in a continuous layer of yellow phosphor, inherently eliminating any dotted reflections on glossy tiles or polished stone walls.
Additionally, brightness matters. If you are using the strip as primary task illumination (e.g., above an outdoor grilling station), you need high-lumen output. However, if you are simply layering accent light under stair treads to complement your primary Outdoor Lighting, a lower lumen output with a warm 2700K color temperature is far more elegant. Always install your linear strips on a compatible dimming system so you can adjust the mood after sunset.

Crucial Installation Secrets: Voltage And Extrusions
Professional installation ensures longevity. Never rely solely on the sticky tape on the back of the strip when working outdoors. Heat and humidity will destroy the adhesive within weeks. Instead, always mount your Outdoor Led Strip Lights inside an extruded aluminum channel equipped with a frosted polycarbonate diffuser cover. The aluminum acts as a critical heat sink, drastically extending the life of the LEDs, while the physical channel allows you to screw the fixture securely into wood, concrete, or metal framing.
Finally, you must calculate for Voltage Drop. Low-voltage DC electricity loses power the further it travels down the copper strip. If you are running a continuous length of lighting across a massive deck, a 12V strip will look incredibly bright at the start but noticeably dim at the end. For any run longer than 16 feet (5 meters), you must upgrade to a 24V system, which carries the current much more efficiently. It is also vital to layer your design. Linear lighting looks best when accompanied by beautiful vertical fixtures; matching your strips with elegant Outdoor Wall Lighting ensures your entire yard feels cohesive and professionally curated.
Redefine Your Landscape Architecture
Do not let the darkness hide the beauty of your outdoor living spaces. By utilizing commercial-grade linear illumination, you can highlight architectural features, increase safety on stairways, and create an atmosphere of unparalleled luxury. Ready to plan your project?
Shop Premium Outdoor LED Strip Lights